
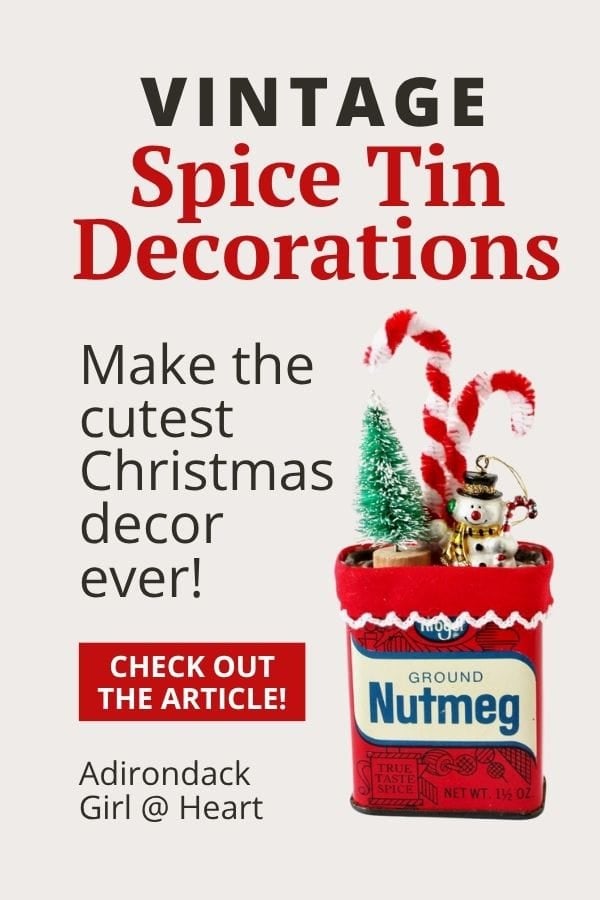
Vintage Spice Tin Christmas Decorations
Looking for a vintage Christmas craft that you can decorate with or sell from your booth? Marry old spice tins with adorable small embellishments and you’ve got a simple DIY decoration for the holidays [that sell for $12 each].
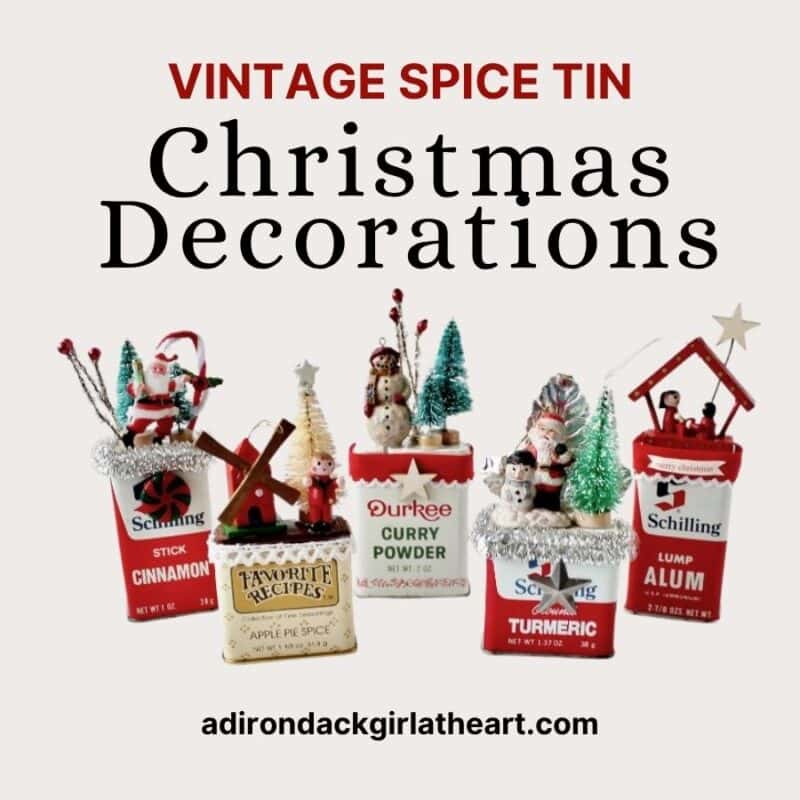
When deciding how you want to decorate the top of your spice tin, I recommend going for three elements (following the rule of threes): a figure, a bottle brush tree, and something to add some height.
I used mostly vintage decortive pieces that I had on hand (see photos below), but you can mix and match new and old however you like or need.
Materials
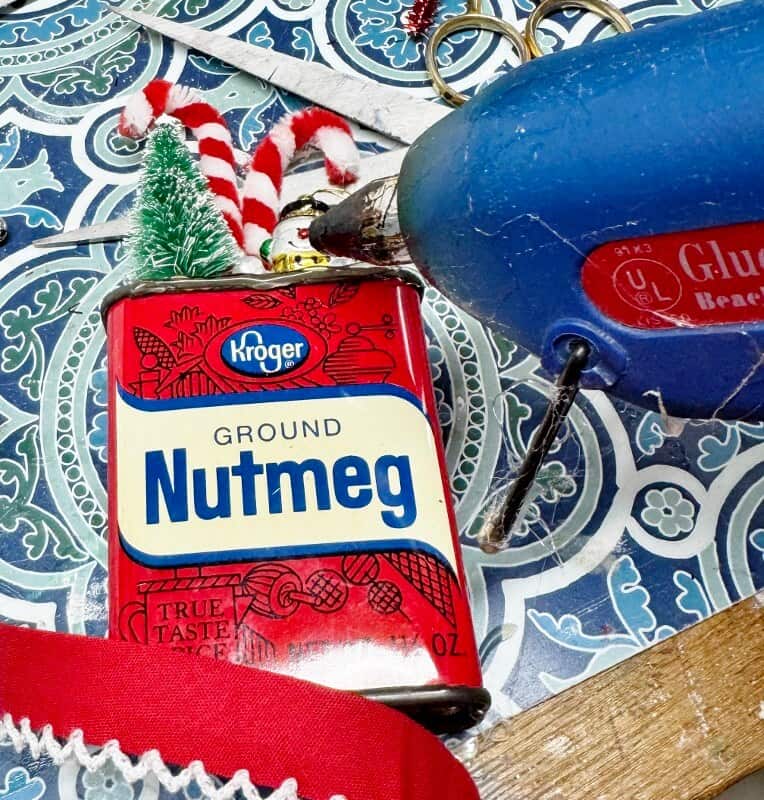
1.Vintage Spice Tins

I find quite a lot of my tins at flea markets and have also lucked out finding a few large lots on eBay. I price these decorations at $12 each, so I try to get my tins for $1 or less.
2. Vintage Christmas Figurines
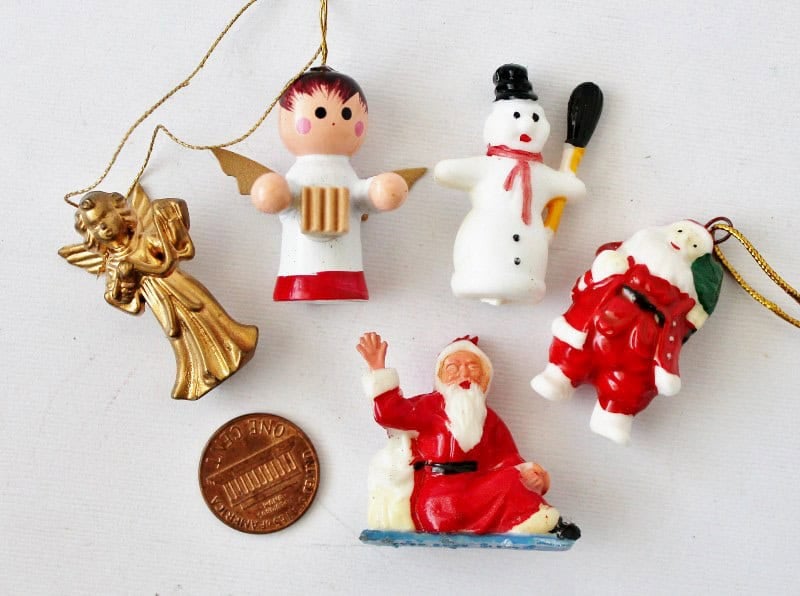
Look for these tiny figures at flea markets and estate sales, where you can often buy boxes of various Christmas decorations for one price.
3. Bottle Brush Trees
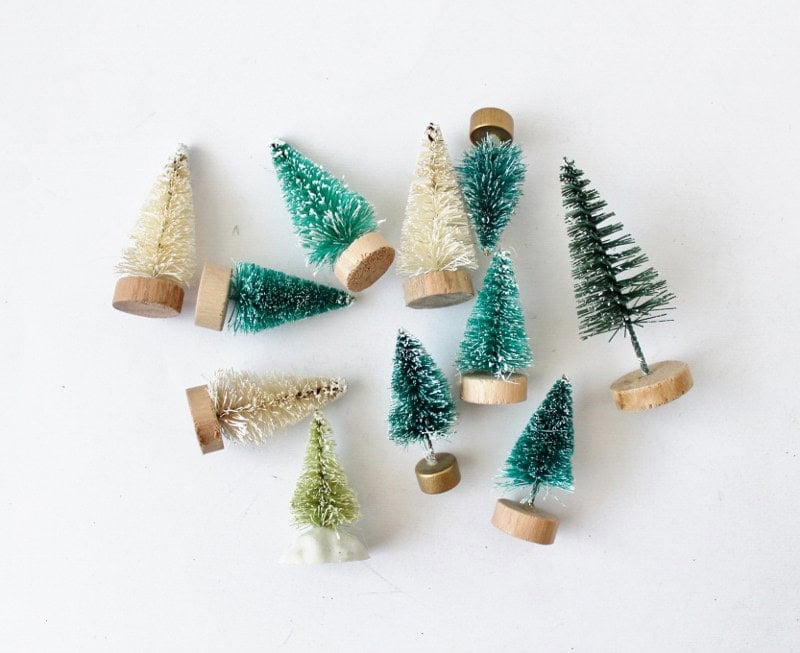
These tiny evergreens can often be found at Dollar Stores, and the white ones I pick up on Amazon.
Vintage Trim
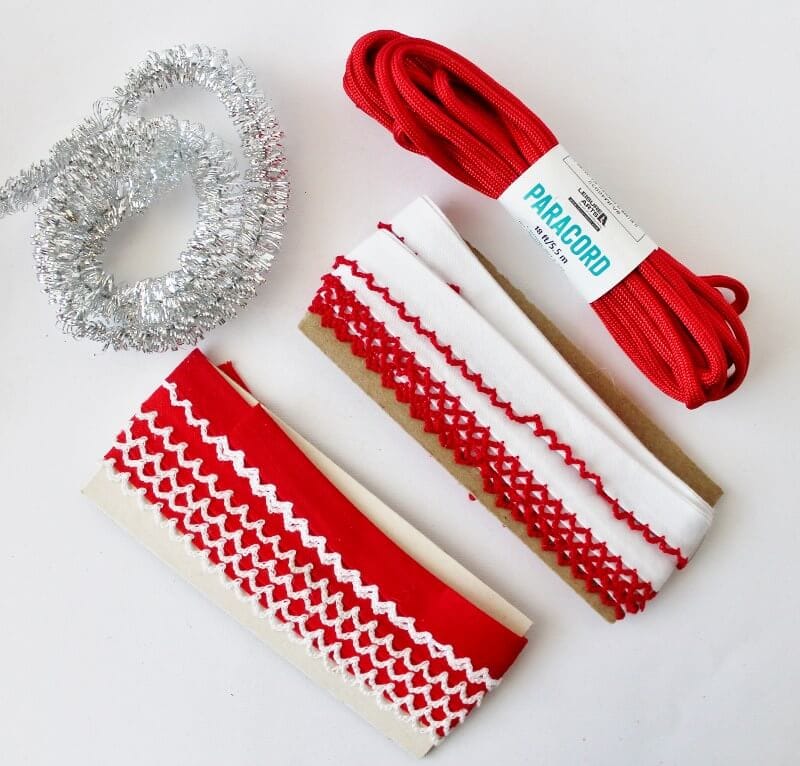
I most often find trim at estate sales among the sewing or Christmas supplies. Look for them at thrift stores also where you might find a zip lock bag filled with them.
Embellishments
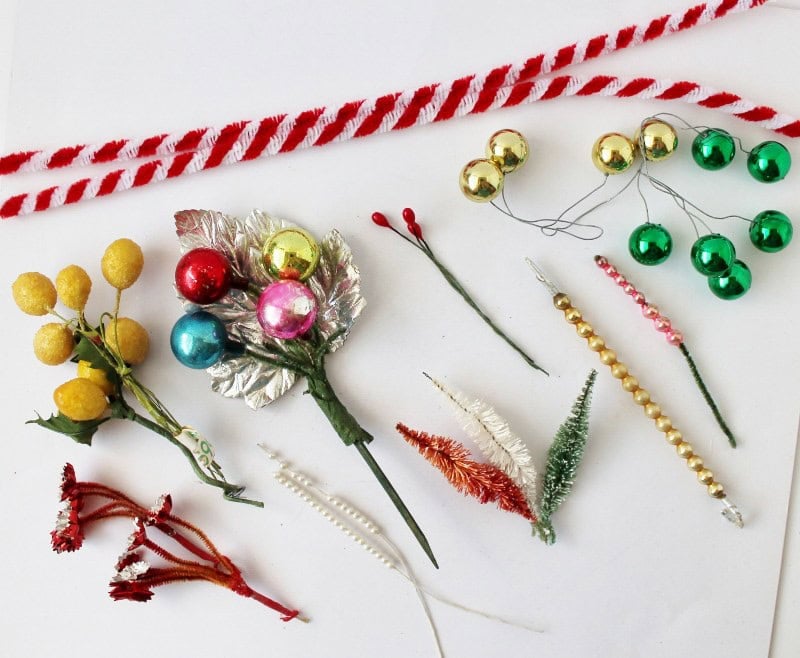
Vintage picks and similar embellishments like these most often come in bags or boxes at estate sales. Unfortunately, they sometimes look like trash to the thrift store operators and get (shudder) thrown away.
This post contains affiliate links for research materials related to this article. This is both for your convenience as well as to support this website, as I receive a small compensation whenever you click on such a link and make any sort of a purchase, for which I thank you. See my full disclosure here.
Materials List (if you don’t have vintage items available)
- Spice tins (here are some new, vintage-style tea tins)
- Figurines
- Bottle brush trees
- Trim: Pom Poms Velvet Lace Braided Gimp
- Embellishments/Picks: Toothpicks w/beads Christmas-themed Gold Spray
- Sand
Weight Your Tin
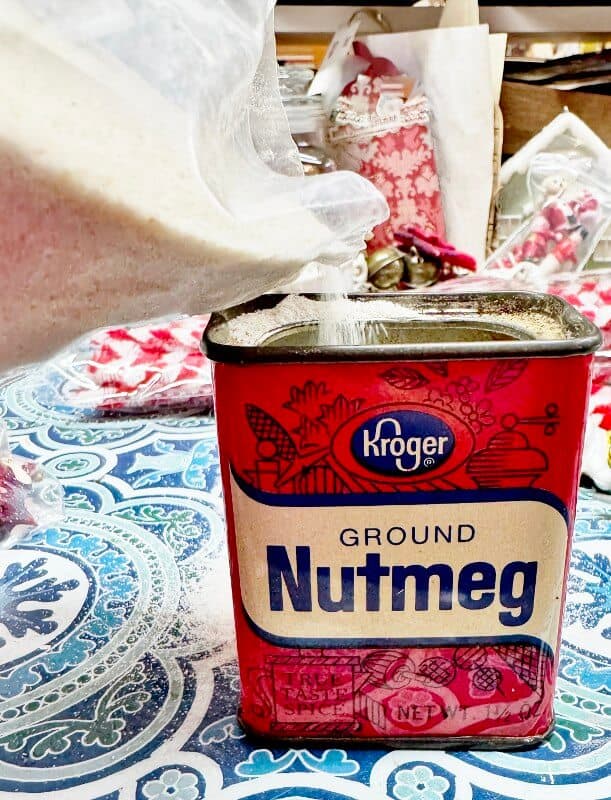
If your tin is empty, it makes sense to weigh themit down to prevent it from being top heavy. I use sand.
Select Figurines

I usually work on four or five of these at one time, mixing and matching various elements until I’m happy with the result.
Once you finalize your choices, hot glue them down.
Which Embellishment to Use for Height?
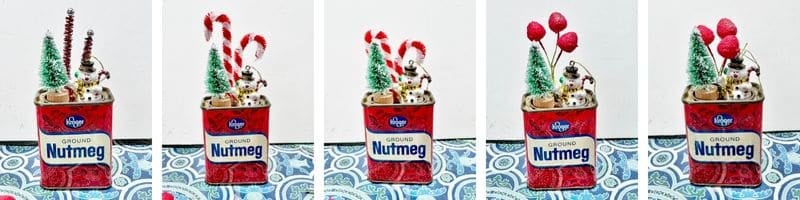
Now it’s time to figure out which accent to select to give the project a bit of height. This will balance out the two main decoratve pieces. Here’s what I considered:
- Pipe cleaner with bead ends (made by hand!)
- Tall candy cane pipe cleaners shaped like candy canes
- Short candy cane pipe cleaners
- Tall vintage berries
- Short vintage berries
What did I pick? I went with the candy cane pipe cleaners, but at a height in between the two you see above.
Glue on Your Embellishment
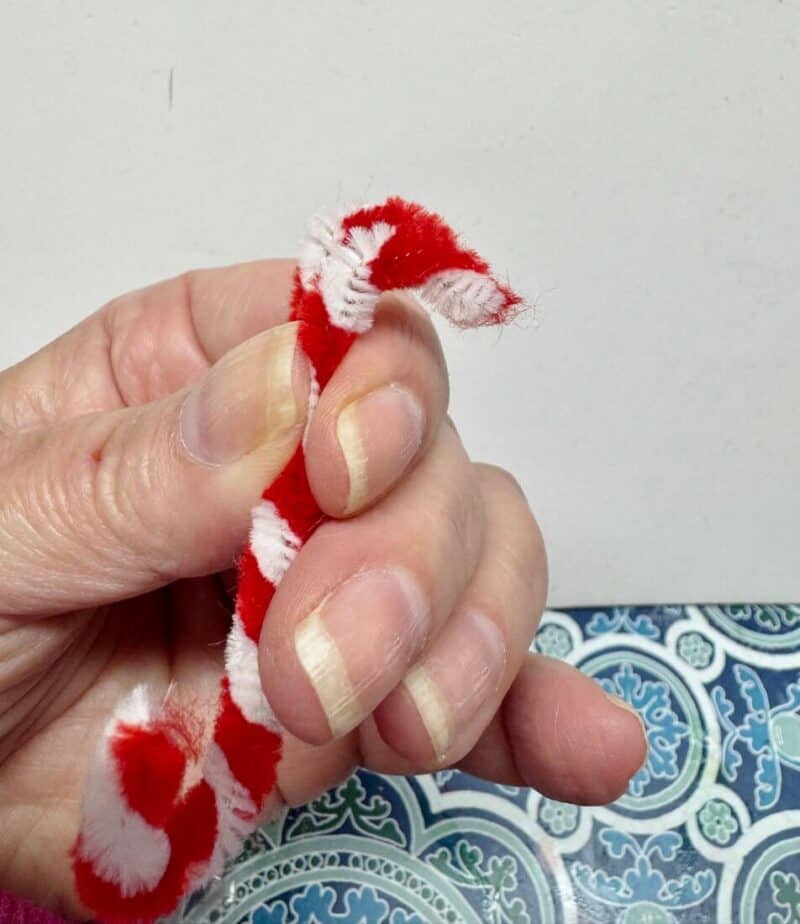
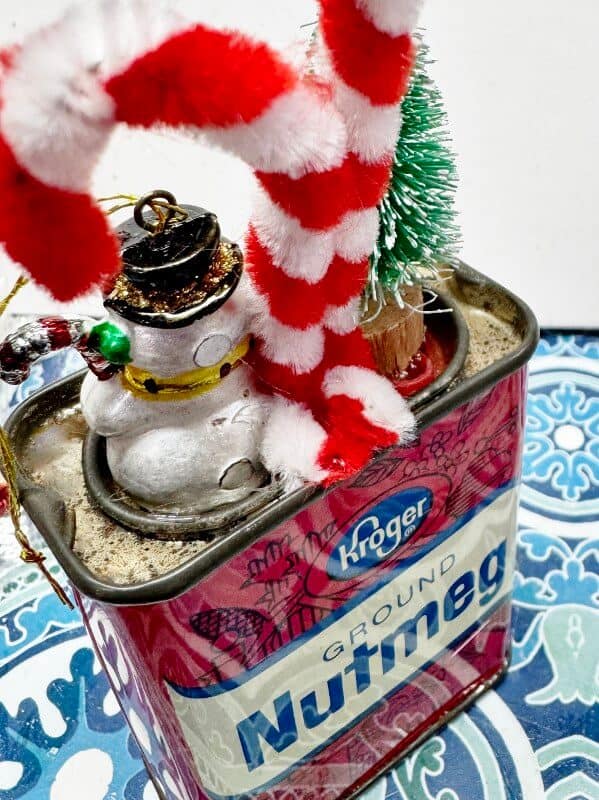
To attach the candy canes to the spice tin, I bent the bottoms, applied some hot glue, and pressed them down onto the tin.
Which Trim to Use?

The final step involves selecting trim to wrap around the top edge of the tin. My choices included:
- Vintage silver tinsel
- Candy cane pipe cleaners
- Vintage white trim with red edging
- Vintage red trim with white edging
What did I pick? I decided to go with the red trim since the white edge made everything pop nicely.
Glue on Trim
Use hot glue to attach the trim to the tin and you’re done!
Finished Project
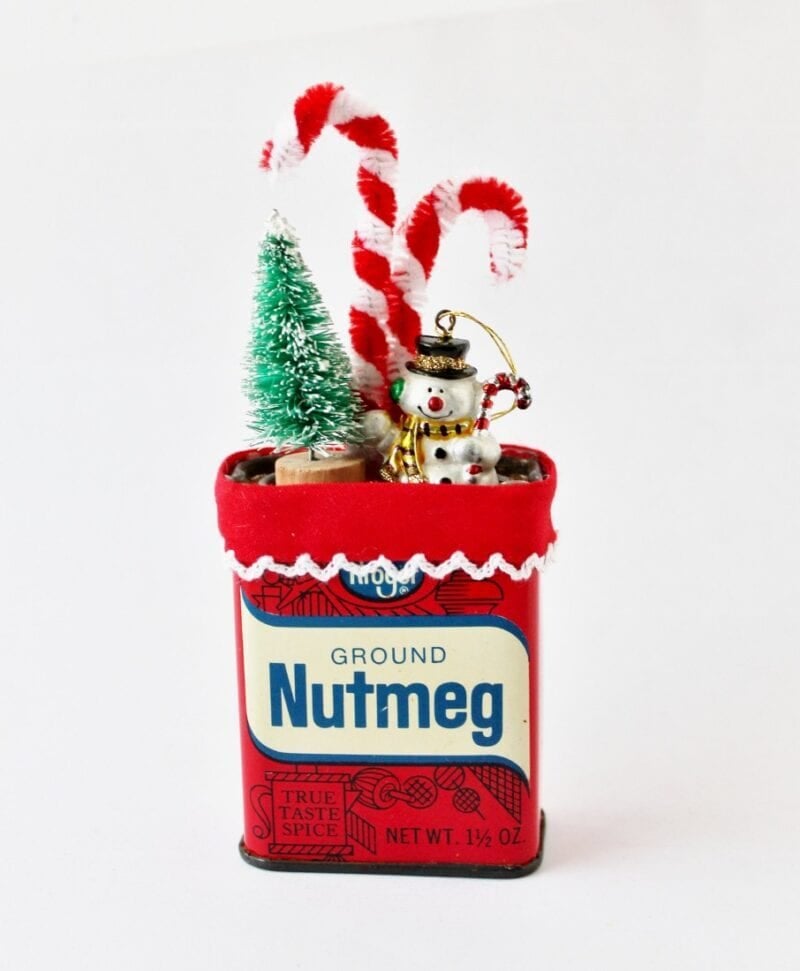
This little cutie is headed straight to my booth.
Examples
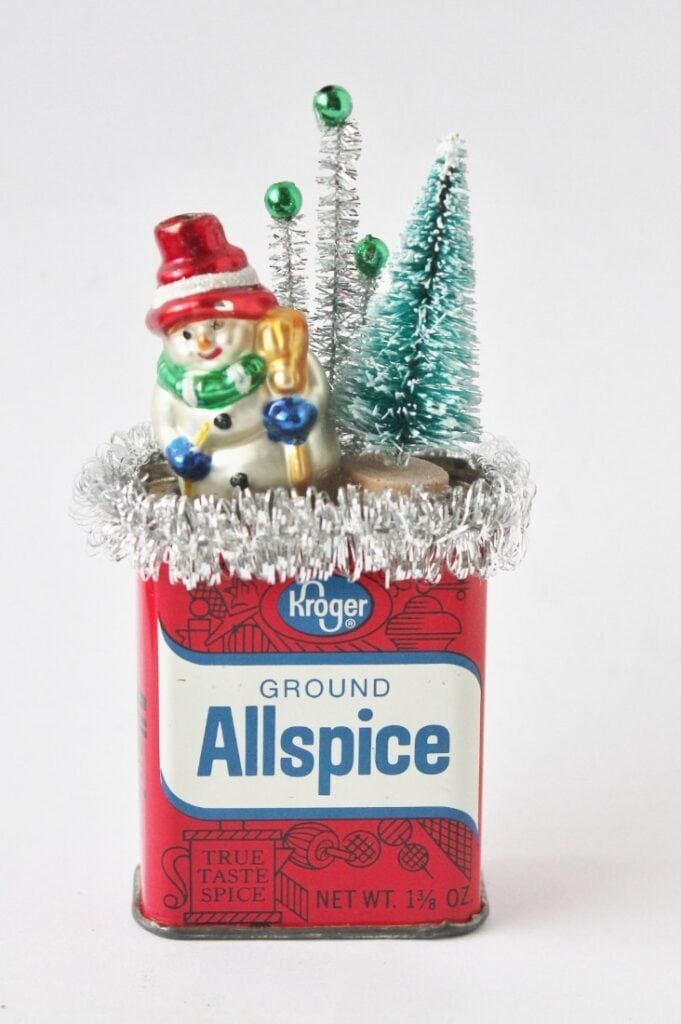
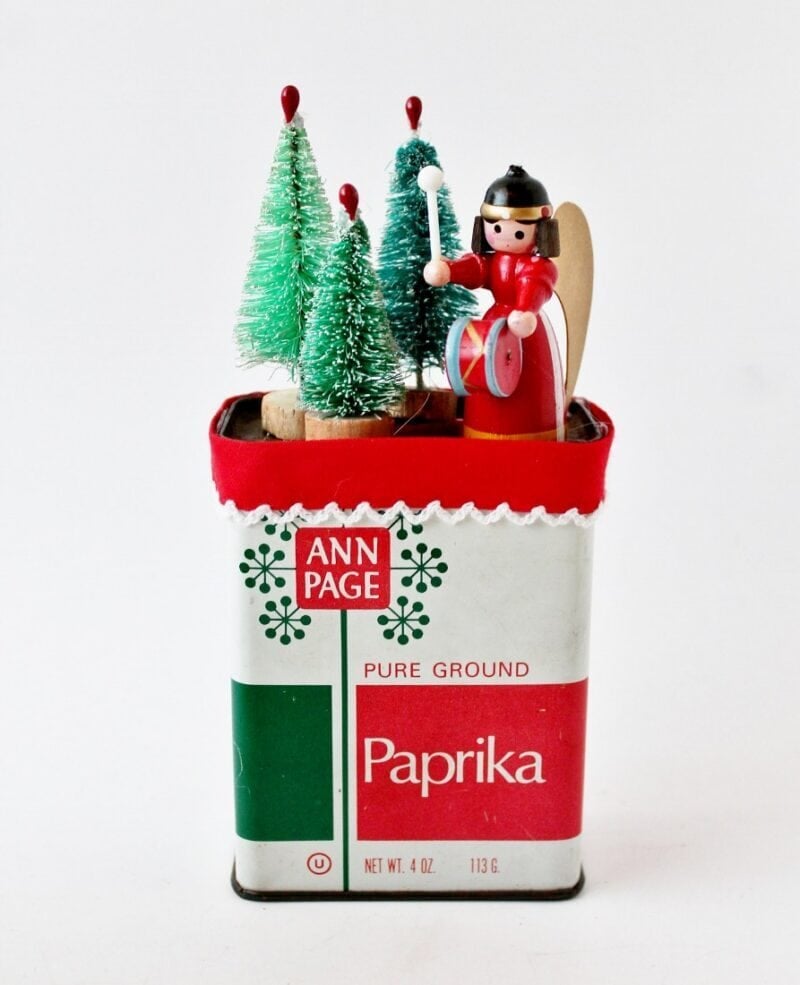
The Allspice creation follows the rule of threes, while the Paprika tin follows the rule by going with three bottle brush trees. I glued a red berry on top of each, which finished things off nicely by pulling all the reds together.

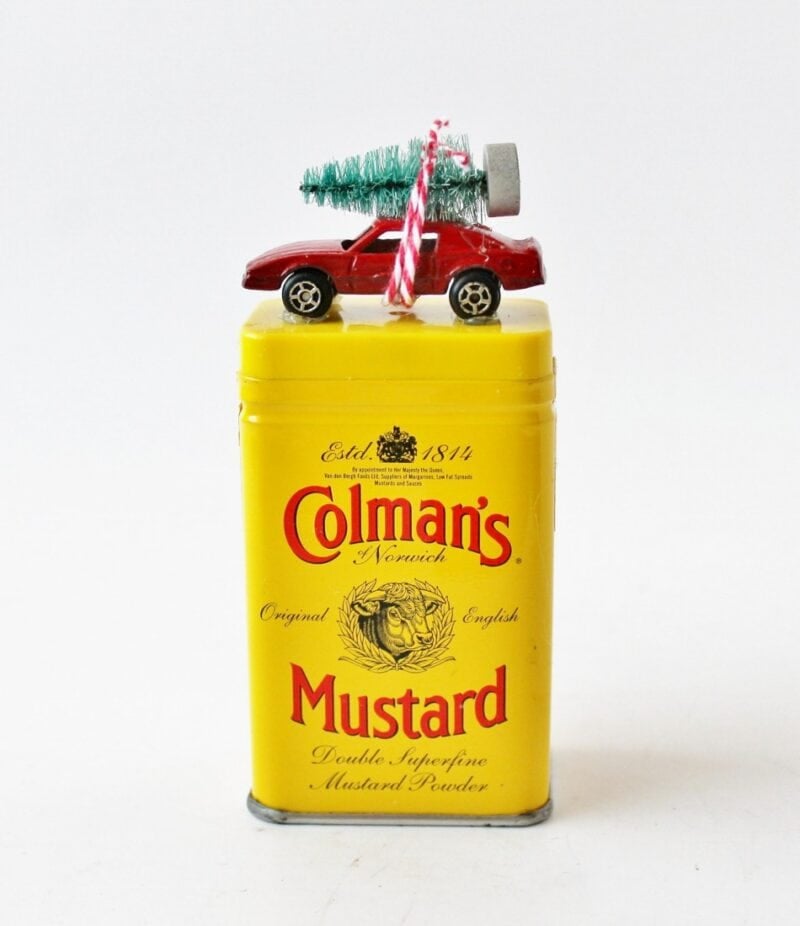
Last year I started using small cars with bottle brush trees tied on top as the decorative element and they were popular with buyers.
I wasn’t sure how yellow mustard tins would sell since they aren’t very Christmas-y but that didn’t seem to bother buyers.


The tiny skiiers on the poultry seasoning were a happy find. The antique raggedy pipe cleaners are topped with newer beads.
Santa’s always sell quickly so I search for them especially hard when out vintage shopping. The star embellishments are super easy to make: attach sequin stars to wire.
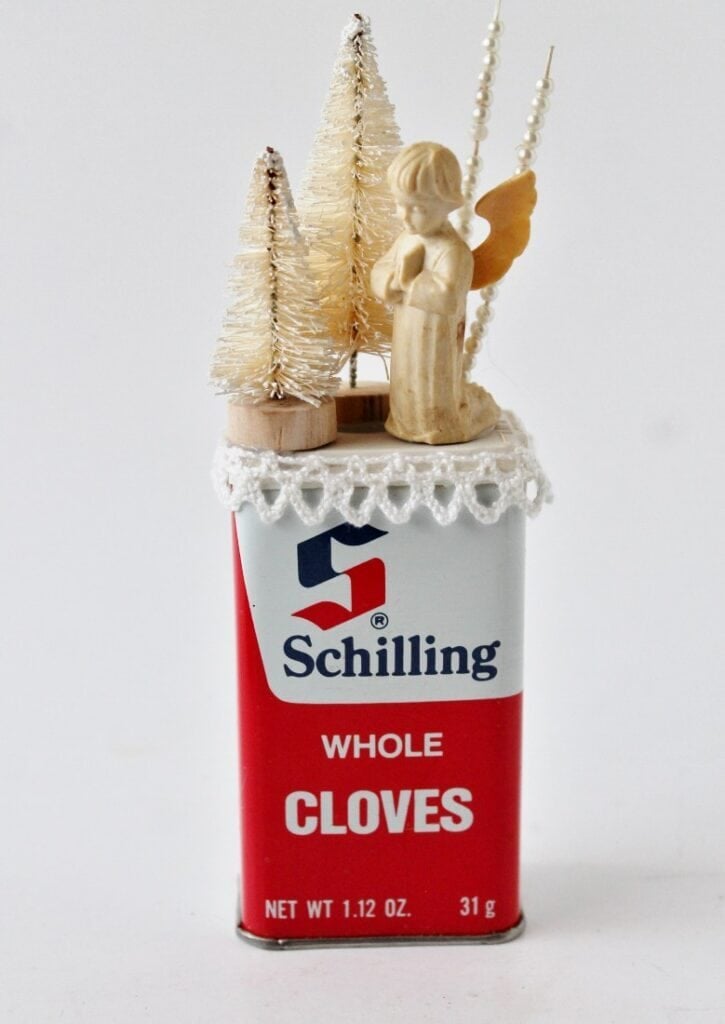
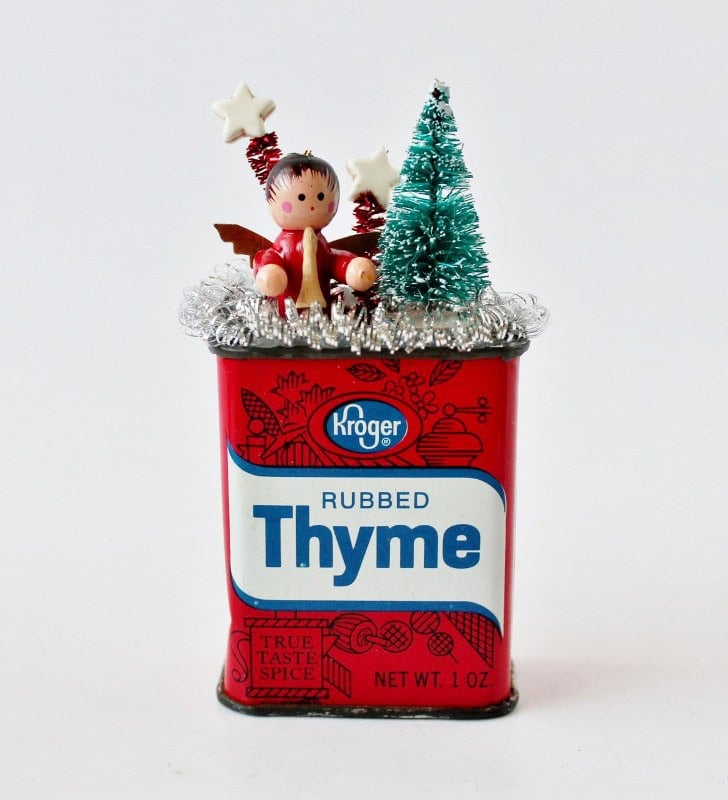
The sweet, ivory angel called for antique white bottle brush trees on this Cloves tin. The pipe cleaners on the Thyme tin have tiny ceramic star beads attached to their ends. They make the perfect compliment to the wooden angel musician.

You can put together so many cute combinations!
And guess what? It doesn’t have to be a spice tin! You can make these decorations with any small tin that allows gluing onto the top/lid.
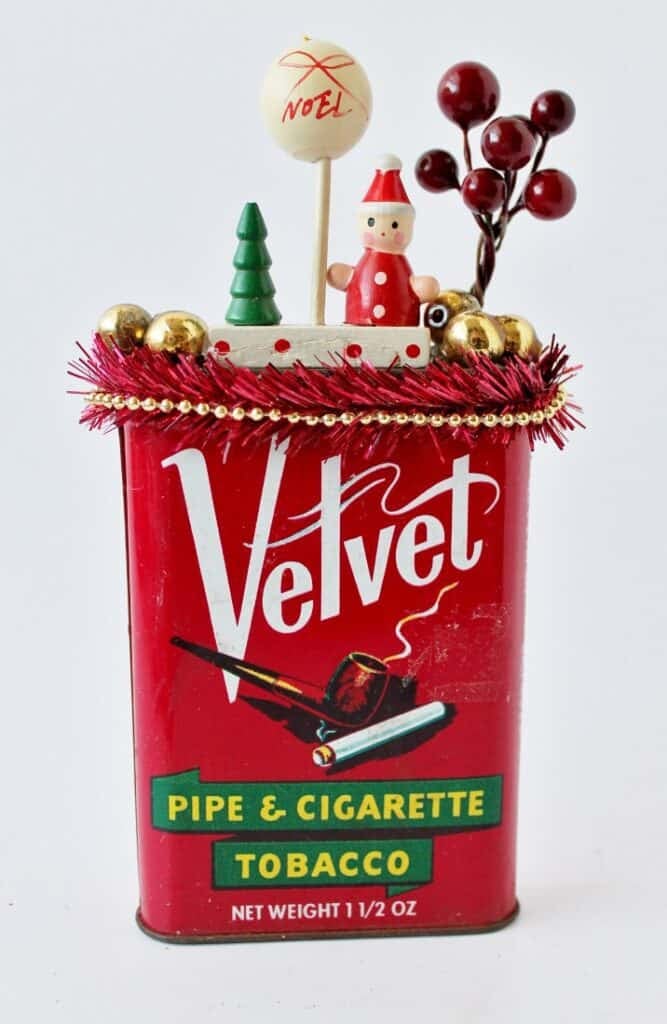
Velvet tobacco tins [in red and green] were made for Christmas, right?
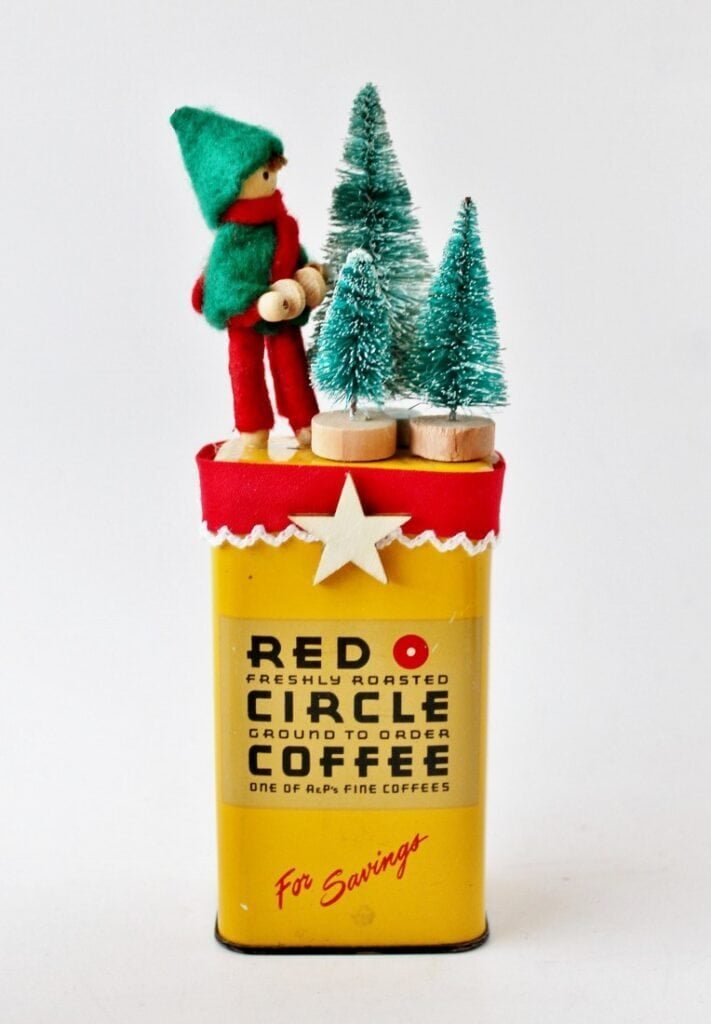

These coffee tin banks also make excellent bases for this project. I would love to find more of the wood and felt figures, like the one on the left.
The tiny truck on the right allows for some additional festive decorations. Both of these sold very quickly.

Lastly, small square tea tins, like this aqua example, make great bases and provide more surface area to decorate. I went with the red rocking horse figurine to tie in with the horse on the tin and to highlight the red from the rider’s jacket.
Final Thoughts
Time to paw through your craft stash to see if you have the supplies you need to make these cute-as-can-be Christmas decorations. Vintage lovers everywhere will fall in love with them, whether you use them to decorate your own home or decide to sell them.
Other Christmas Projects or Articles You’ll Just Love


Thanks for stopping by–
If you enjoyed this post, subscribe today
and get a FREE copy of my eBook:

Bye for now,

Would you pin this to your fave Pinterest board? Thanks!
Dear Diana, I just love your videos, instructions and price guides. What absolute fun! You a truly a person after my own heart. I made some great Christmas items using old wooden bobbins. I was inspired by your videos. I would like to send you some pictures. How would I do that?
Cheers Alison
Hi Alison! I’m so glad you’re enjoying my vintage resources–that makes me so happy 🙂 I’d love to see your photos; you can send them via email: adirondackgirlatheart@gmail.com or post them in my FB group: Your Vintage Headquarters. Looking forward to seeing them-
Diana, I always love seeing your projects! This week I made 9 “windows” using 3/.99 window frames from Hobby Lobby. Painted them with a gloss red paint–only needed one coat and then backed them with scenic Christmas card pictures (farm scene, lighthouse, Christmas tree, buck in the field, etc. Also fun to use an indoor scene as if you are looking in the window! Added a 1/8″ red satin ribbon loop to the back for a hanger and one of “your” green piney pipe cleaner wreathes with a red bow for the top of the window. Great as an ornament, package tie on, or a dollhouse window for a wall without one! Last year’s I painted white and stained brown.
LOVE this idea so much Kathy!! Thanks for sharing it with us 🙂
Ok, call me officially inspired to start collecting mini decorations, because I need in on this vintage spice tin look! SO cute and reminds me of childhood Christmases…
I’m so glad you liked the project Donna! Thanks for featuring it at your blog party @ Funky Junk Interiors. LOVE your website and all your amazing rustic projects-
These are adorable! And maybe something this non crafty person could do. Well done!
Thanks Peg! Would love to see yours whenever you get around to them 🙂 I love to include photos of reader examples in posts whenever possible-