
Making Your Very Own Bird Stamp & Burlap Tags

Through the years, I’ve taught art at several venues: in homes (to home schooled children), at a home school co-op, and at Our Savior’s Lutheran School, where my children attended from pre-school through to middle school. Whenever I teach about printing to younger students, I do a stamp project, using foam core board and foam craft sheets.
I’ve been wanting to make my own bird stamp for a long time because I’m too darn cheap to buy one full-price, and I haven’t been fortunate enough to find one at a garage sale, yet!
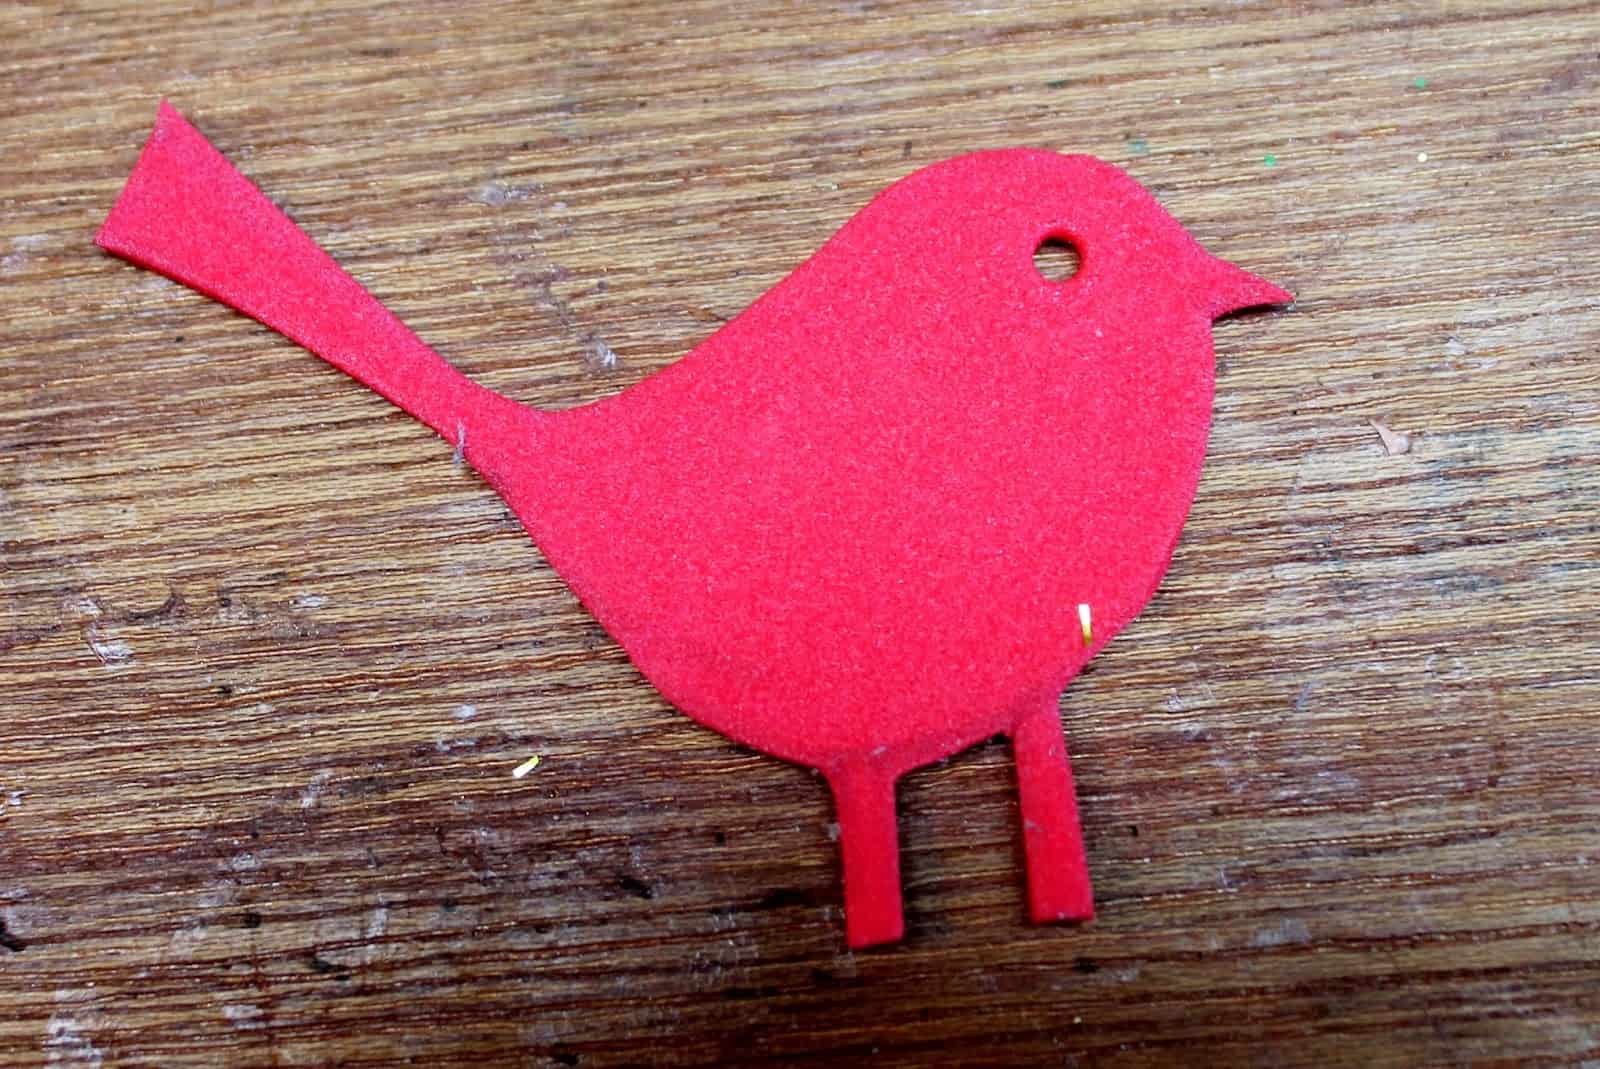 |
Here is the finished bird, already cut out from the foam sheet.
First I sketched him on a piece of craft foam with a pencil.
He’s about 2 1/2″ across. I used a 1/8″ hole punch to give him an eye.

As you can see here, I glued him onto a small square of foam core,
(available in large 22″ x 18″ sheets at Dollar Tree).

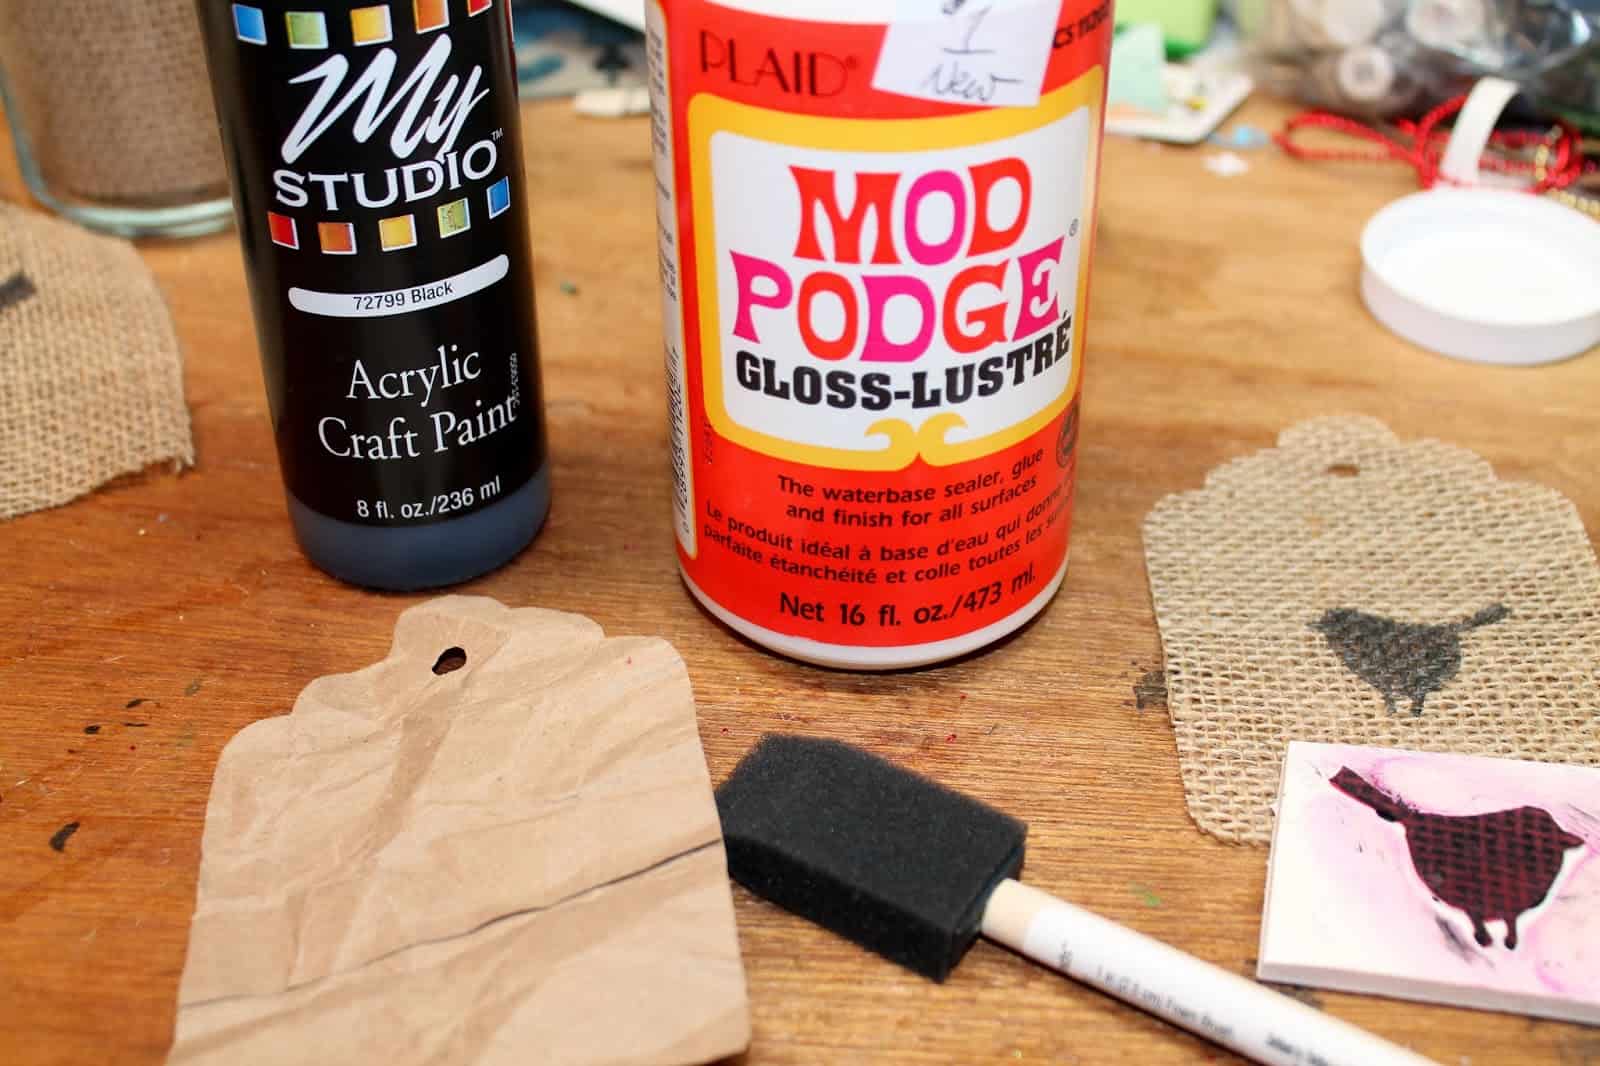
Here’s a test using black acrylic craft paint that I applied with a foam brush. The light blue feet resulted from a bit of stamp pad ink that I neglected to clean off properly. I have found that with larger stamps, especially those made of foam, I have much better results with paint than ink.

Because my first stamp ended up being larger than I really wanted, I made another one. This one is about an inch across, and I decided not to give him an eye. I like him better–what do you think? You can see in the photo above that I tested the new stamp on a piece of burlap. The results made me very happy 🙂

Here, I used it on a page from a French text. The first impression (above) resulted from stamping immediately after stamping on burlap, without cleaning the stamp or reapplying paint. The burlap left a pattern on the stamp, which then showed up on the paper. Cool, huh? The bottom is just a normal imprint. These little scraps will get used for something someday 🙂
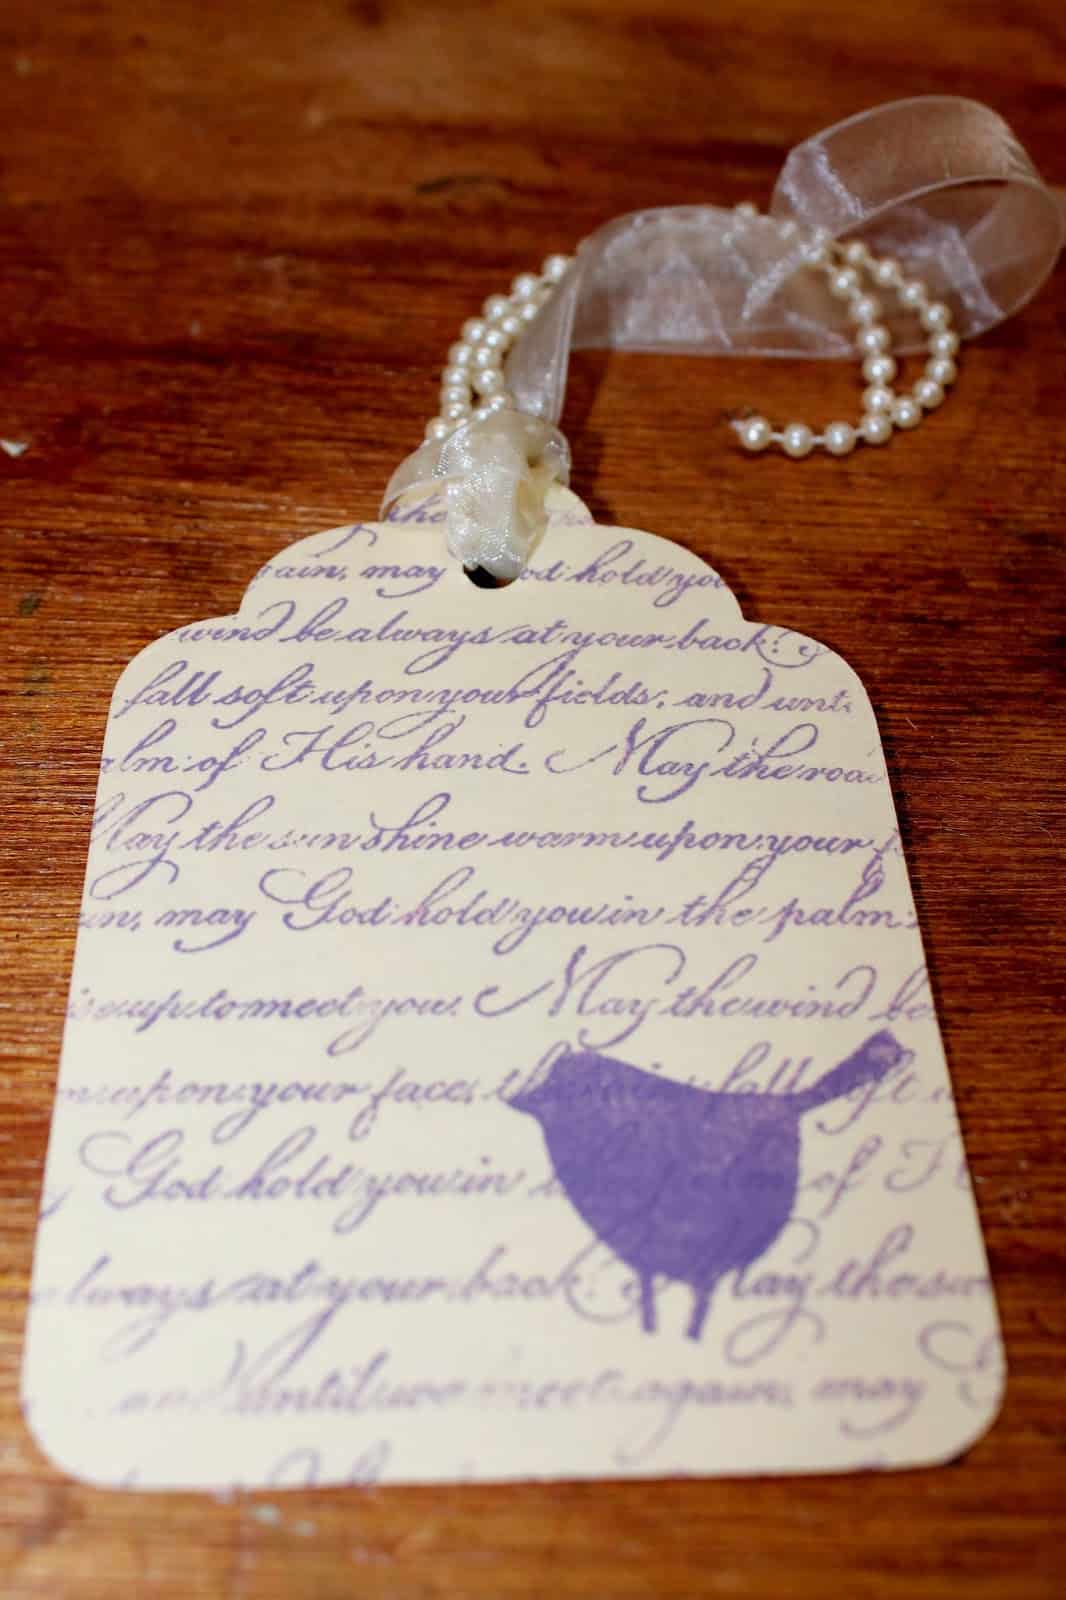
So then I decided to make tag using burlap that could then be decorated with one of my new stamps. I used my Big Shot die cutter to fashion a burlap tag, along with one made from a brown paper bag. I stamped a bird onto the burlap tag using black acrylic paint. After the paint dried, I Modge Podged the two tags together. After it dried, I Modge Podged the edges to prevent the burlap from fraying, then looped some twine through the hole and I was done.
 |
NOTE: What to do if you don’t have a die cut machine? Cut out a paper bag or cardboard rectangle using a paper cutter. Glue it onto a piece of burlap. After it’s dried, trim the burlap to the size of the cardboard. Then cut off the corners–cut one, then use that cut-off triangle to measure and make an identical cut on the other side. Punch a hole at the top. Decorate, string with twine, and you’re done.
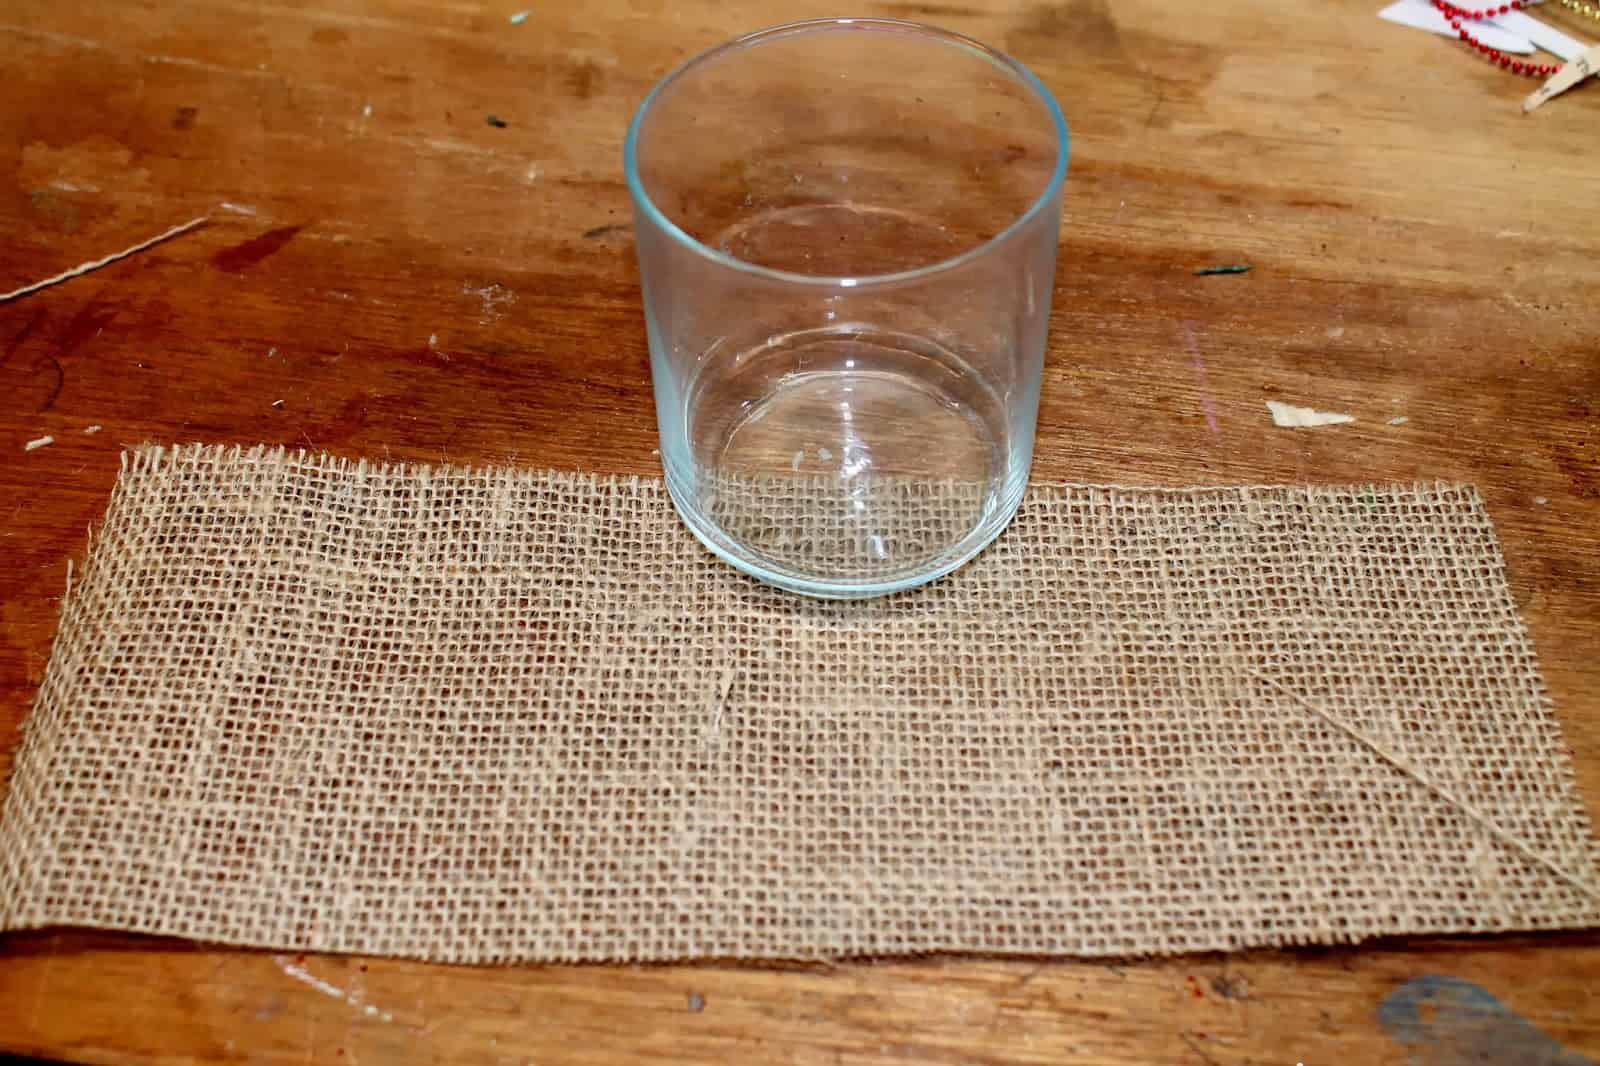
Next, I got the idea of wrapping a straight-sided glass (29 cents, Salvation Army) with a piece of burlap stamped with my little birdie. I brushed Modge Podge onto the sides of the glass and applied the stamped burlap. After it dried, I applied another coat of MP to the surface of the burlap.
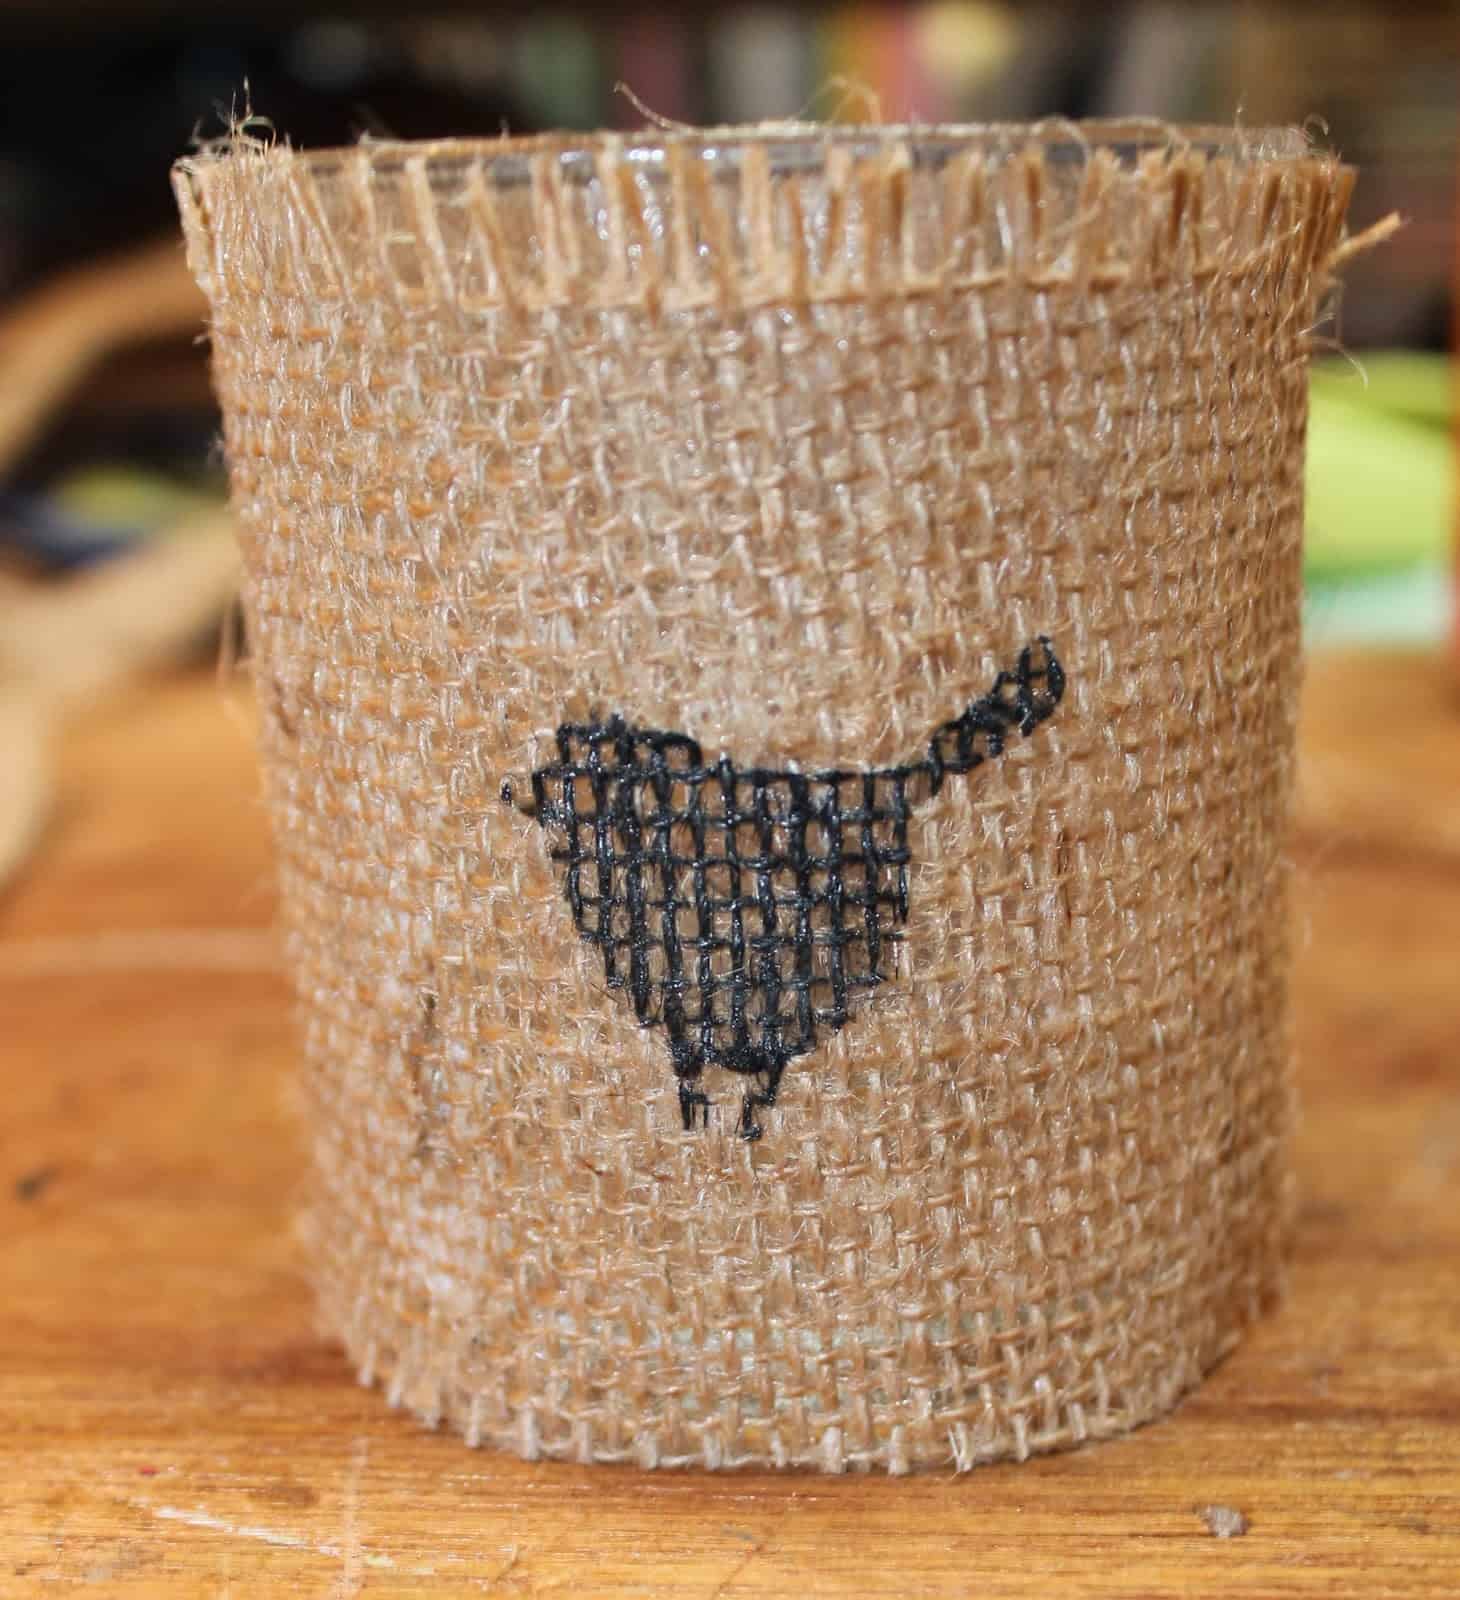
And here’s the result: a perfect votive holder or maybe a pencil holder? Planter?

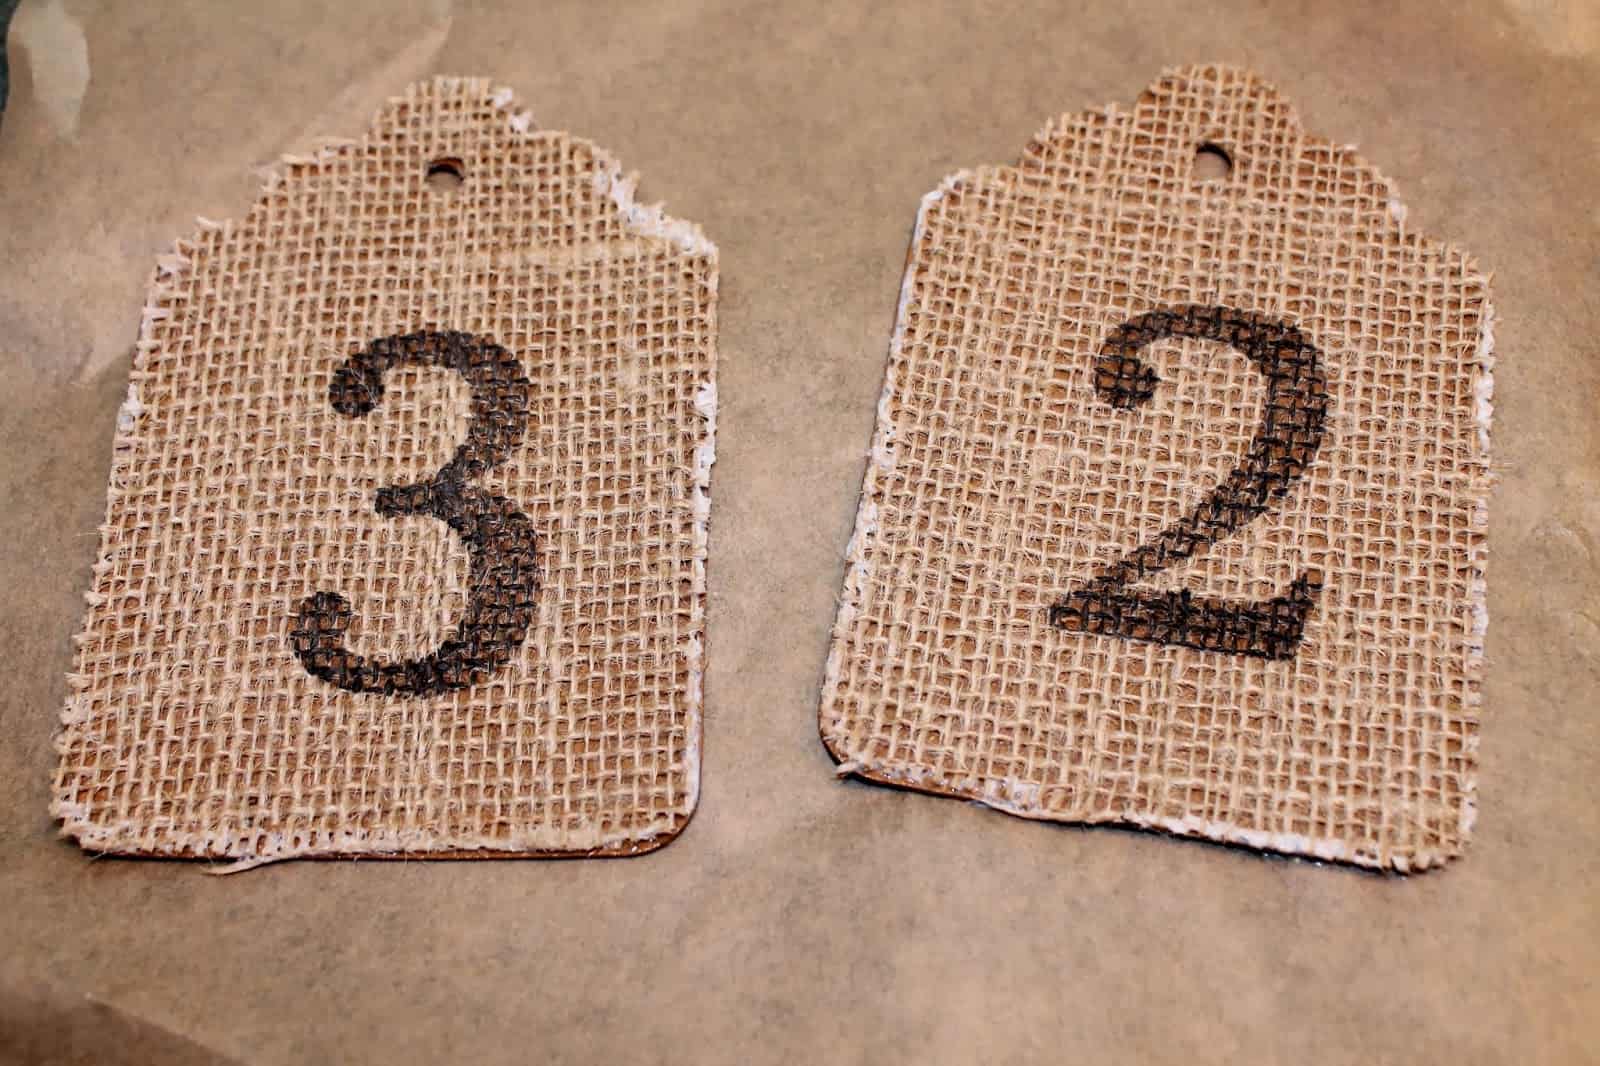
Here I made the stamps using numbers instead of my bird. I attached these tags to light cardboard (from a cereal box) making them much sturdier than the brown paper sack backed tags.
As you can probably tell, I had a lot of fun with my bird stamp! I’m already planning other applications. Like I said, I’ve been wanting a bird stamp for a long time…
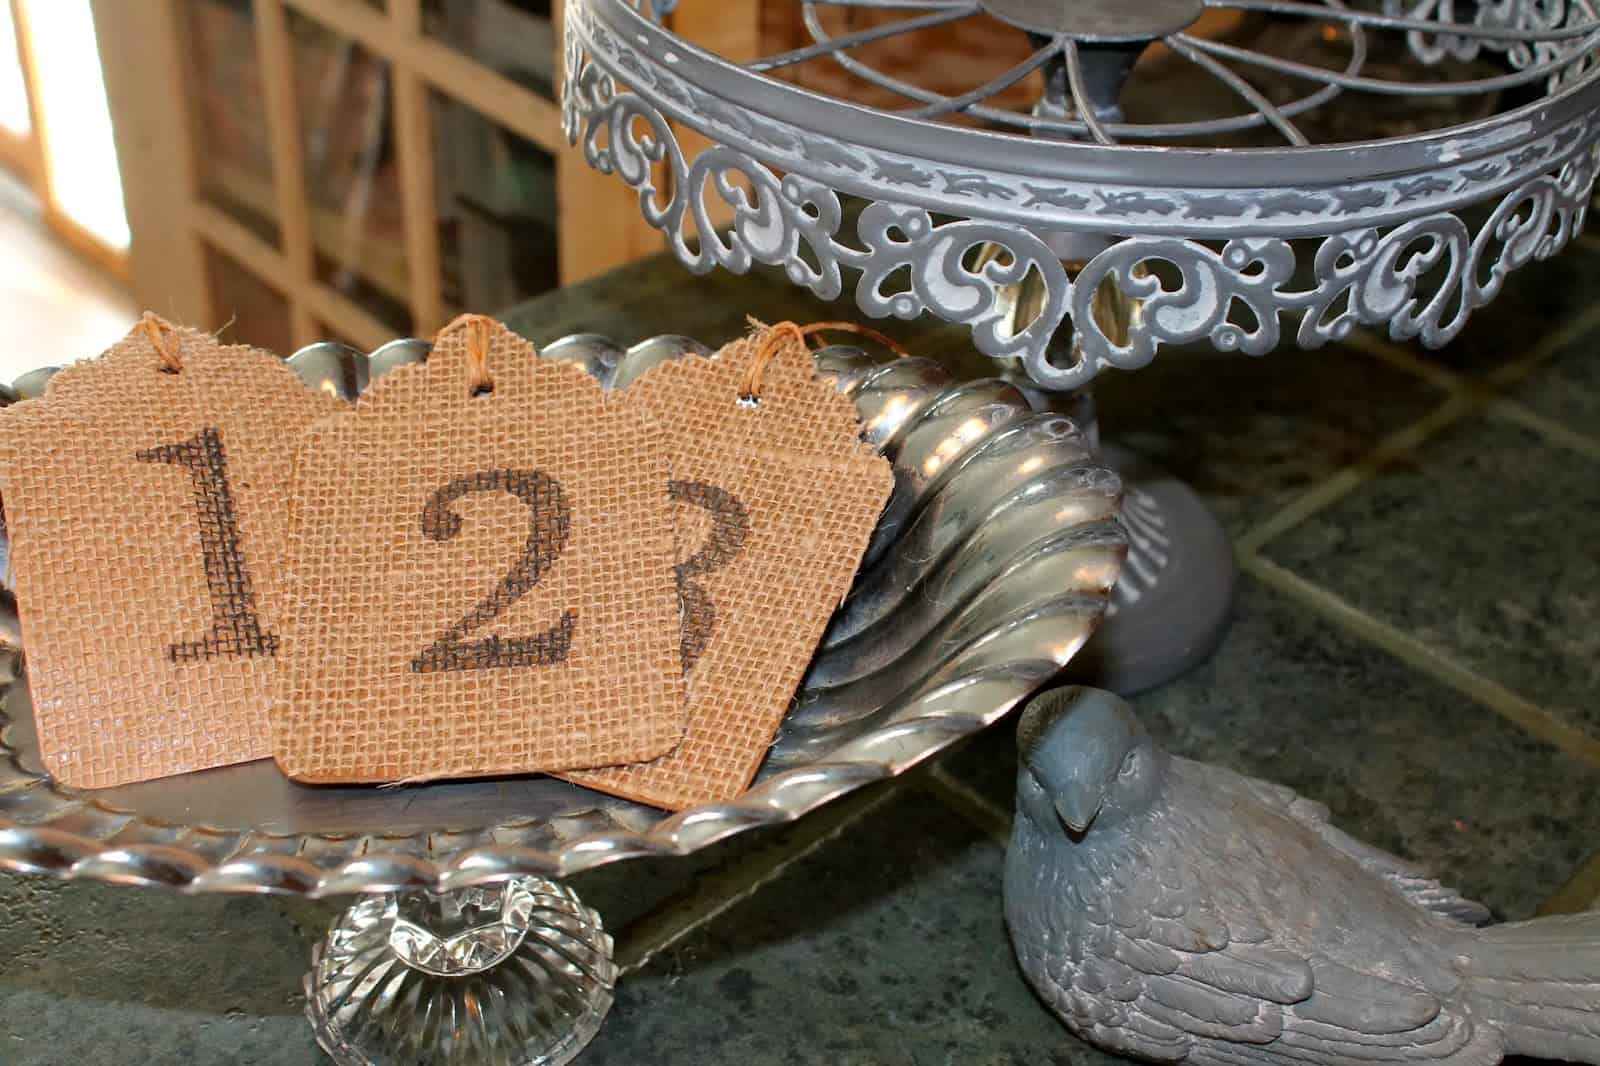
I think these numbers would look great attached to some baskets or bins, or even hanging on large mason jars. What do you think?
This post was featured at:
About Home
Thanks so much for stopping by —
If you enjoyed your visit, I hope you follow me by email.
Sign up and you’ll never miss a post.
Bye for now,
So sweet!! Thanks so much for stopping by!!
Hugs,
Deb
Love it! Great ideas and so pretty.
Love the stamp and the burlap tags are really nice! Great job! Thanks for sharing at TTF!
Linda
Thanks ladie 🙂 I appreciate your support.
Cute as can be! My daughter loves birds. I love the numbers! You are very creative.
I wanted to thank you for stopping by and for following me. Are you aware you are a "no reply blogger"? No email available to respond ~
I look forward to getting to know you and thanks again!
xo
Pat
P.S. Donna, I forgot! My maiden name was Swain. Amazing to see your name…rarely see it in my neck of the woods. 🙂
Pat
Great ideas and tutorial, Diana.
Absolutely Adorable! hugs…
Thanks Andrea!
Very clever idea for making stamps. Love how you used them too!