
Making Altered Art Bookmarks with Vintage Paper
Today I have a vintage craft project to share: altered art bookmarks made with various vintage papers. One of these would make a lovely gift tucked inside an antique book or inside a card, perhaps with a bit of cash. Whether to gift, keep, or sell, they are very attractive little keepsakes.

I’m preparing merchandise for the annual Shaker Heritage Society Christmas Craft Fair coming up at the end of October. These bookmarks will be among some of the lower-priced items that I’ll have to offer.
Materials for Making Altered Art Bookmarks
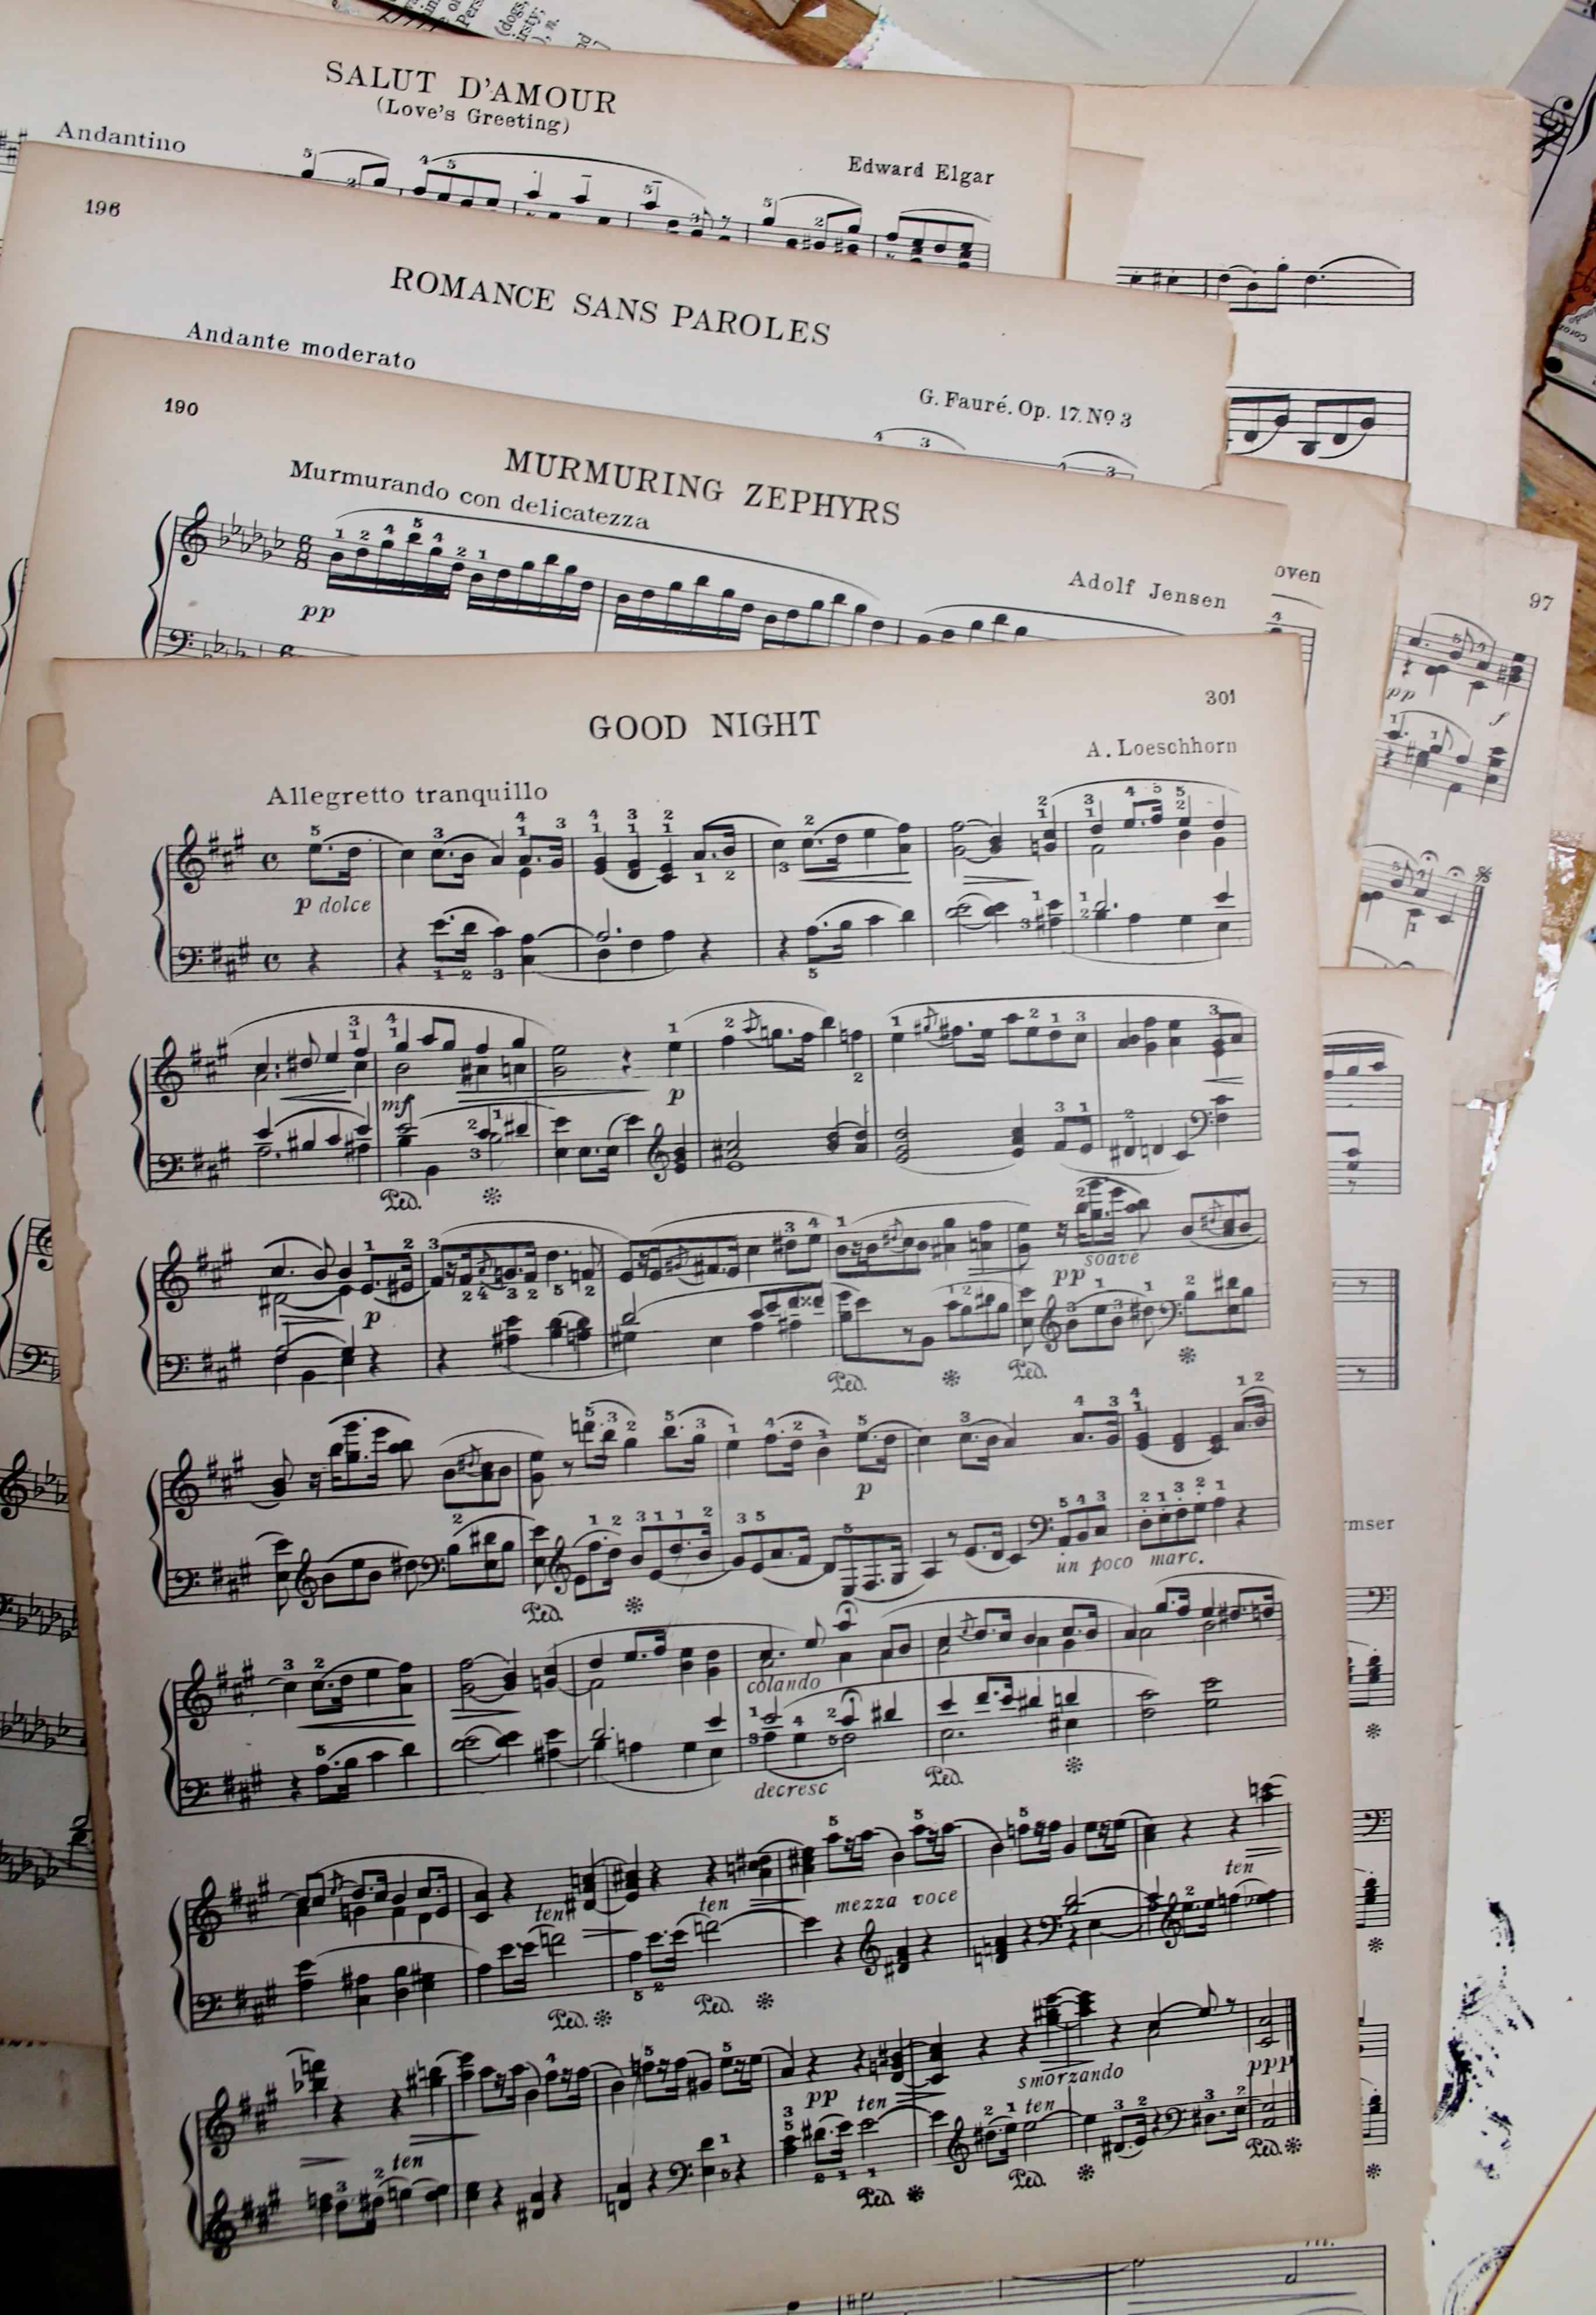
First, I gathered together a few different types of vintage paper that I thought would look nice together on a bookmark, like this nicely browning music paper…
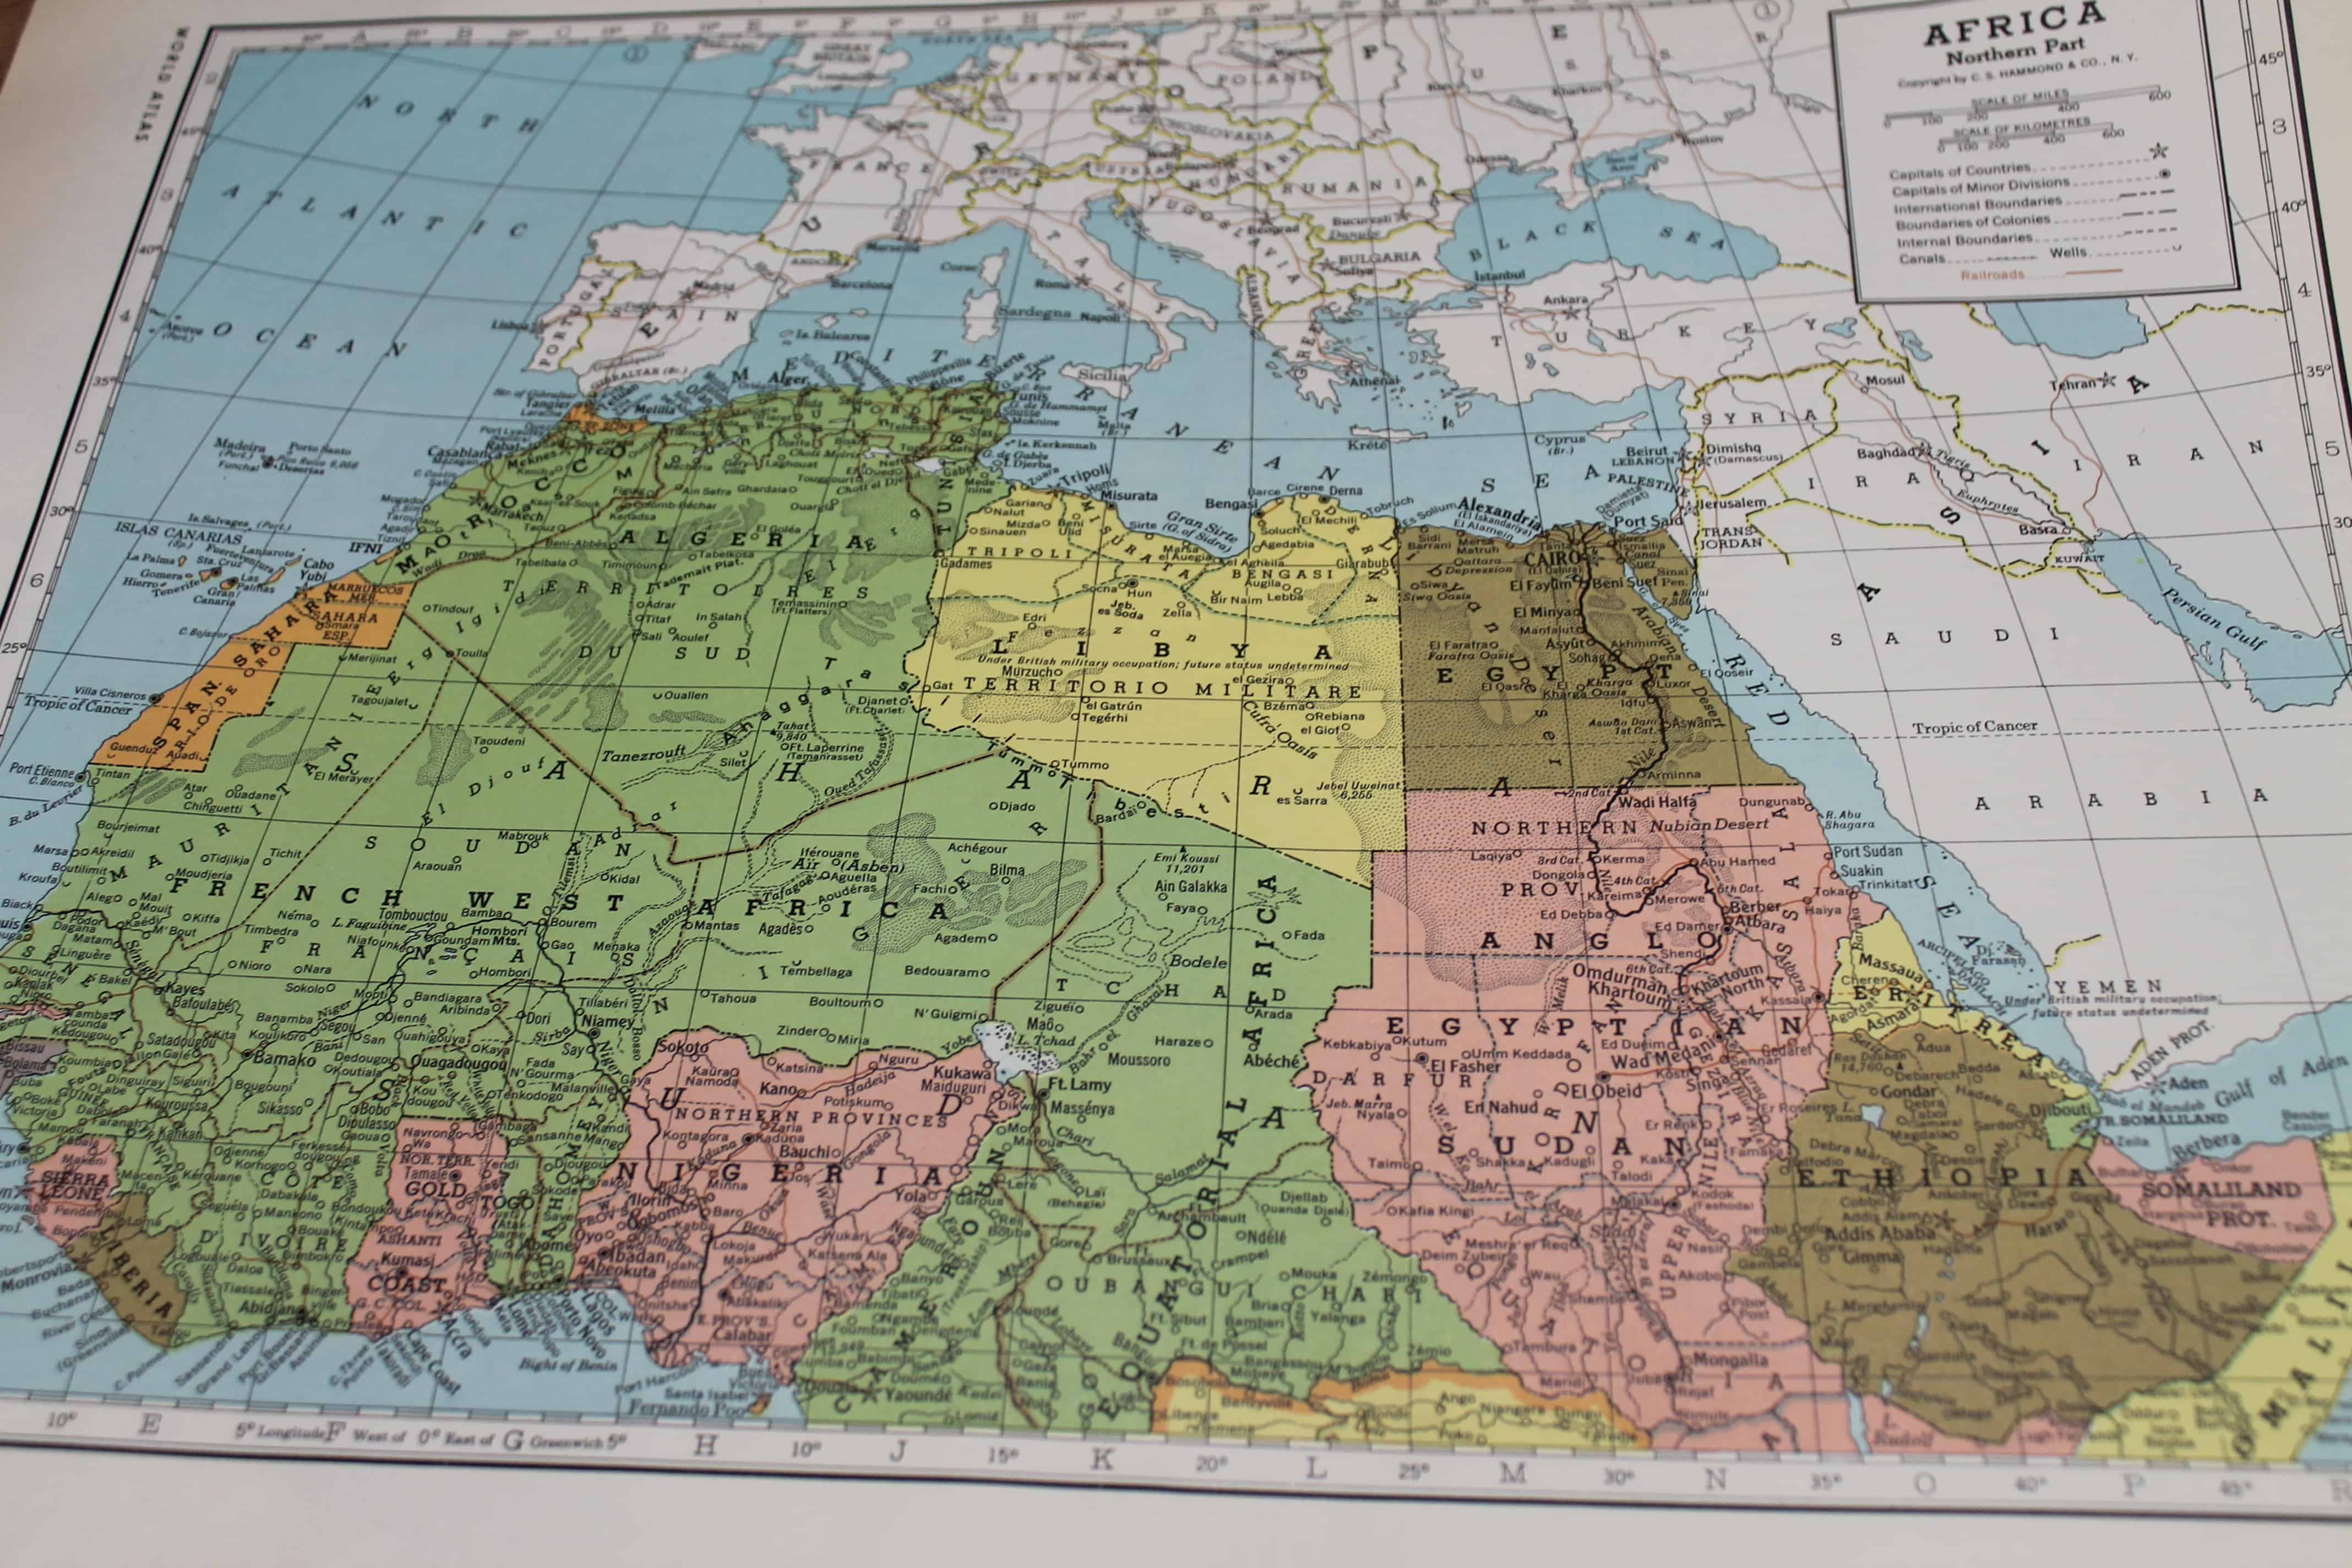
…and some maps from a vintage atlas. I use ones that are ripped or not conducive to framing.
Materials
- Illustrated vintage or antique books (optional)
- Vintage music pages (or music scrapbook paper)
- Vintage atlas pages (or map scrapbook paper)
- Vintage dictionary pages (or dictionary scrapbook paper)
- Manila cardstock (I use manila folders)
- Mod Podge
- Paint brush (small, flat)
- Foam brush
- Tim Holtz distress ink pad
- Aging spray (recipe in this post)
- Postage cancellation stamp
- Small 1/8″ hole punch
- Ribbon (1/8″)
- Tacky glue
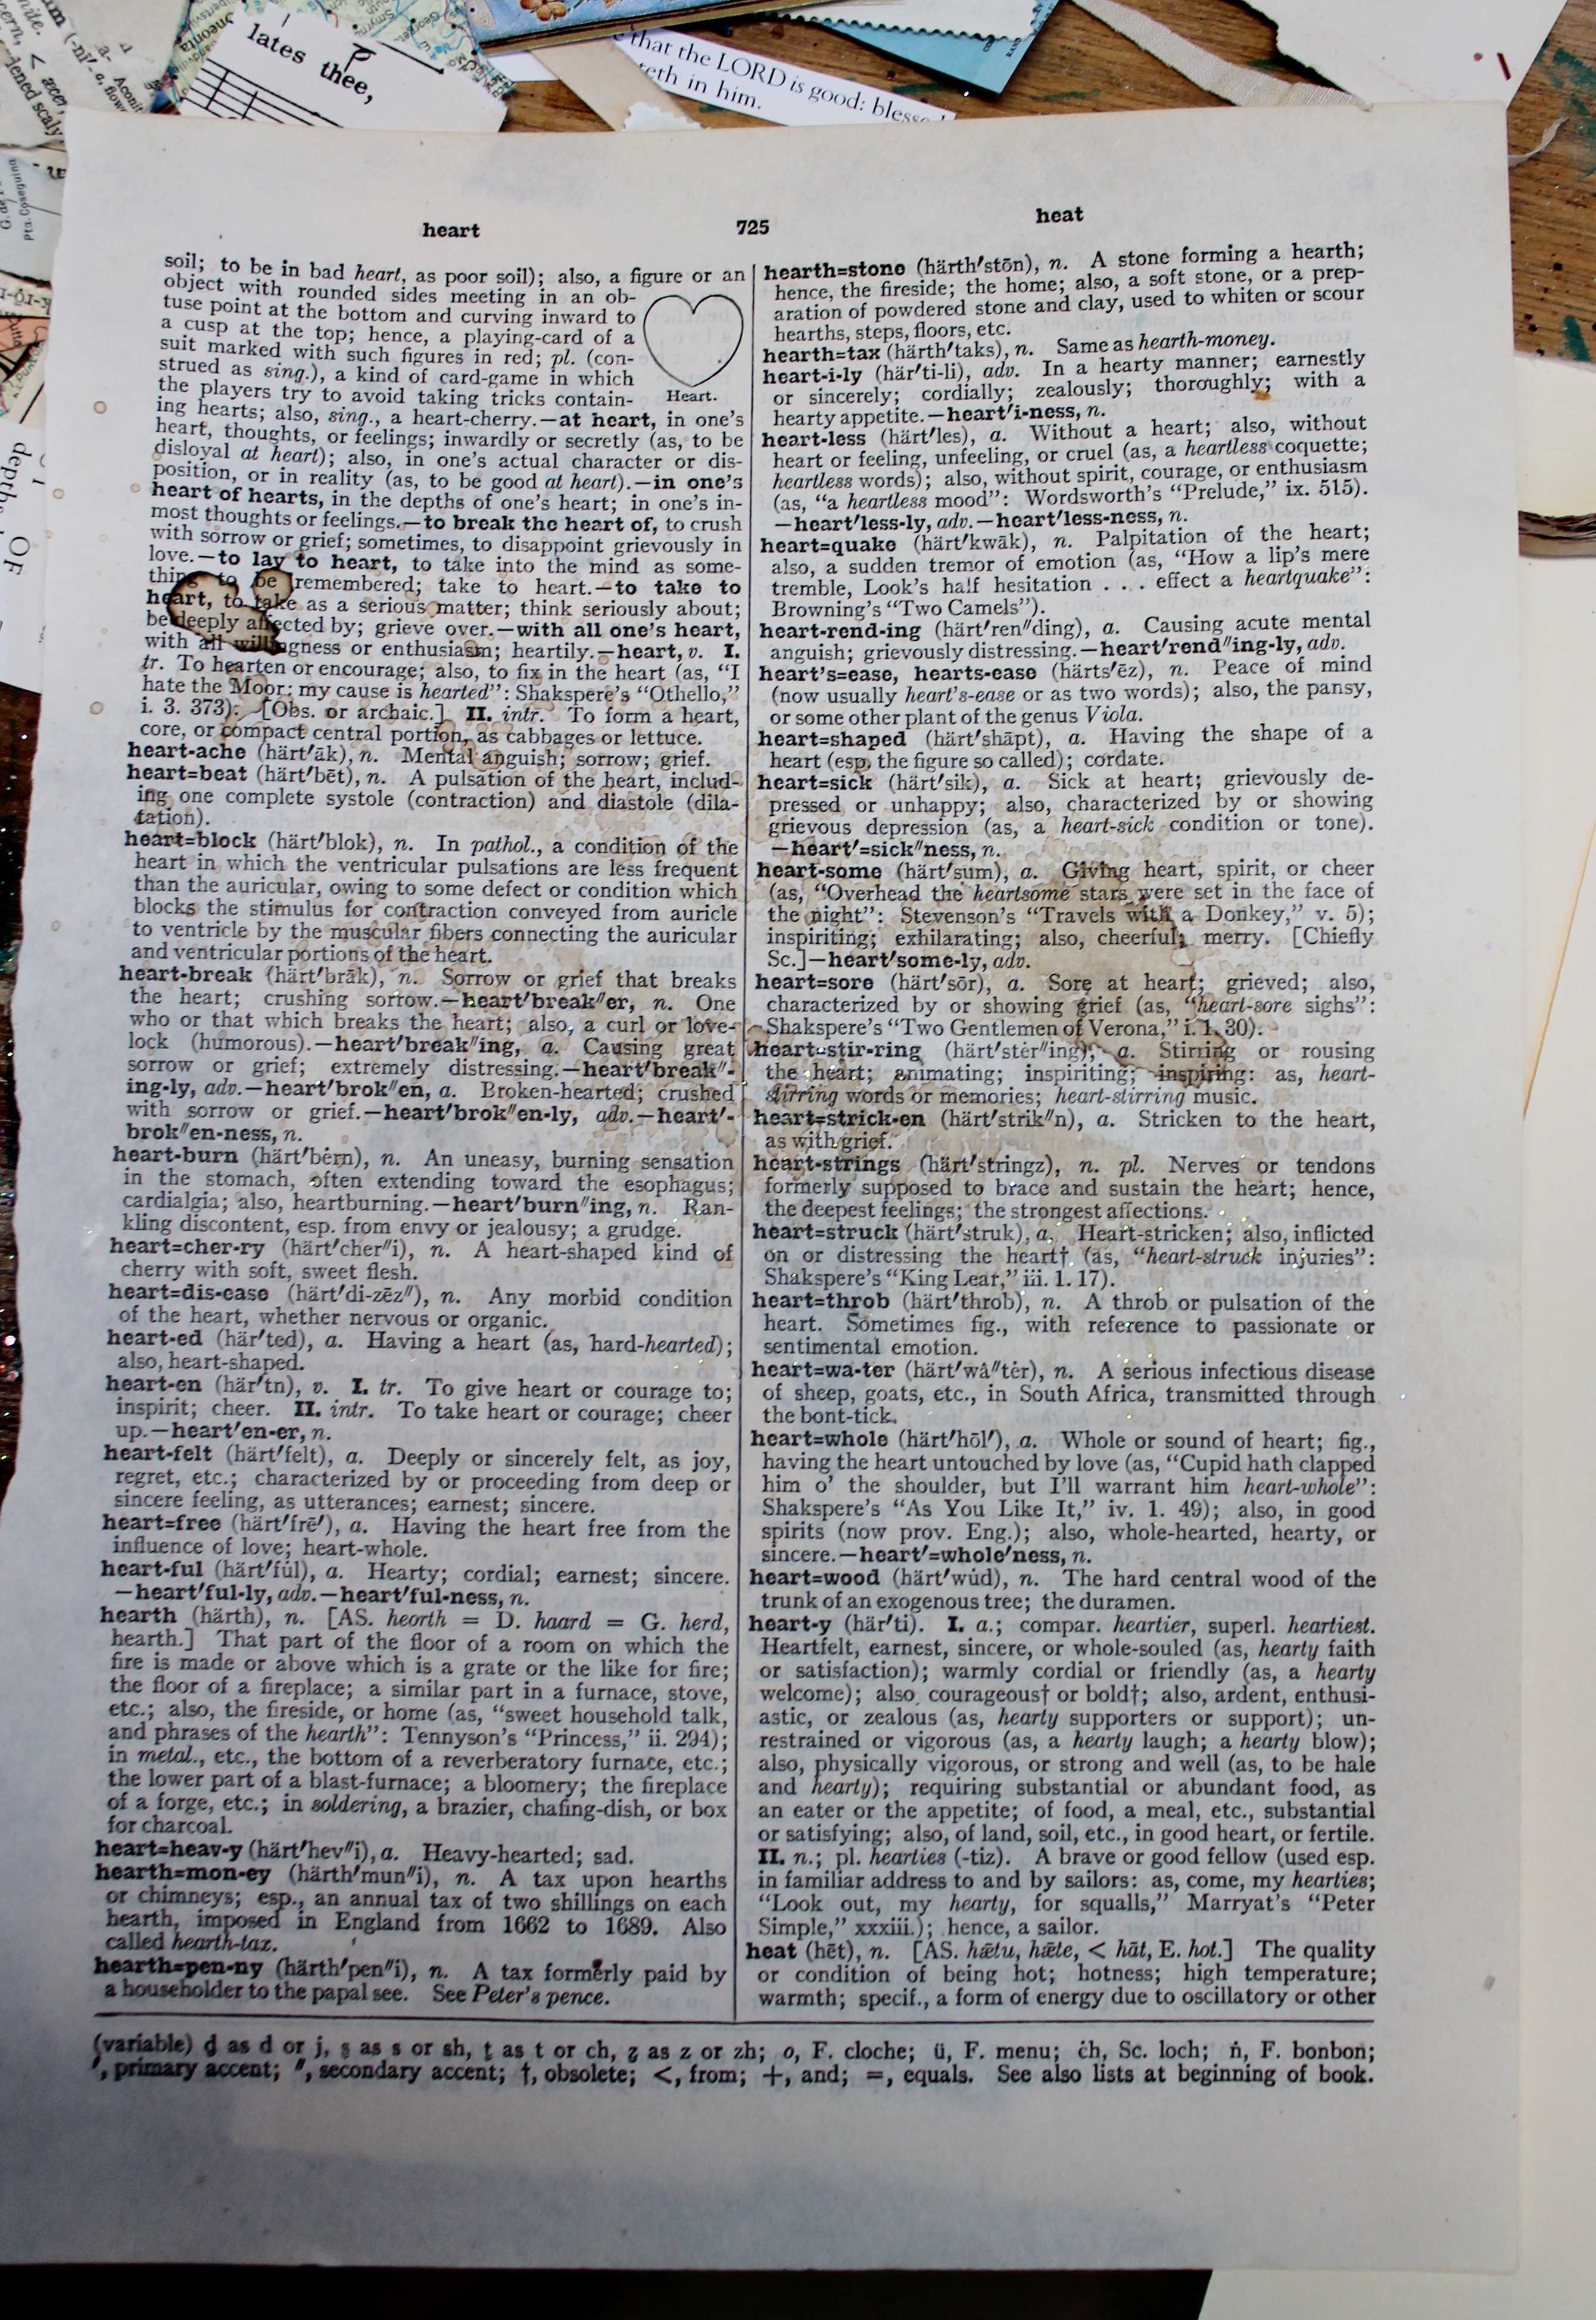
And lastly, some old dictionary paper that I aged a bit with some coffee spray
Cut Cardstock & Pages

Once you determined the basic size of your bookmarks–I made mine 2 1/4″ x 8″ then you can cut the cardstock to size. Next tear the atlas, music, and dictionary pages into strips.
Glue Center Strip
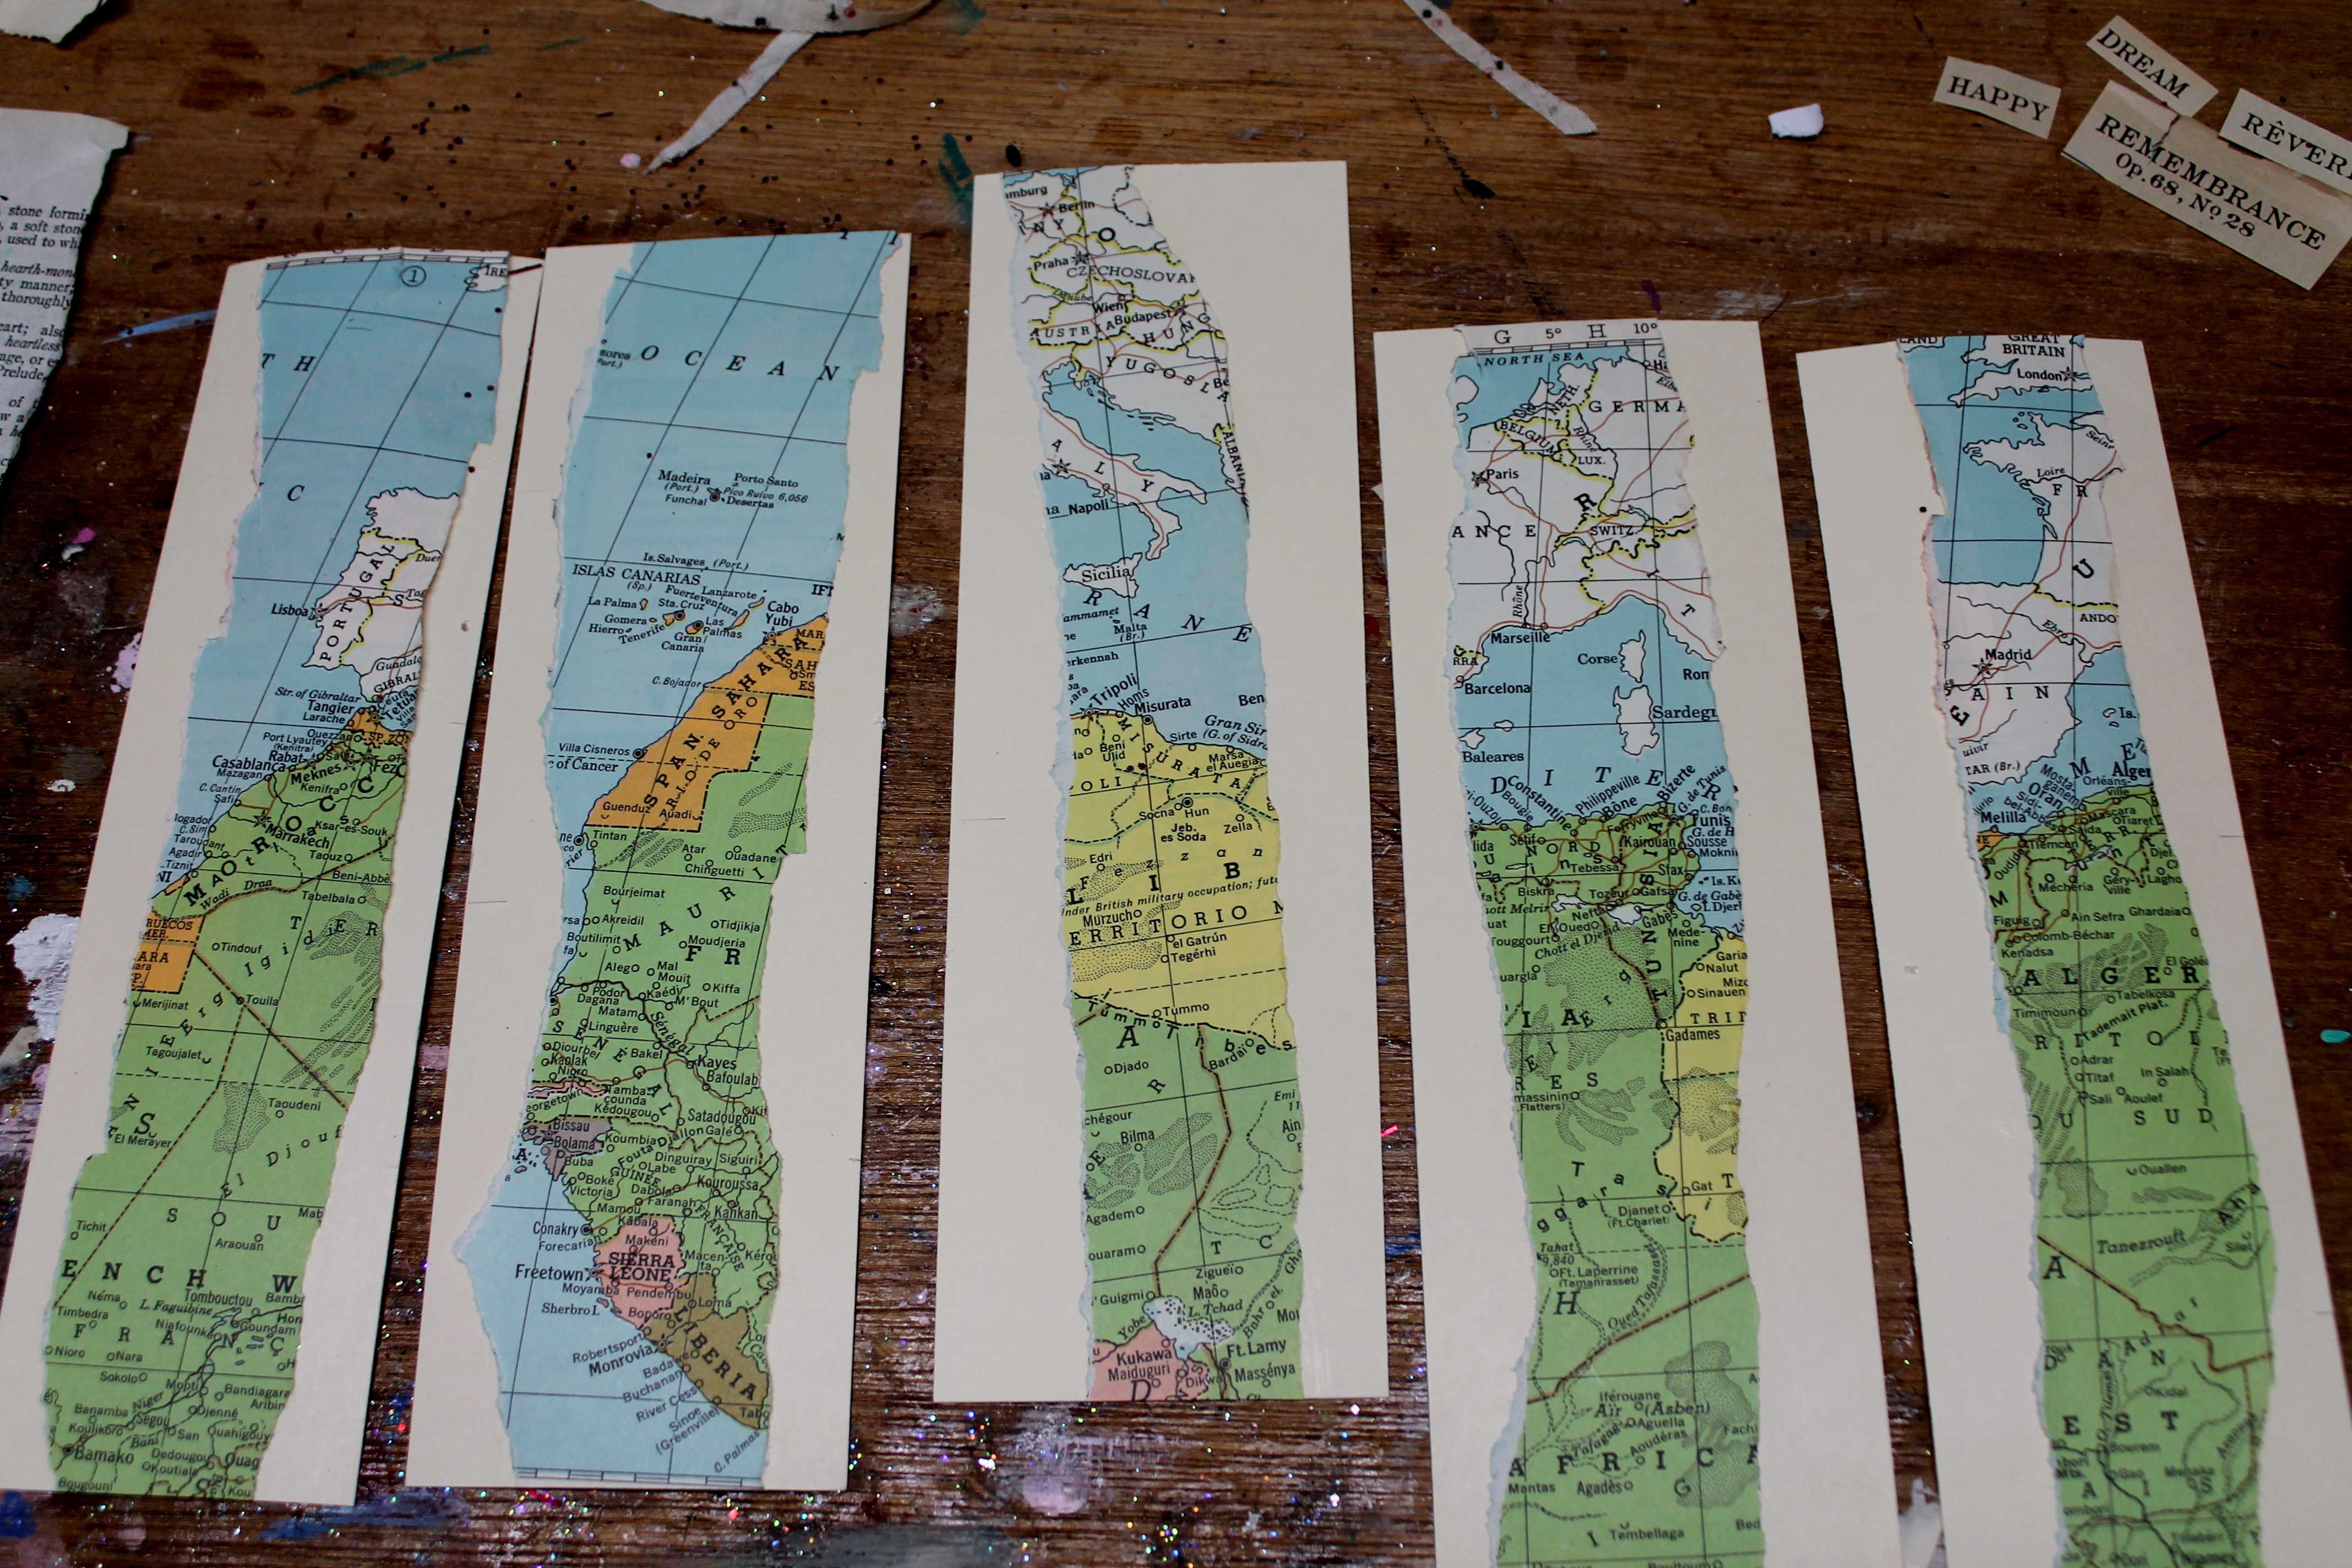
I chose to place the colorful atlas paper in the middle and so glued a strip down the center pf each bookmark using Mod Podge.
Distress Some Strips

To give the whole project an aged look, run the edges of the other two strips down a Tim Holtz Distress Ink pad.

I hold the paper at about a 45° angle and apply the ink to the outer edge. Sometimes I lick my fingers and run it down over the ink on the paper to spread it a little 🙂
Glue the Distressed Strips

Here you get an idea of what I’m talking about. On the right, I just ran the edge along the ink pad. On the left, I ran my wet fingers over the ink after I had applied it to the paper and made it “run” a little.
After inking, I glued the other two pieces of vintage strips over the top of the atlas strip while allowing as much as possible of it to show.
Add Embellishments
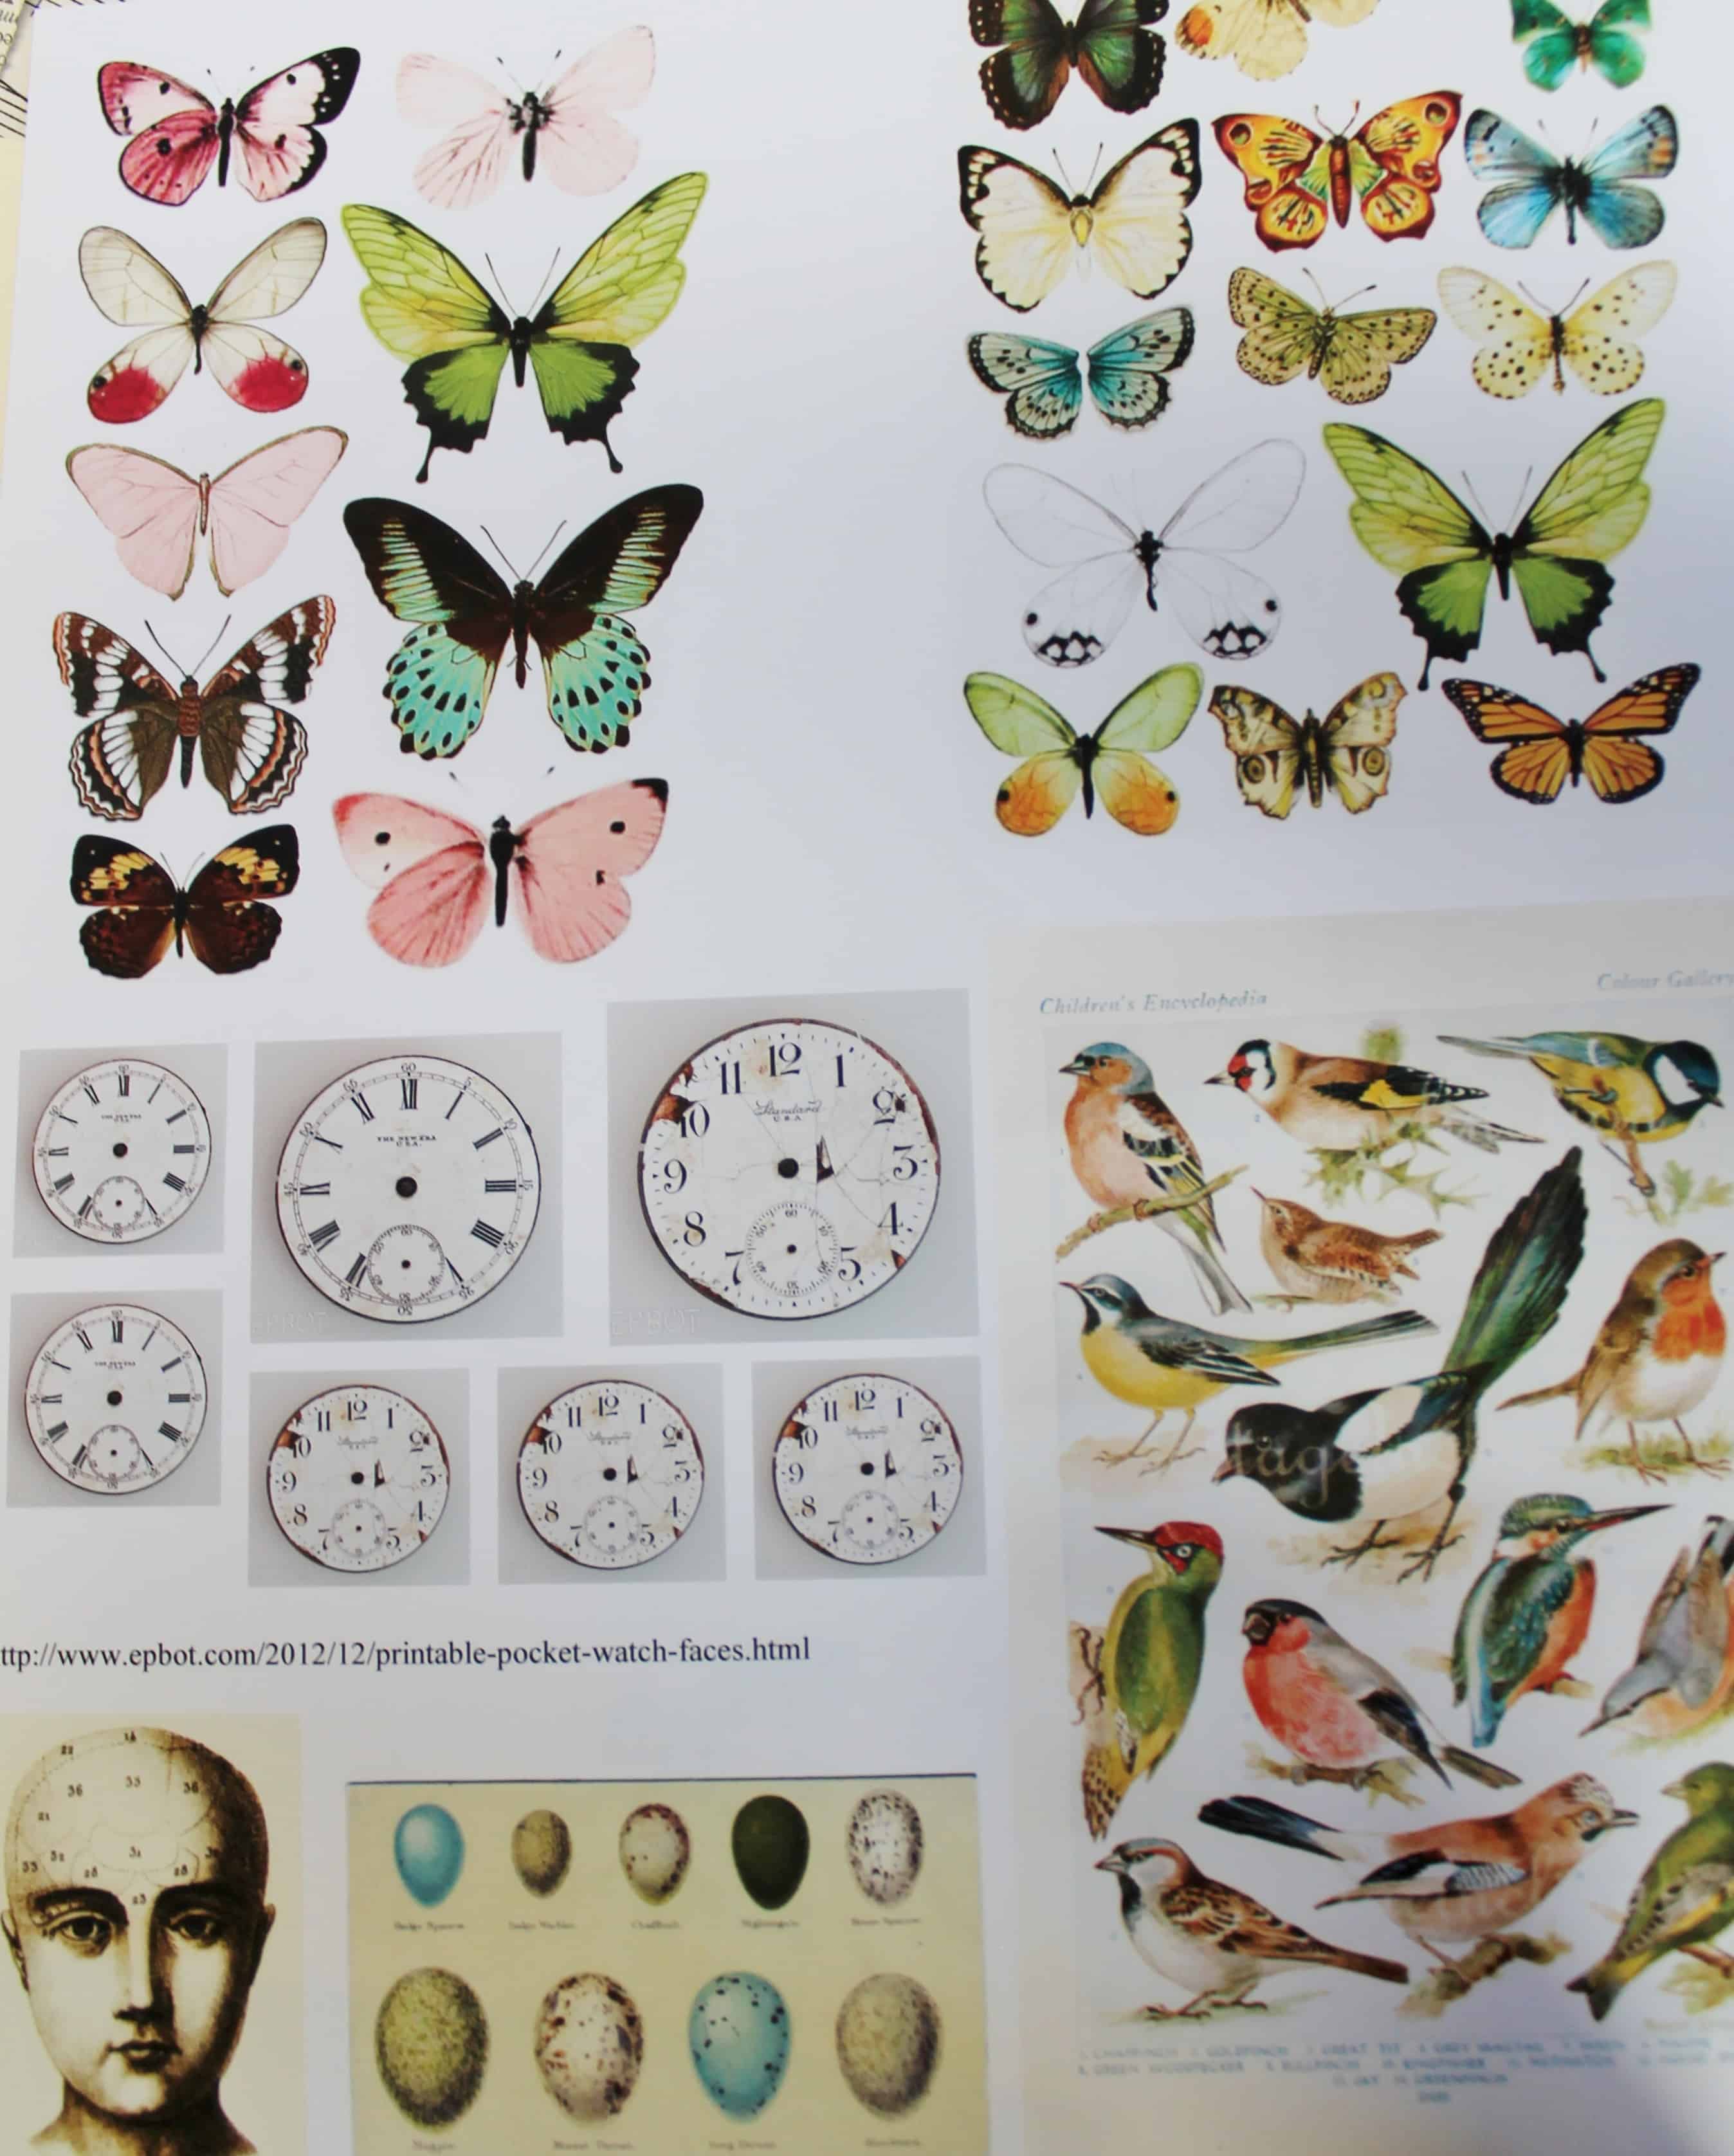
Next I printed off some graphics from The Graphics Fairy and Stampomania, selected a few, and cut them out.
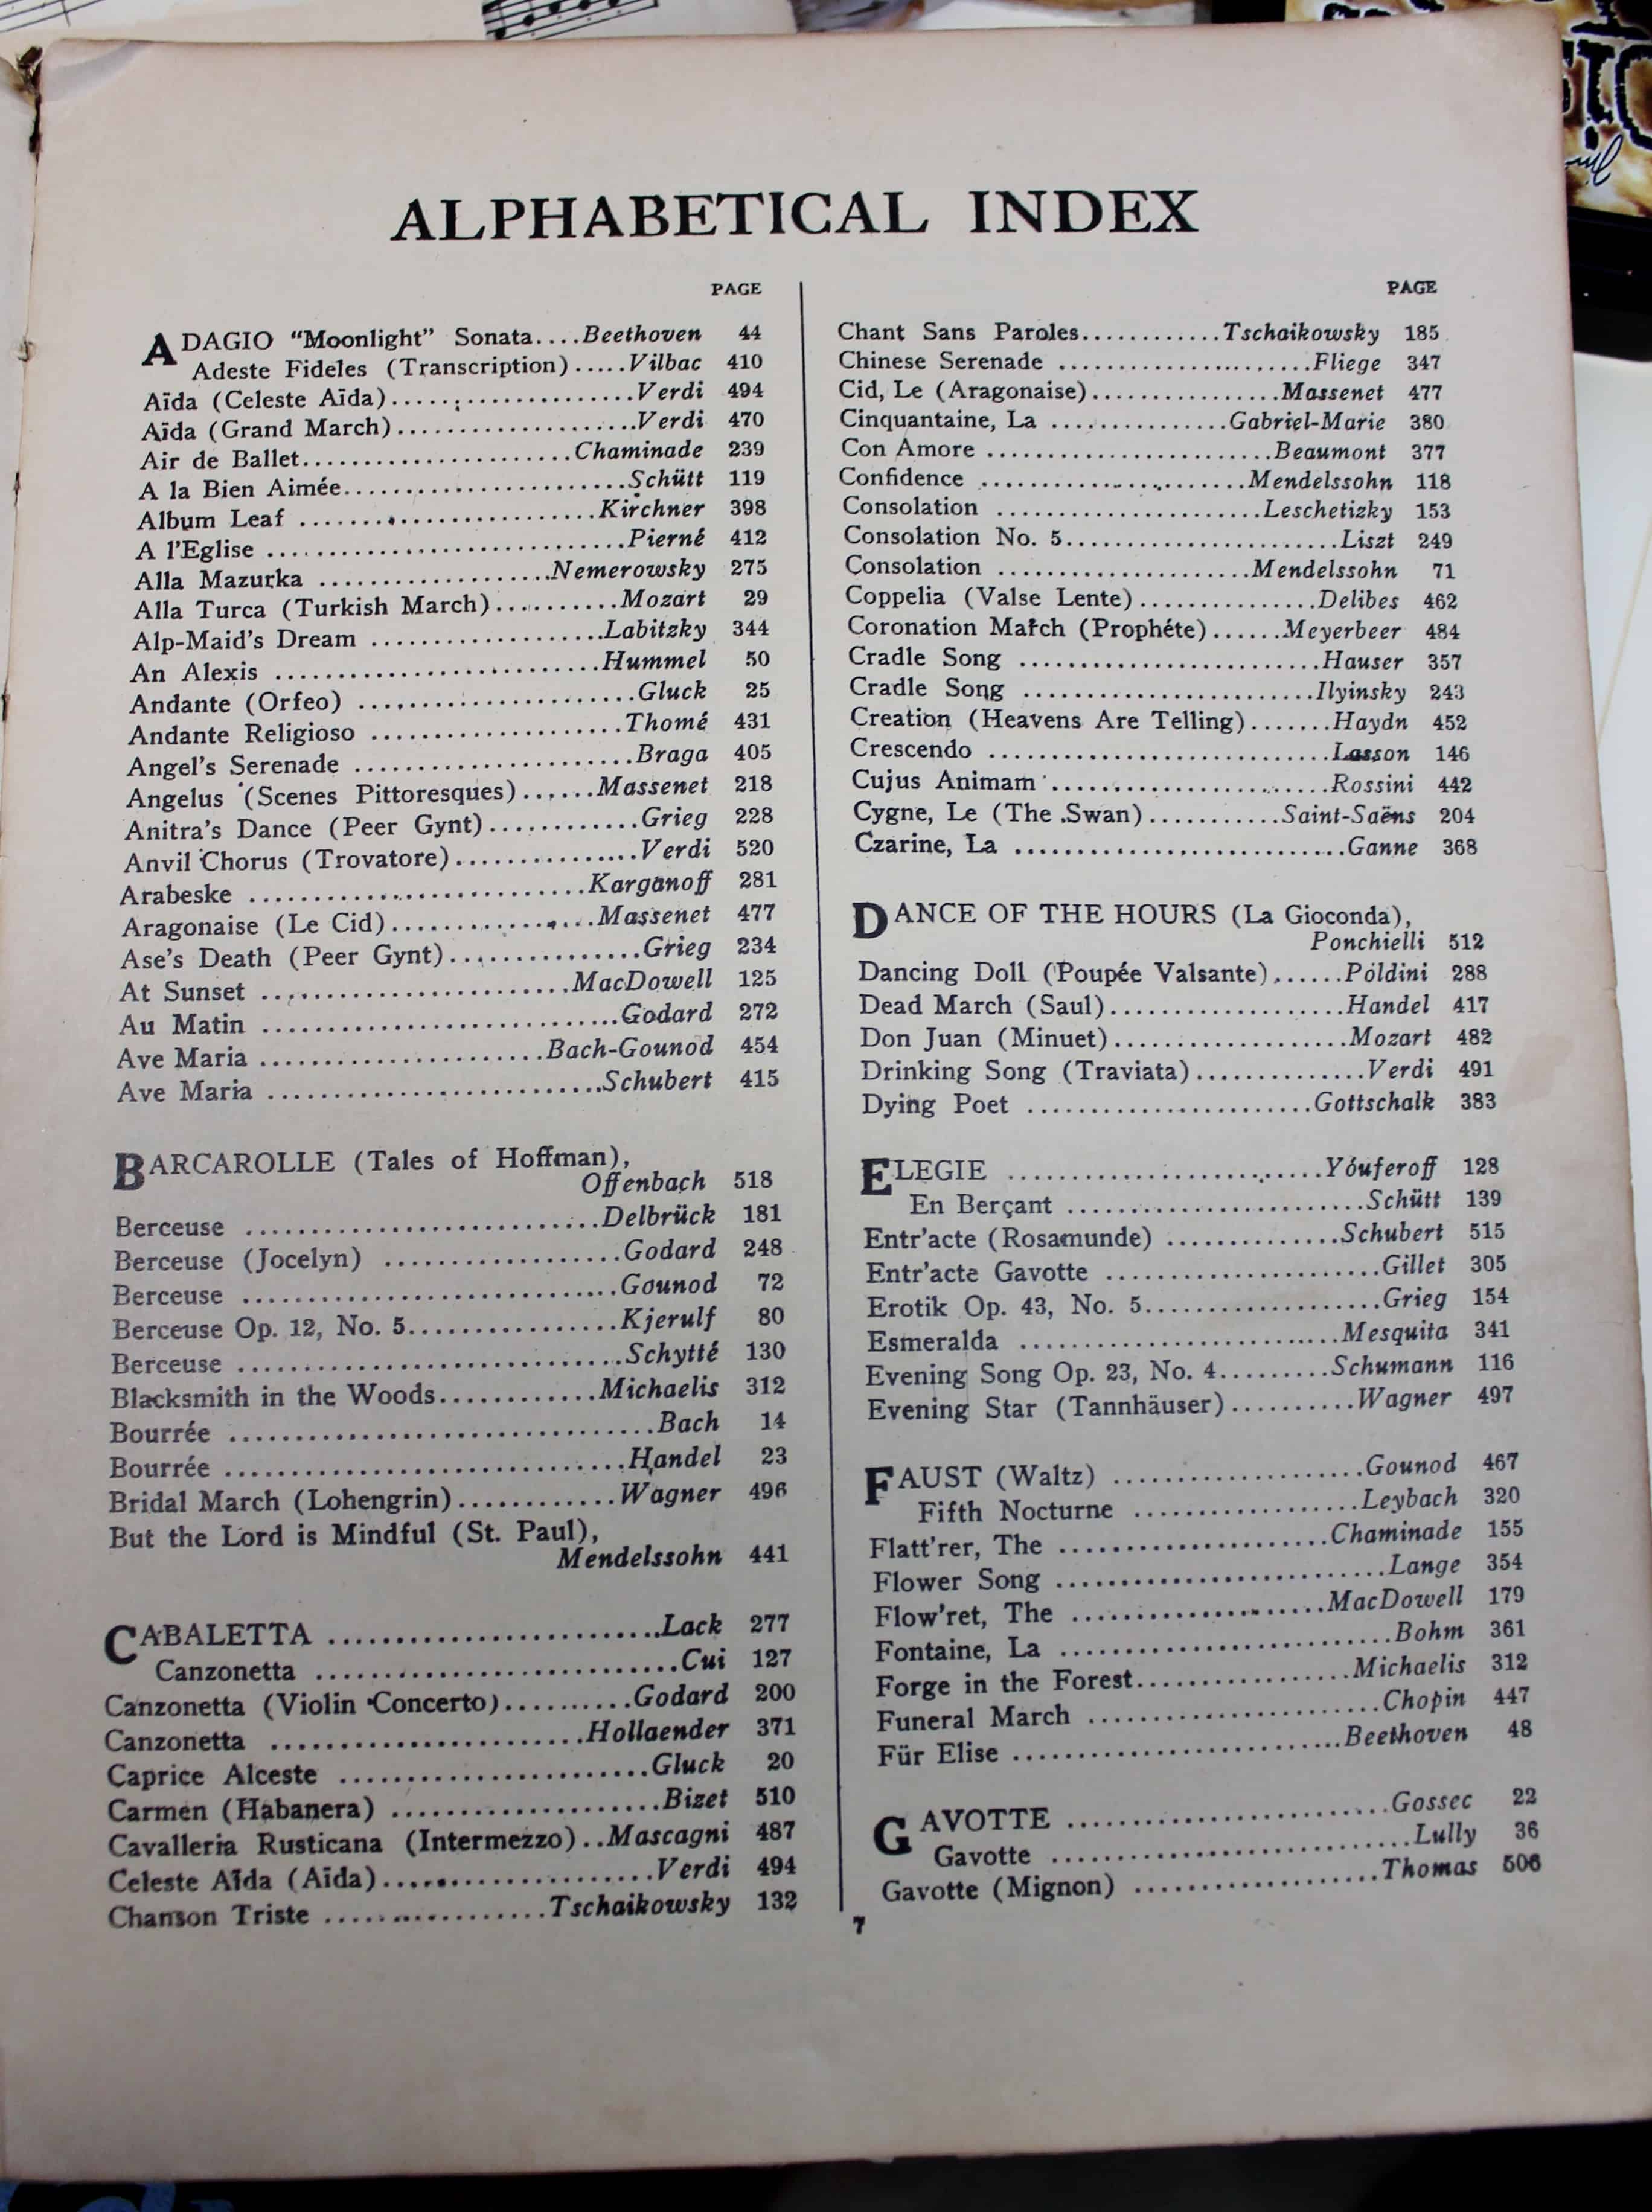
I also like to add words or phrases to my mixed media projects. Old music books are a good place to find words like “dream,” “song,” and “love,” in the Table of Content or Index pages.
Cut out a selection of words and you’re ready to start adding some embellishments to your bookmarks that will really make them stand out.

Here you can see where I added some butterflies and a bee, along with some cut-out words, like “reverie” and “remembrance.” I also stamped-on several postage cancellations and a pocket watch.
Coat With Mod Podge

I like to coat the front of my bookmarks with a layer of glossy Mod Podge to finish them off, and because I can’t seem to keep the backs perfectly clean, I backed each with coordinating scrapbook paper.
Punch Hole & Add Ribbon

You can see that while they all have a similar look, each is its own separate little piece of artwork.

Punch a hole at the top, of course, to string some ribbon through.

And they’re ready for sale.
Altered Art Bookmarks Using an Illustrated Antique Book
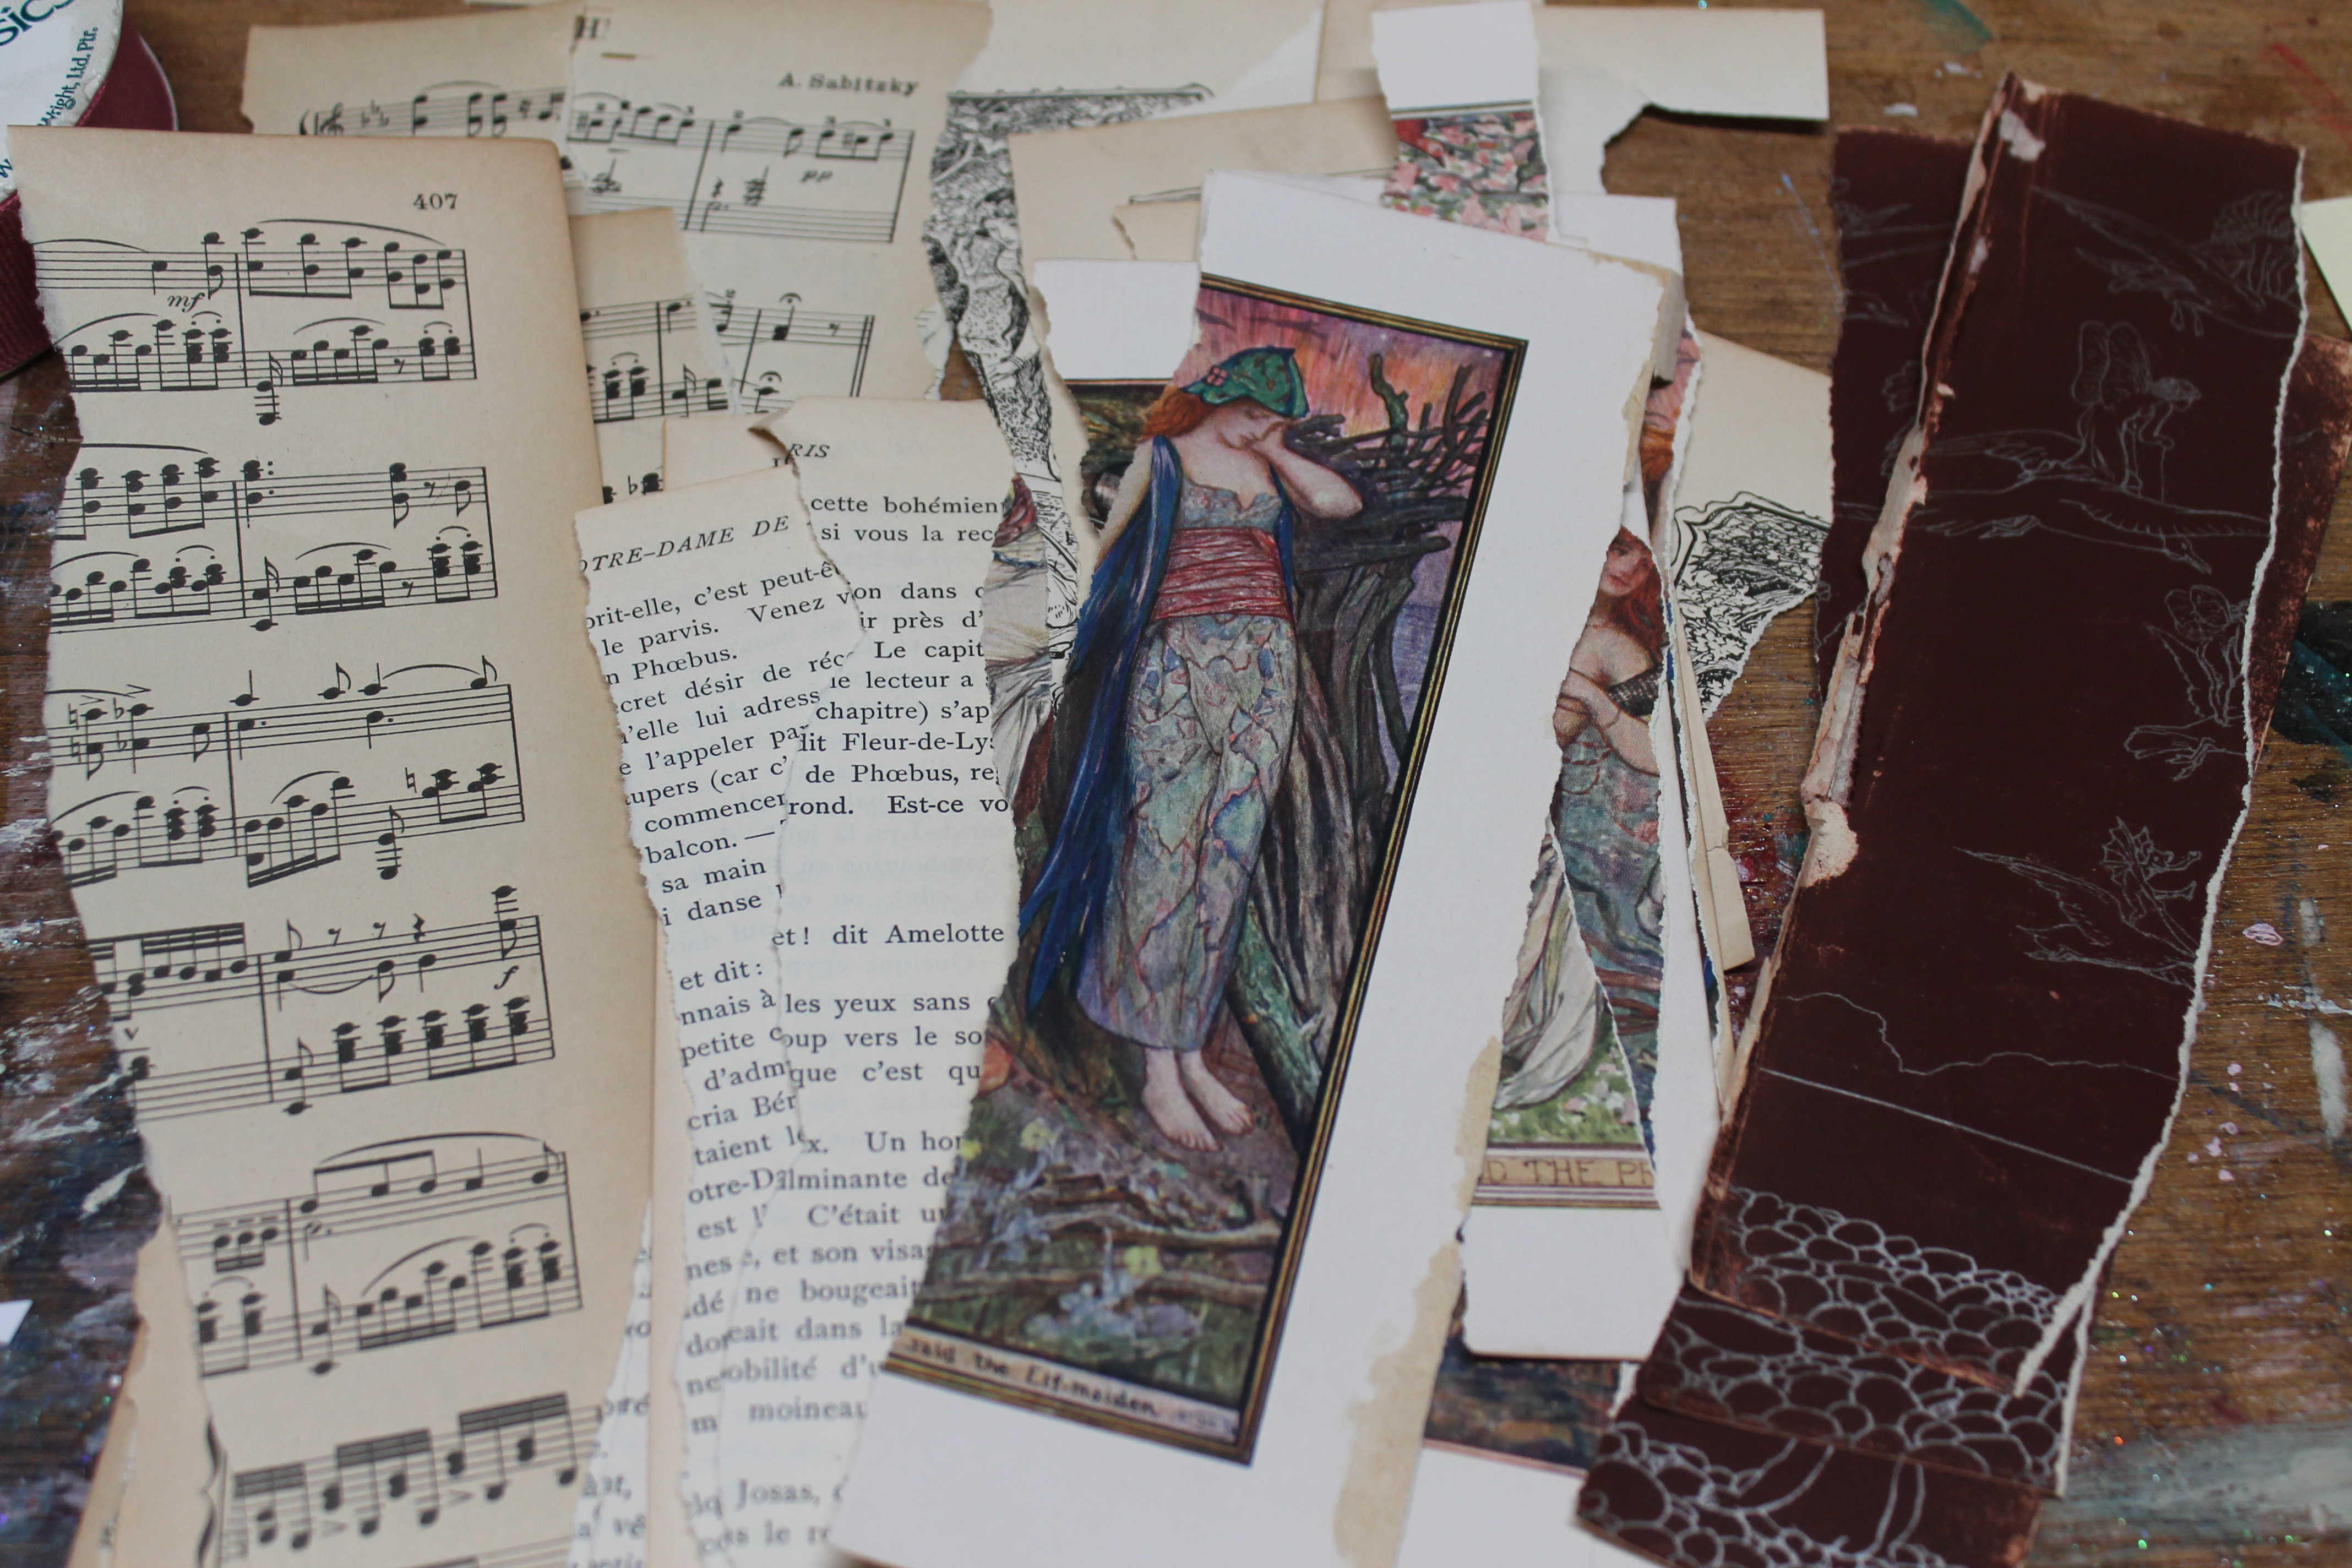
I made another batch using illustrations from a collection of old fairy tales, the end papers from the same book, pages from a French text, and more music paper.

Before applying Mod Podge over the surface to finish the off, I spritzed them with my coffee [aging] spray.

I also spritzed the back to cover any “oopsies,” so I didn’t need to cover the back with scrapbook paper, saving myself a step!

Now I just have to price them for the sale and they’re set to go. UPDATE: They sold out at $4 each!
Other posts you might enjoy:


Thanks for stopping by–
If you enjoyed this post, subscribe today
and get a FREE copy of my eBook:

Bye for now,


I’d love it if you’d pin me for later!

Very cute, I love them!
Thanks Sian!
I’m curious what you sell them for if you don’t mind sharing that. They are a great idea. And funny because just yesterday I grabbed a piece of paper to use as a bookmark and these would be so cute. I may have to make one.
This will be my first time trying to sell them, Kim. I’ve sold small canvases (3″ x 3″) for $4-5.00, but I think they seem more like “real” art. I’m planning to try these out at $3.50. I came up with this sort of “assembly-line” process to speed the making process up to make it more worth the time and effort. We’ll see how it goes. If you make some, I’d LOVE to see them and include them in a “What my readers are saying” post. Thanks for the chat!
This is a great idea! I have been collecting old books and music for a while, along with maps and other vintagey type of paper goods and I totally want to use your idea as a starting point. I promise not to copy, just using your idea for inspiration! I have purchased similar items printed with vintage photos and ‘sayings’ on hem and now I think I can make my own. Thanks so much for sharing.
Please feel free to use my idea however you like, Laura. It won’t bother me a bit if they look like mine–imitation is the highest form of flattery 🙂 Like I told Kim (above), if you end up making some, I’d love to see your bookmarks!
Oh, Diana!! What a lovely project! I have so many vintage items at my disposal. I will definitely be making some of these. Thanks for being so generous and sharing the how-to’s.
Glad you like them and would love to see them if you make some 🙂
Really nice project! I have lots of maps and dictionary pages. Guess I’ll have to get to work. Would make a nice little extra to go along with a book gift.
Yes, Jane, get to work! You’ll have fun and you’ll love these nifty bookmarks to death. They’d absolutely be just the right addition to a book gift. Thanks for dropping by 🙂
great bookmarks. they could be laminated as well.
Good idea Rose 🙂
This is a great tutorial. There are so many wonderful mediums/inks/stuff on the market, that you just aren’t sure how to use. Asking a clerk in a craft store how to use something is like talking to a dog. They cock their heads and look at you like you are insane or stupid for even wanting to purchase said product. Twenty-years back when I ran the art department of a Michaels’ the salesmen and companies were more than eager to give you information and samples to use a product so you could sell it properly. How things have changed, of course the internet you can find a tutorial now on just about anything, which doesn’t do you much good if you don’t have a huge screen to peruse while you are standing in the aisles of said craftstore.
Thanks and I will have to try some of your great ideas. Sandi
LOL. Hope you get the chance to try them out, Sandi. Glad I could give you some “inside info” on a new-to-you product. It’s one of my favorites.
Very nice Diana … Love the use of distressing ink. Great tutorial.
So sweet of you to say, Audrey 🙂 Thanks!
Nice papers! The butterflies and birds are so cute ♥
Thanks so much!
These are darling and something I’d love to try. You are so up on products that I’ve never heard of (Distress Ink). What ballpark are you pricing them in? Always curious.
Hi Susan! I’m not nearly as up on things as I appear. Most of my supplies I buy at garage sales and thrift stores. I’ve been blessed over the past several years to hit some amazing garage sales put on by scrapbookers. I just pick up things from them that look interesting. Some I end up loving, others get sent of to the thrift store (to keep the cycle going…). I’m going to try them out at $3.50 each and see how it goes.
These are so pretty, Diana. I haven’t seen the ink distressing pads but I love the look!
Thanks Cecilia! He makes distressing sprays, too, but I’m happy spraying coffee to age my projects.
Visiting from the Talk of the Town party – I love this project!! I had to pin it!! Would love to have you join the Pleasures of the NW’s DIY party!
http://www.pleasuresofthenw.com/diy-party-23/
So glad you stopped by, Helen, and thanks for your kind words 🙂 Yes, I’ll pop over and link up for sure.
Thanks for joining us – I just love these!
What a great idea! Thank you for sharing at this weeks To Grandma’s House we go link party! Pinned!
You’re welcome Tarah–thanks for the party 🙂
I love these, Diane. I’ve got tons of mixed media crafting items that I love to create with and I just love your book markers.
Oh, I LOVE your idea Diana! I might have to borrow that idea. I was wondering what “coffee spray” is? Do you just make up that yourself? That’s a great idea too for adding age. The bookmarks look great. I bet they will easily sell. Let us know how they do.
Very pretty bookmarks, perfect for an easy sell.
What a great idea! Just love the Vintage Bookmarks. So many possibilities.
Ooooh Diana, these are so pretty. They incorporate things that I love, maps and old book pages. Your tutorial is fantastic. Thank you for sharing at Snickerdoodle Create~Bake~Make Link Party.
How do you make the coffee aging spray?
I add a bit of water to strong coffee and put it in a spray bottle–it works great for me. You may need to fiddle around with the amount of water you add, depending on how dark/light you want your aging to be. You can add a pinch of alum to the bottle too, it will help preserve the mix and keep it from going off. My house never gets too warm, so I don’t have a problem with that–lol. Thanks for stopping by Tracie! Hope to see you again 🙂
These are truly beautiful. I am going to make some with my friends in my craft group. We will definitely try the coffee spray. Thank you. 🙂
I’m SO glad you enjoyed the post, Joy!!! Please show me any projects that you and your craft group come up with!! Post them in my Facebook group or drop me an email, please 🙂