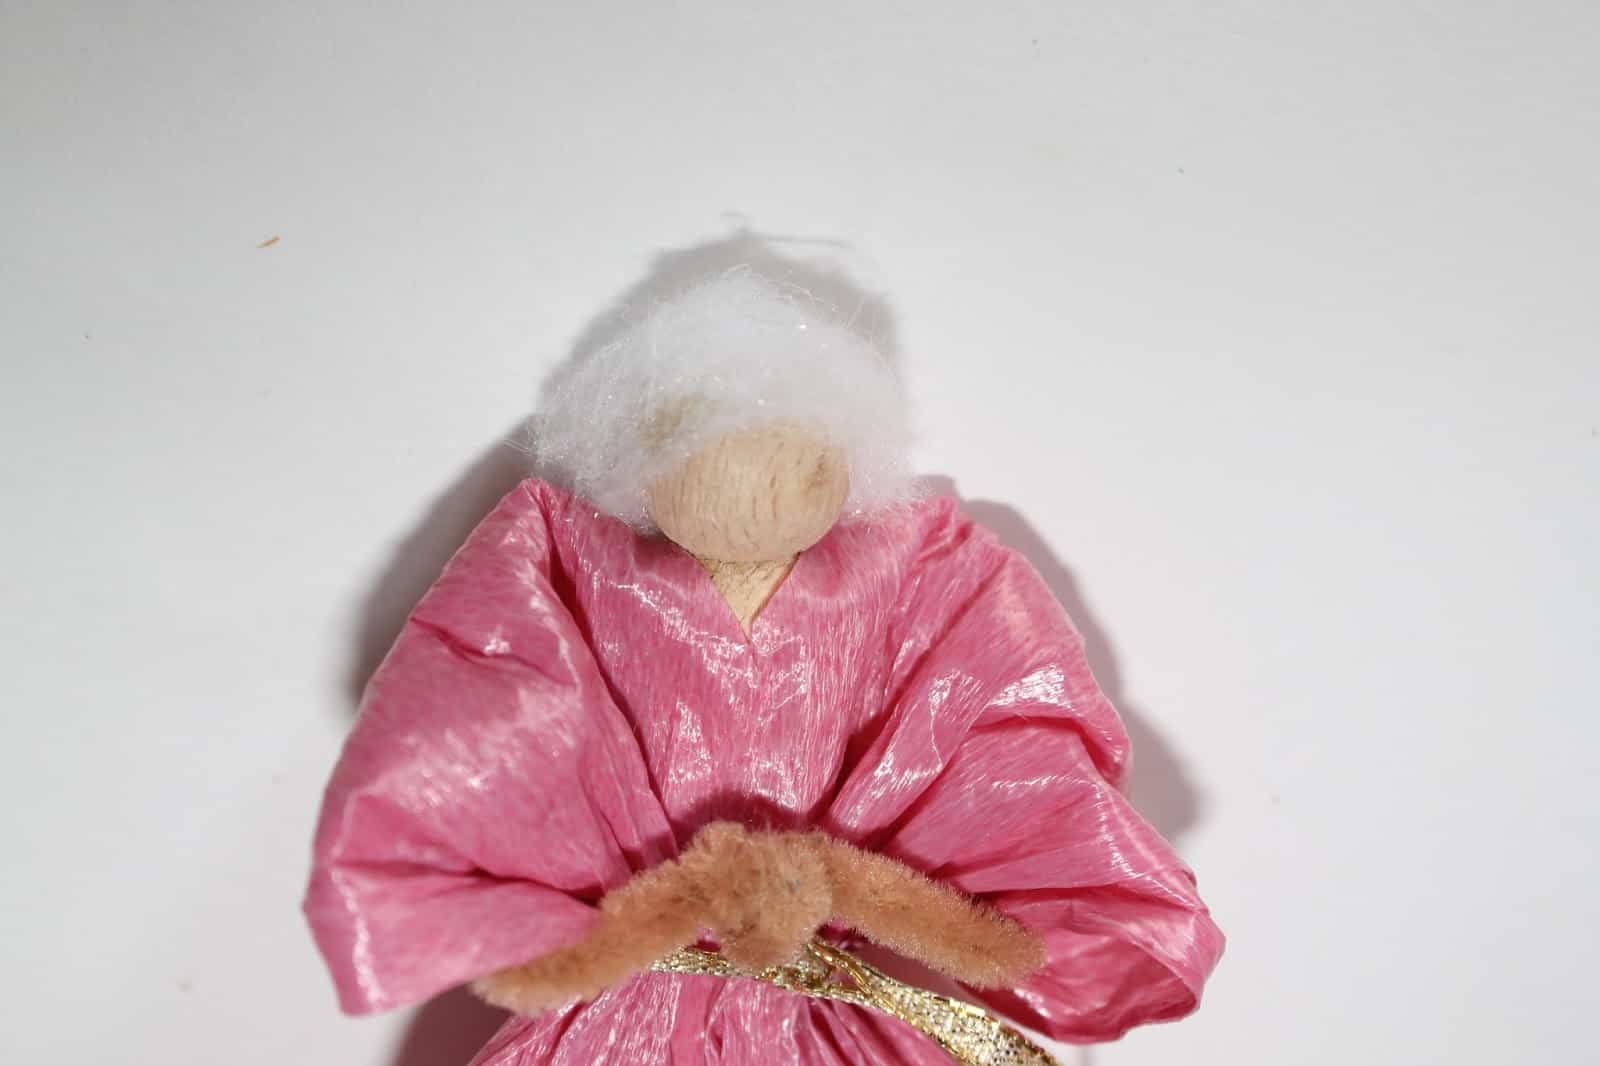
Clothespin Angel Christmas Ornaments
I recently turned humble clothespins into some sweet angel ornaments. I thought I’d provide step-by-step instructions for making them today.
They are easy enough to make with children and can be jazzed up with beads and different colored ribbon, making them fun for adults as well.
You can stand the angel up or attach some cord to the back of her neck and hang her from the tree.

Materials for Clothespin Angel Ornaments

Note: This post contains affiliate links for [the same or similar] products used to complete this project. This is both for your convenience as well as to support my website, since I receive a small compensation whenever you click on a link and make any sort of purchase, for which I thank you 🙂 See my full disclosure here.
Supplies:
- Old fashioned clothespins with a “head”
- Paper or plastic raffia (fabric would make a good alternative)
- Pipe cleaners
- Gold cord or ribbon
- Hot glue gun (not shown)
- Gold wrapping paper (or other gold paper)
- Polyester fiber fill
Step 1: Cut an 8″ piece of raffia and untwist it.
When you open up your raffia, this is what it looks like. You’re going to slip it over the “head” of your clothespin.
Step 7: To make her wings, cut a 3 1/2″ diameter circle out of gold wrapping paper. Then fold it in half. I crinkle them up a bit to give them some depth and texture.

Step 8: Apply a bead of glue down the center of the wings and adhere to the back of your angel.
Step 9: Use a small piece of ribbon or cord to make a halo and glue to her head (I used my glue gun).
Step 10: Tie a piece of fine gold cord around the angels neck (or glue a piece to the back of her neck) to create a loop for hanging.
Poof her dress out a little bit and trim it if necessary and you’re done! Some children may want to use a fine tip marker to add a face to their angel, others may want to glue some sequins or pompoms on for decorations.
Whatever you do, make sure you have fun creating!
host praising God and saying, “Glory to God in the highest, and on earth peace…”
-Luke 2:13-14.

I’d love it if you’d pin for later 🙂


Oh, how sweet! She's a lot more fancy-schmancy than the clothespin dolls I made as a little girl. Cute as can be, Diana. Have a blessed day!
She's very glamorous–love it! Such a cute idea! Blessings, Cecilia
I love your angel! Especially the pink one. She's so sweet.
Really cute Diana … never can have too many Angels.
Blessings,
Audrey Z. @ Timeless Treasures
so sweet! Thank you for sharing at the Thursday Favorite Things blog hop. xo
Really cute! These would be adorable strung up together as a Christmas banner. Thanks so much for sharing at the Make it Monday Party! Hope to see you again next week.
Adorable angels and so sweet and charming. Thank you for sharing at The Southern Special.