
How to Clean & Care for Cutting Boards
If you’ve been wondering how to care for your cutting boards, particularly vintage and antique ones, then today’s article is for you: How to clean & care for cutting boards.
In this sixth installment in this series of articles focusing on how to take care of your vintage and antiques we’ll focus cleaning, sanding, and seasoning wooden cutting boards.
The first five in the series covered: Old Bottles, Dirty Novelty Candles, Rusty Metal, Scorched Linens, and Dry Wood.

Cleaning Your Vintage or Antique Cutting Board

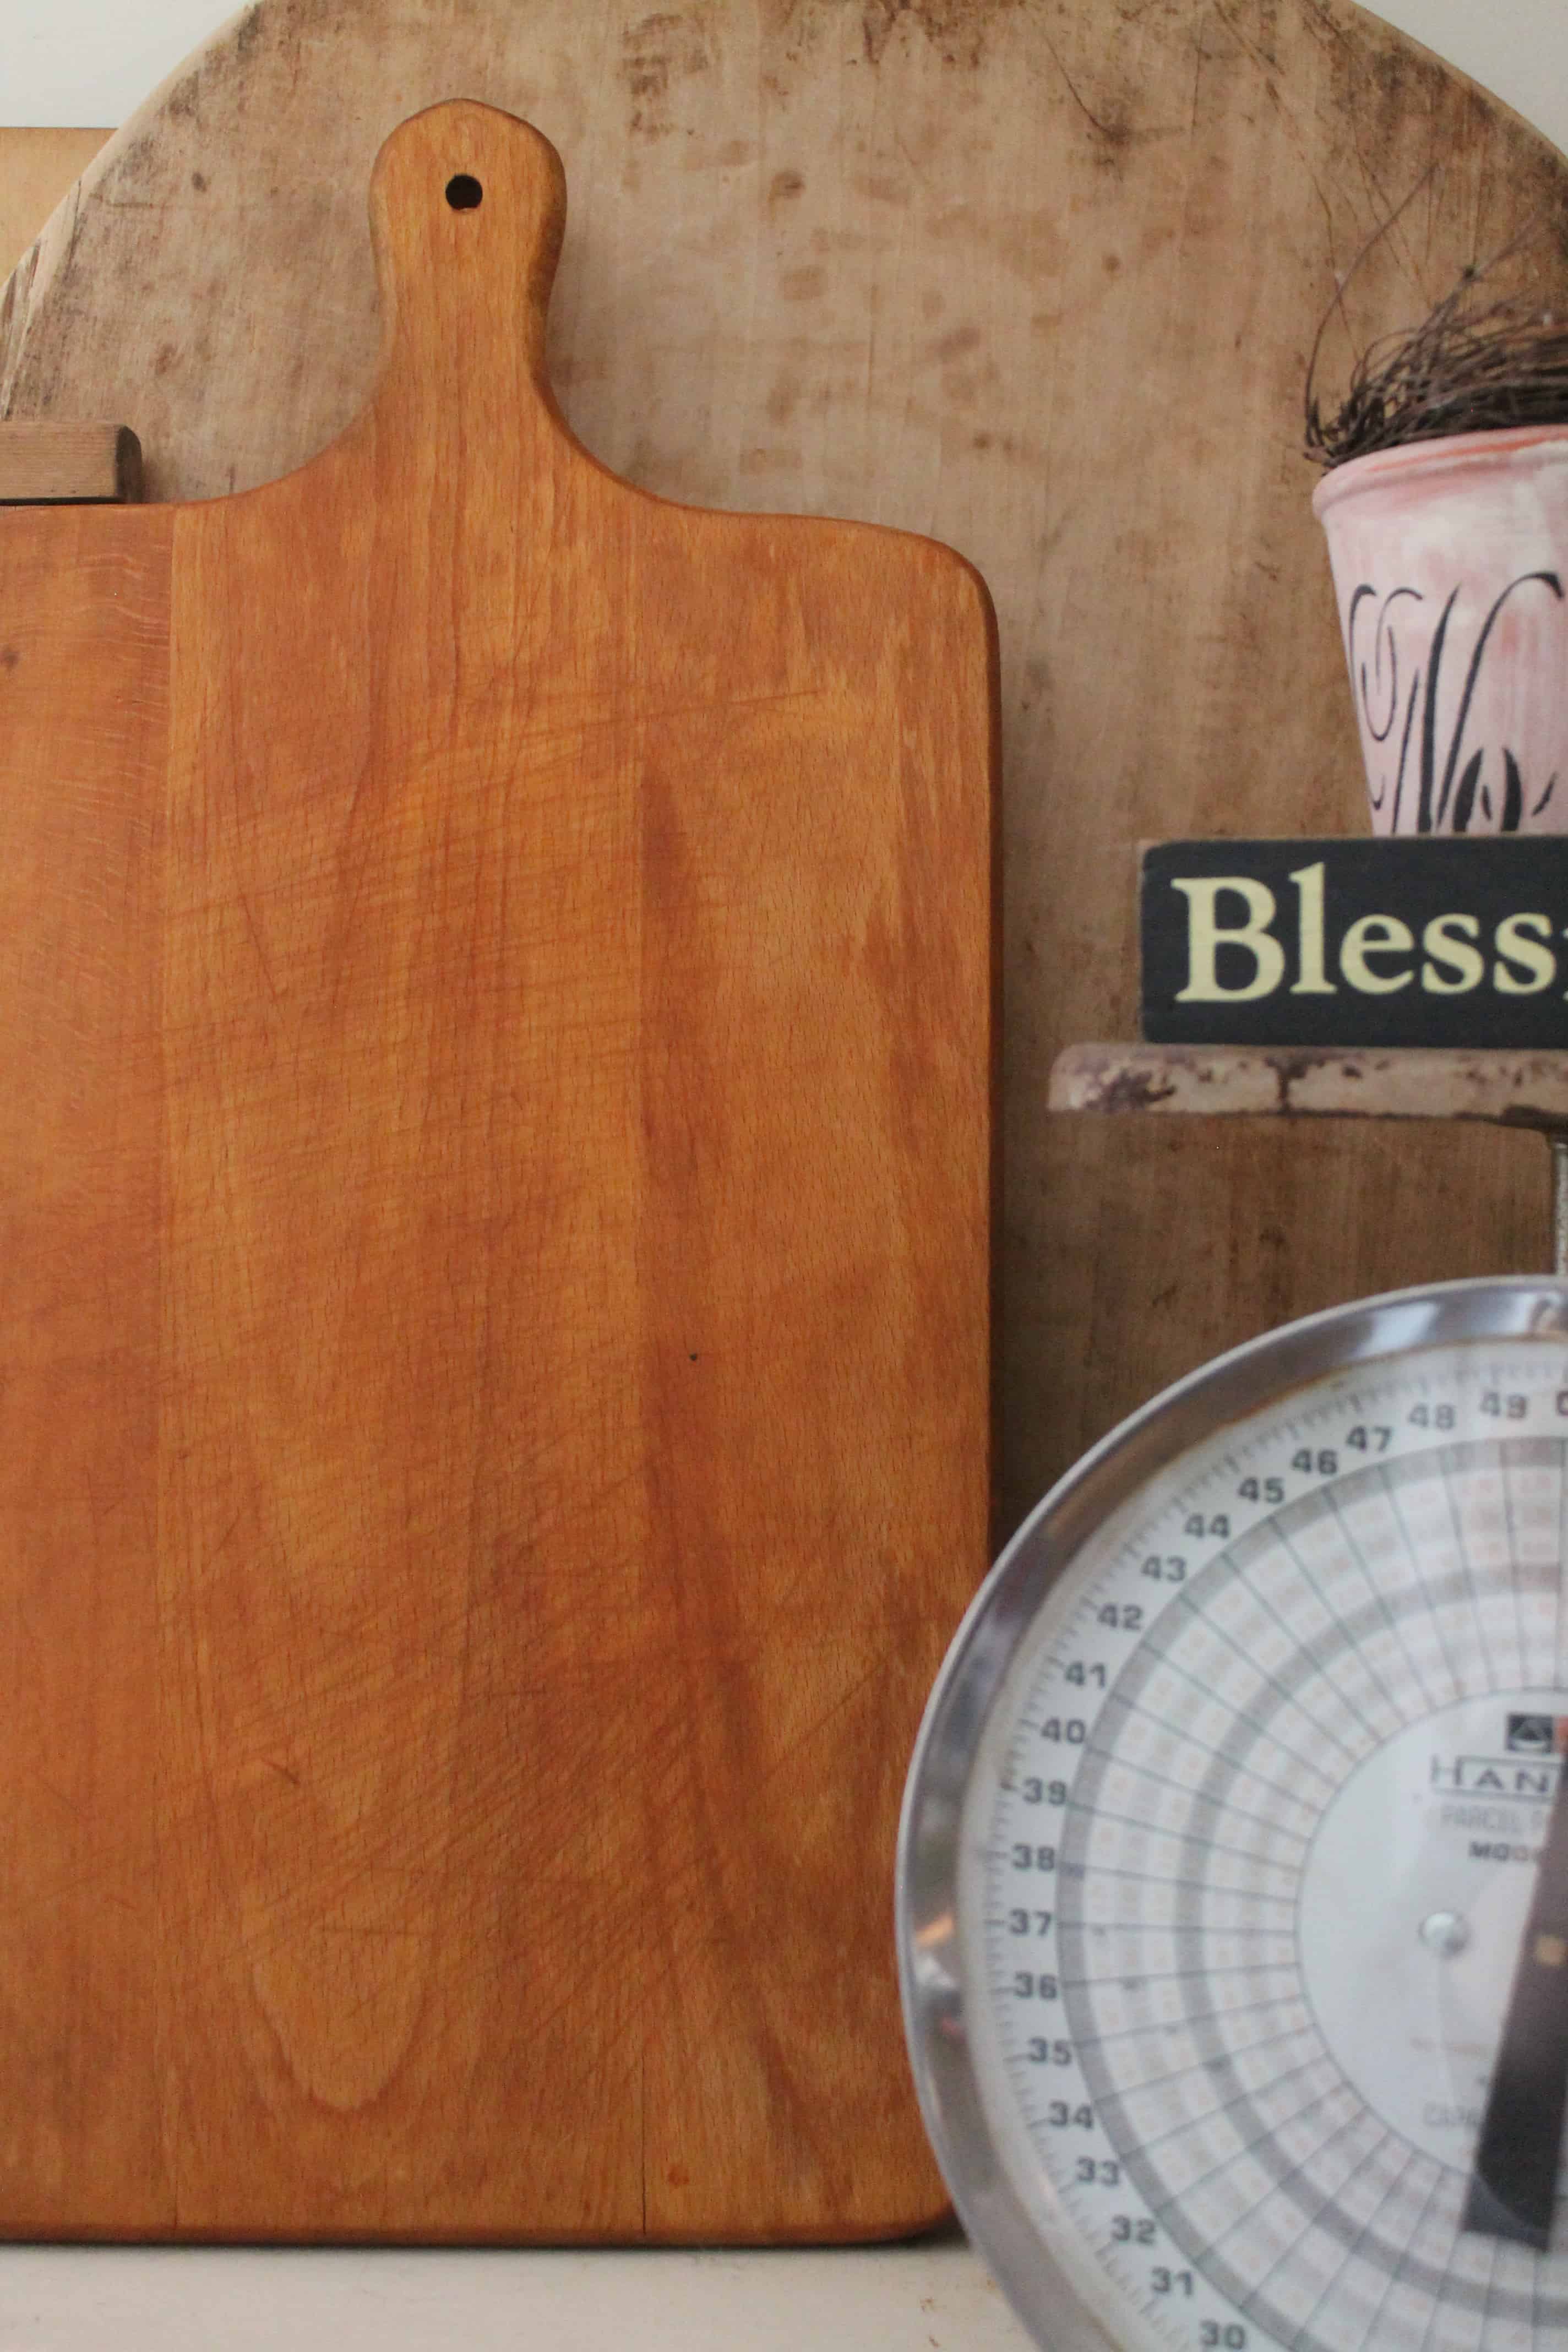
The last time I mentioned that I had purchased an old cutting board, several readers expressed interest in knowing how I clean them.
I’ve learned that a good scrubbing with lemon juice and salt can take care a lot of the dirt and grime that build up on old boards.
Directions: Pour some salt onto your board, cut a lemon in half, and using the cut side thoroughly scrub the board until clean.

You can see some discoloration and dirt on this board that I discovered in the garage at an estate sale.
 After a good cleaning (and seasoning) you can see the difference in this shot. Pretty remarkable, right?
Sanding Vintage & Antique Cutting Boards
Deep Cuts

Sometimes old boards are so deeply knife-scarred, even mangled in spots, that only a light sanding offers hope for restoration.

I use this small palm sander for tasks like that.

Even just a little sanding produces quite a bit of sawdust.
 And the results are pretty dramatic. The light cutting marks that remain don’t bother me, but it could be sanded further since the board is rather thick.
Keep in mind that the more you sand, the more difficult it may be to retain a nicely even surface. Over-sanding may result in a wonky board.
Burns

I bought this mahogany board at a garage sale for the sole purpose of learning whether sanding could remove the burn and knife marks.

Sanding did a fairly decent job of removing both the burn mark and knife marks. Now the board is ready to be seasoned.
How to Season Your Cutting Board
 After cleaning and/or sanding your boards, you will want to season them. This means applying mineral oil to the surface and allowing it to soak into the board.
Seasoning prevents your board from becoming dry and brittle. When that happens, you increase the chances of your board cracking or even splitting. You can tell if a board needs oiling by sprinkling a few drops of water on its surface.
If the board absorbs it, it’s dry and in need of seasoning. If it pools on the surface (repels the water), you’re in good shape.
 You can pick up mineral oil at any drug or grocery store, and it is food safe–perfect for use on kitchen wares.

Pour a small puddle of oil onto your board and spread it evenly from corner to corner and down along the sides. Leave it for an hour or two (or overnight). If in that time, the oil has been entirely absorbed, apply another layer.
Continue this process until the board no longer absorbs the oil. Wipe off any excess and then flip it over and treat the other side. The typical cutting board may require seasoning 2 or 3 times per year.
 The newer board in the front is the one you saw me seasoning above.
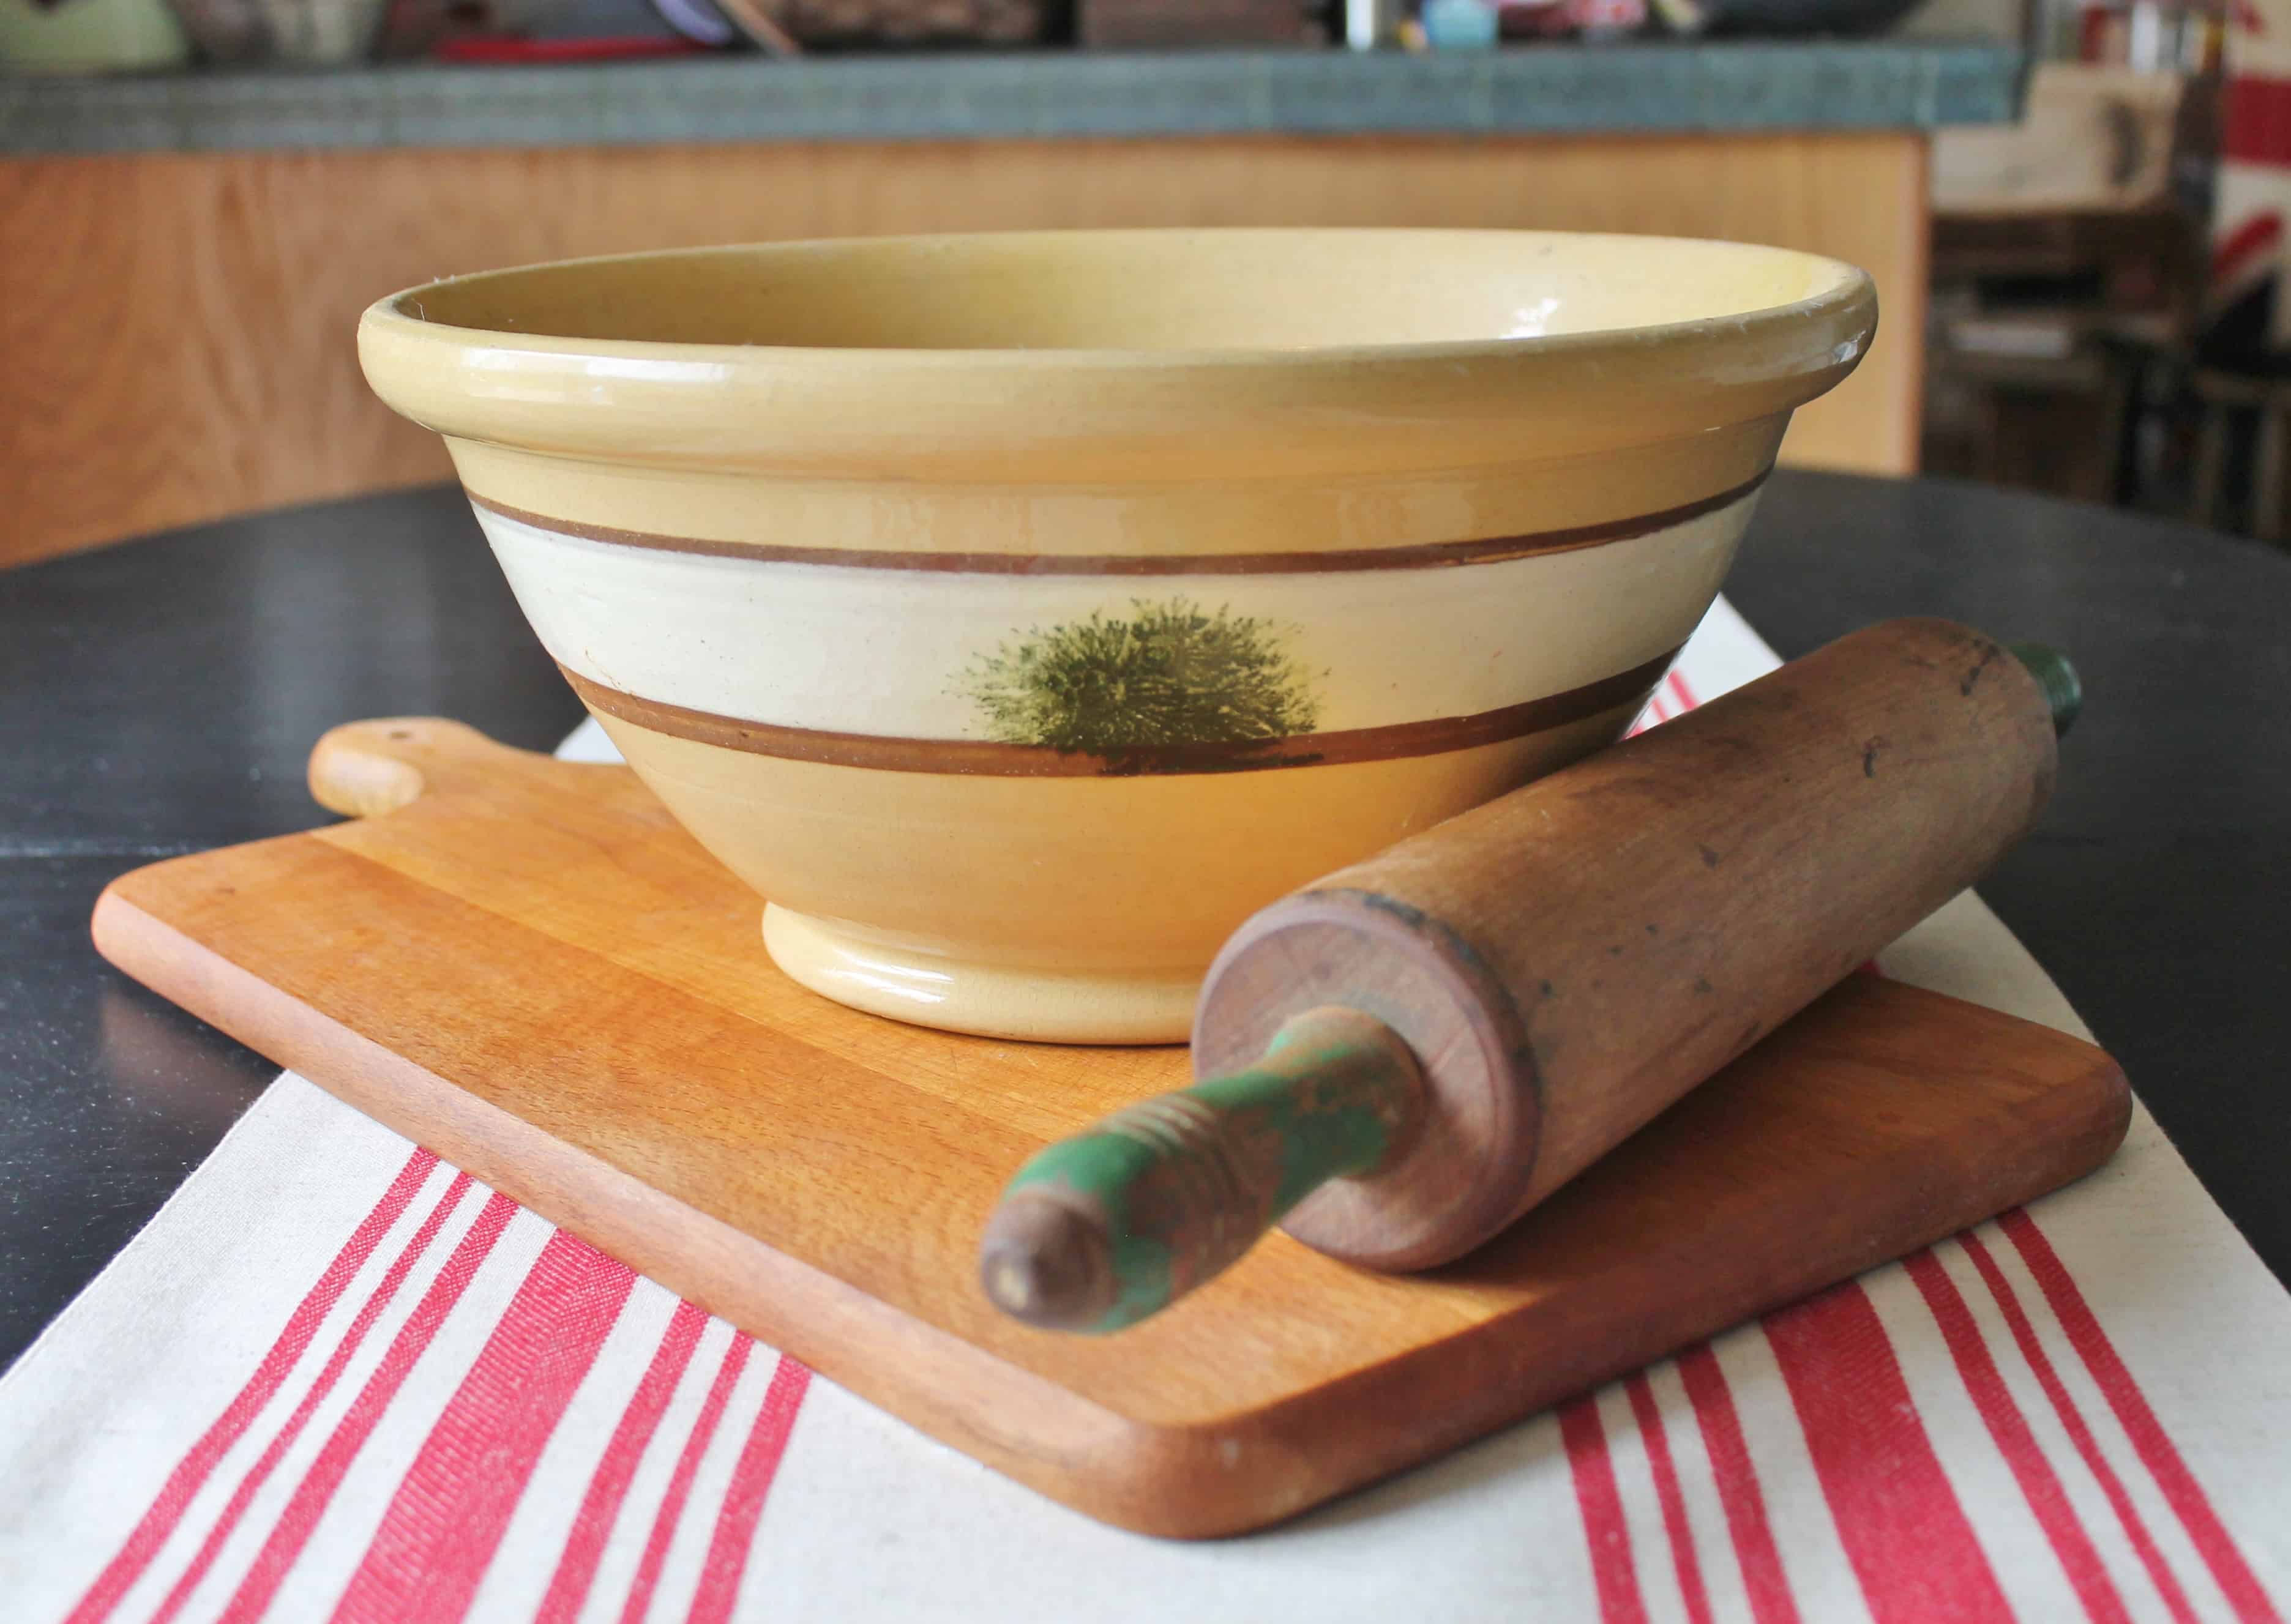
I seasoned this larger, vintage board at the same time. I purchased it earlier in the year in pretty poor condition, but the seasoning has given it new life.
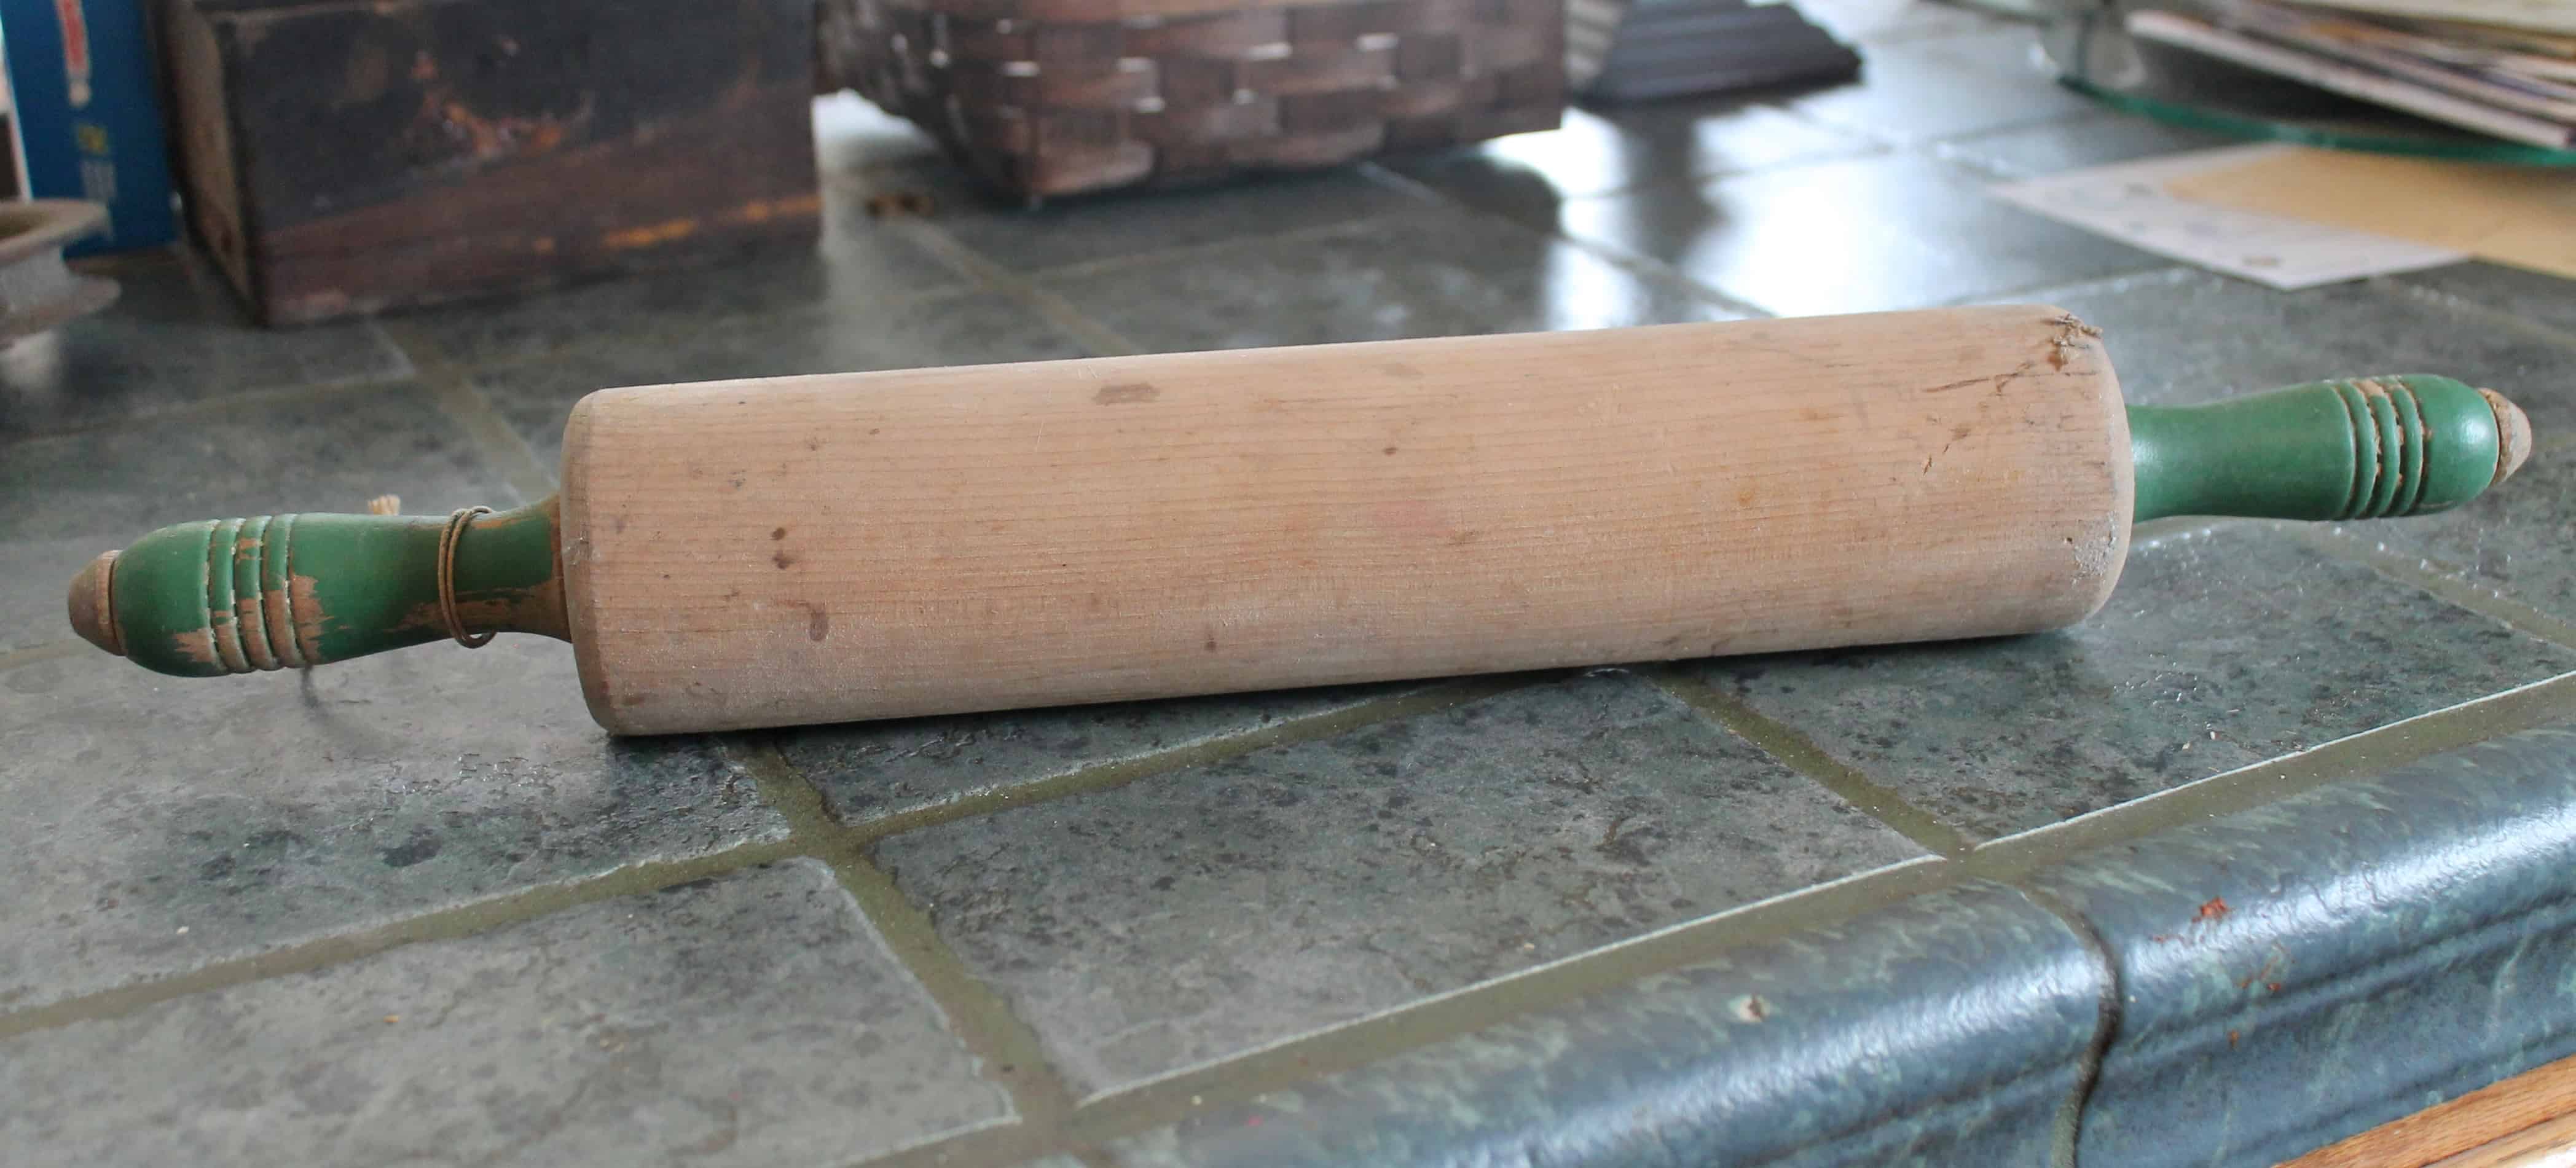
I decided while I had the oil out to go ahead and season this vintage rolling pin as well.

Think of seasoning as a facelift for your cutting boards–
It brings out the color and grain of the wood, leaving it with a healthy glow.

May all of your cutting boards be clean, smooth, and well-seasoned!
Thanks for stopping by–
If you enjoyed this post, subscribe today
and get a FREE copy of my eBook:

Bye for now,

I’d love it if you’d pin me!
Thanks for the tip about lemon and salt I’ve never tried it.
You’re welcome, Sharon! Let me know how you like it if you eventually give it a try 🙂
I really appreciate you sharing this great tutorial at Snickerdoodle.
Love the tips you shared! Thanks
I’m so glad, Sue–thanks for letting me know!
So interesting! This post is really informative; there’s a practical side to loving antiques!
Glad you enjoyed it Mary Ann!
Thanks so much for sharing your knowledge! I can’t tell you how helpful thus series has been to me.
You’re so welcome, Kelly. I appreciate you letting me know 🙂
Have you tried Boos Block Board Cream? A coworker makes butcher boards on the side and says this is great stuff to use. It is a combination of a natural beeswax and food grade mineral oil. He says it brings out the wood and leave a really nice patina.
I’ve heard of Boos but have never tried it. I’ll have to keep an eye out for it–
Very useful information, Diana. I have a couple cutting boards that I’ve been wanting to clean up. Wasn’t sure whether I should sand the one or not. It was left on a hot electric stove burner years ago and has the black rings to show it! Now I’m excited to work on it. Thanks!
So glad I could give some inspiration, Naomi. Good luck with your boards; I’d love to hear how it goes 🙂
Thanks for the step-by-step on what to do. I have one & I have not known what steps to follow.
The lemon and salt is a great idea. Since I use my bread board collection just for decoration, I just take a brillo pad to them. It takes off the dirt pretty good and smooths out some of the minor cuts. Sometimes I use olive oil on wood items. I did my whole dining room floor at the end of June and it still looks fabulous!
What great tips Diana! I got a neat butcher block and soaked it in some bleach to get rid of all the germs. MIstake! It started coming apart. Glad to have these great tips! Thanks for sharing with SYC.
hugs,
Jann