How to Make Vintage Sweater Pumpkins
Hi everyone! On Wednesday I showed you my Autumn Banner, made from a gorgeous, thrifted sweater in a nice, deep shade of orange. I mentioned at the time that I had ideas for two more projects that could be made from this one sweater. Fall project #2 is a pair of sweet, little pumpkins, made from the sleeves of my thrifted sweater.
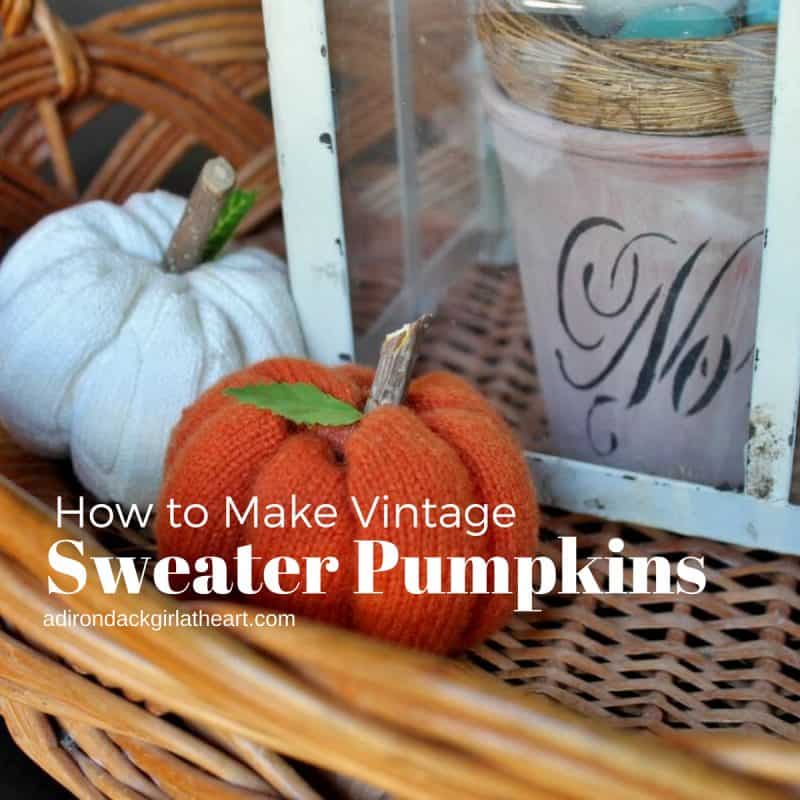 I got kinda excited about how they turned out, so I grabbed a white sweater that had been waiting for its turn to become something “new.” Since it was made of cotton, it couldn’t be shrunk, as I had the orange one. (I describe how I made the sweater easier to work with by shrinking it in my Autumn Banner post.)
 You’ve noticed, I’m sure, all the cute, crafty pumpkins out there. I decided it was time to give them a try, and figured I could easily whip up a dozen or so, no trouble at all. Well, they’re not as simple to make as they might appear. It’s not that they’re hard exactly, it’s mostly that there are easier ways to make them.
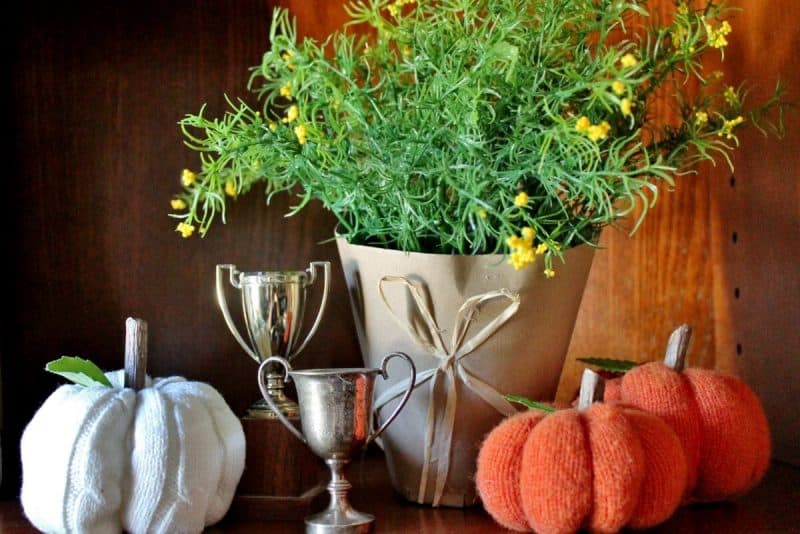 After crafting this little orange guy my way, I decided to google “sweater pumpkins.” This led me to Sabine who blogs at Mom in Music City. She had some great instructions for making sock pumpkins, which could easily be converted to sweater sleeve pumpkins.
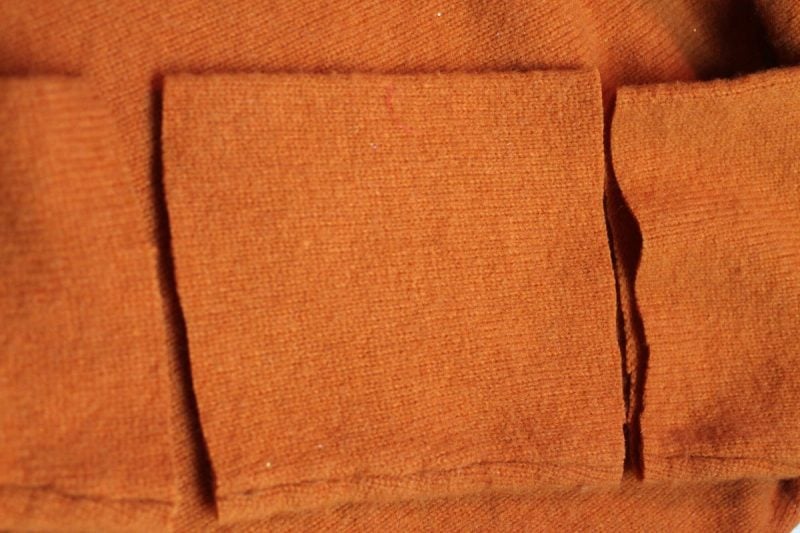 I cut a 6″ section out of one of the sweater sleeves to make my pumpkin.
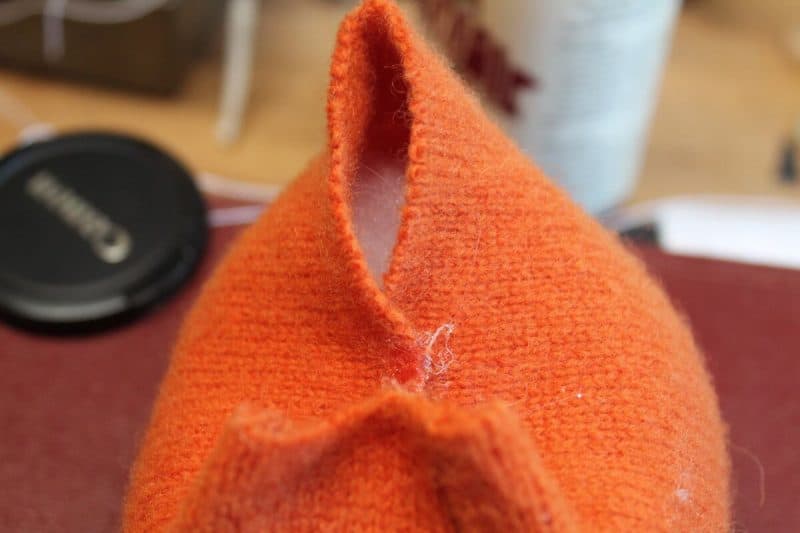 I went through a rather elaborate gluing process that was completely unnecessary, if you follow Sabine’s instructions.
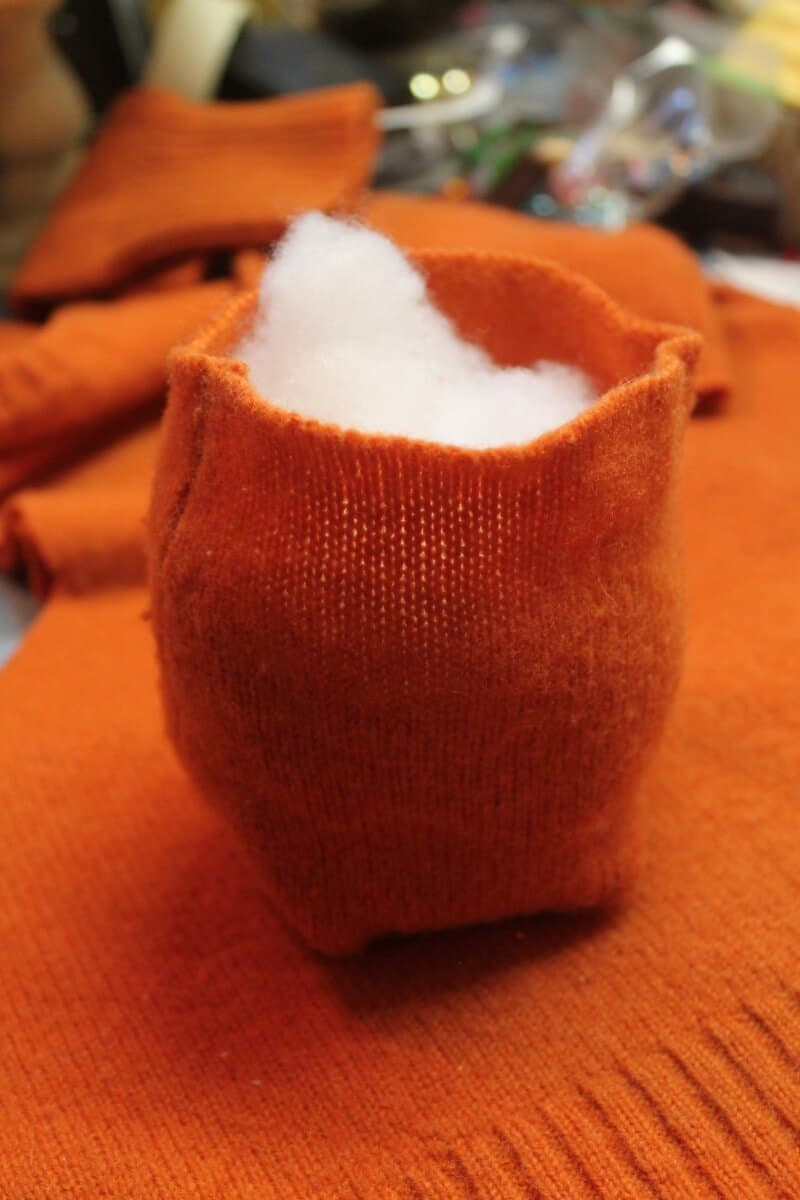 Then stuff your pumpkin and close up the top. I glued, Sabine stitched (I prefer her method and used it on my white pumpkin.
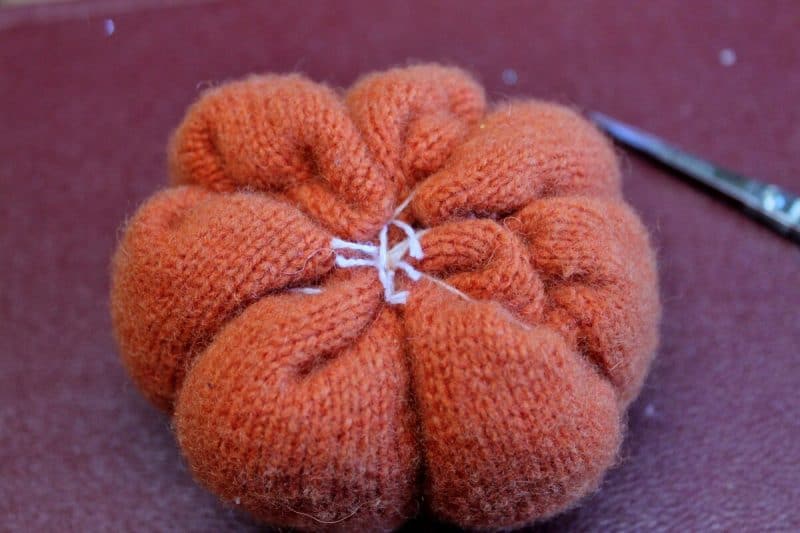 Next you’ll need to create the sections of your pumpkin. I used kite string, Sabine used orange thread. I highly recommend Sabine’s way.
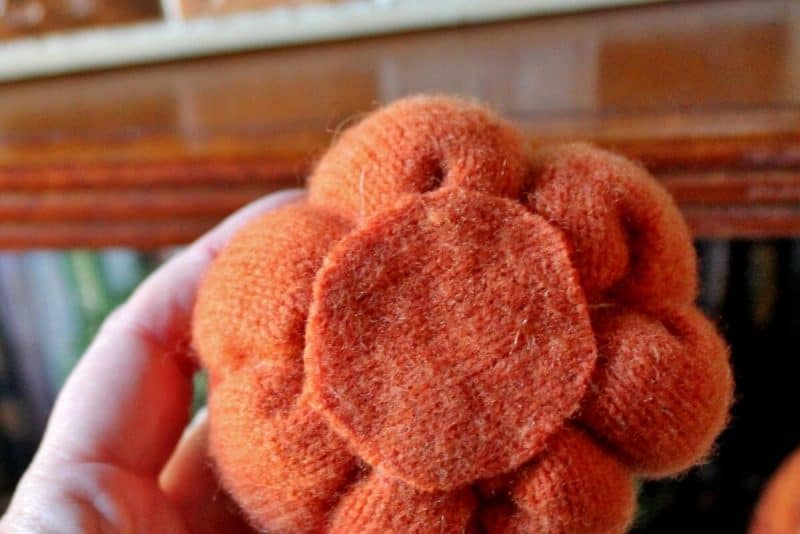 Because the bottoms of mine were a sort of glue-y, thread-y mess, I finished them off with a sweater circle.
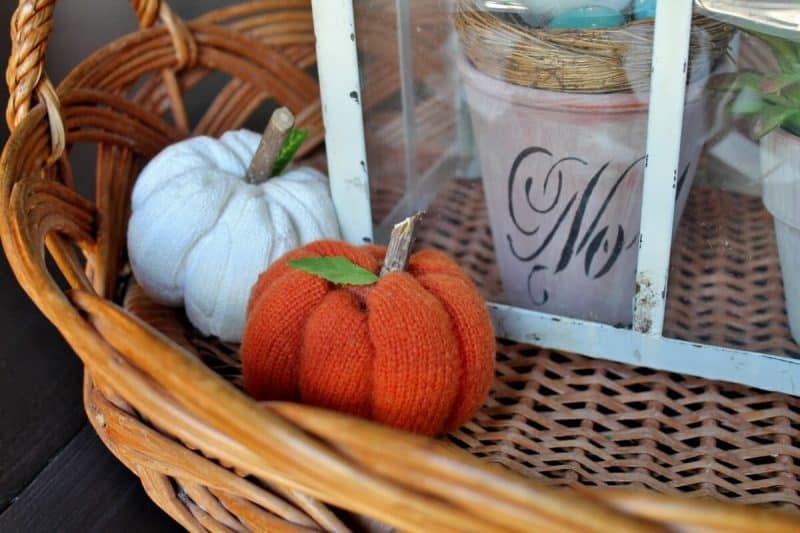
I also added leaves to mine; I like the touch of green.

They are pretty darling. Don’t you think? I’m looking forward to making more, now that Sabine has demonstrated the easier way. I’ve pulled out a taupe sweater that I think will produce lovely pumpkins.
You may enjoy these projects, including project #3:
Thanks so much for stopping by–
If you enjoyed your visit, I hope you’ll subscribe and never miss a post.
You’ll receive access to my brand new
Adirondack Girl Member Library
With your subscription, you’ll receive the PASSWORD to give you access
to the Library where you’ll find tutorials and price guides like this one:

Bye for now,

I’d love it if you’d pin me 🙂




These are so cute ! I have never made one, but will give it a try…I have a few beautiful sweaters in delicious colors that would make beautiful pumpkins. Thanks for the encouragement.
Super Cute Diana. Happy Friday.
Kris
Those are very very cute. May have to go searching for something to use to make them.
These are so cute, Diana! Something new to hunt for at the thrift store!
Diana, these little guys are adorable. I haven’t made any but I need to try because they are so stinking cute..
Oh my gosh, I just tried making these and I gave up! They are SO not easy, like they’re portrayed as being on so many blogs out there…..I did not fine the tute you mentioned so maybe if I look at it I can salvage the mess I’ve already made with two cut up sweaters! My family was even laughing at me for this “craft fail”! Glad yours worked out, they’re darling! xokathleen
Hi Diana! 🙂
Project No. 2 is just as cute as No. 1…I love these! I love the little pieces of twig for the stems and the leaves are perfect! Love the contrast of the white cotton one with the orange wool ones too!
Adorable!
Can’t wait for project No. 3! Next week in my Goodwill travels I will be on the hunt for a wool sweater to make some too!! 🙂
Kimberley
These are adorable…and i was looking at a sweater just last week….will have to fb this so I don’t lose it…Thanks, Sandi
I have seen a lot of pumpkin sweaters and a lot of them look pretty cheesy. Yours are NOT cheesy at all! They have such a nice shape to them! I am definitely checking out her tutorial. However, I was thrifting yesterday and will have to wait for half off day to come around again next week to find some orange sweaters! lol
So adorable! Too cute.
Ok, these may even be cuter than the banner! I have seen these before, but never knew how they were made. LOVE them! Thanks again for linking up with Your Home Decor & More Link Up party!
I make my pumpkins by sewing sweater pieces into a tube (once the sleeves are used up) tying one end tightly with a piece of string. I turn it inside out to create the bottom. Then I sew a loose running stitch around the top, stuff the tube, add a stem (a stick, cinnamon stick, or wine cork).
I add some hot glue around the stem, pull the thread tightly and tuck the raw ends in quickly with a bamboo skewer. Those silicone finger cots (protectors) from Dollar Tree are a Godsend! I love to add a faux grape leaf to the stem, raffia with acorns glued to the ends, plaid ribbon, raffia bows, etc…mine never come out the same twice!
Thanks for sharing your method Kathy! I especially like your embellishment ideas 🙂 🙂 Happy Fall!
Hi Diana! While Sabines method may be easier, I think yours look much nicer! I can’t wait to try this! Thanks for all your great ideas! Mary
Your wlecome Mary!