
How to Give New Life to an [Ugly] Vintage Candle Box
If you’re like me, you have a bazillion (or two) projects waiting for attention. One of those projects got done this week–yippee! I gave a simple, almost Shaker-style candle box a badly needed makeover.

Are you bored with simple little paint makeovers yet? I don’t do a lot of planning related to the projects I pick–I just go where the wind blows, and lately it’s been blowing a lot of small, vintage wooden things my way, like this candle box.

A truly old candle box would be worth a great deal of money, but this orange-y example dates to the 1970’s or 80’s. I particularly liked the shape of the back board and thought it had potential.

I decided on a Valspar sample in the color “Satin Frappe”. It’s a very pretty beige with no greenish tinge whatsoever.
If you’ve ever wonder why I paint so many projects in neutral taupe and beige, it’s because they sell best, and this is a business for me.
Every now and then I get adventurous and use a more exotic color, and while I’m always thrilled with the results, the items simply don’t sell as quickly as those painted in more neutral tones.
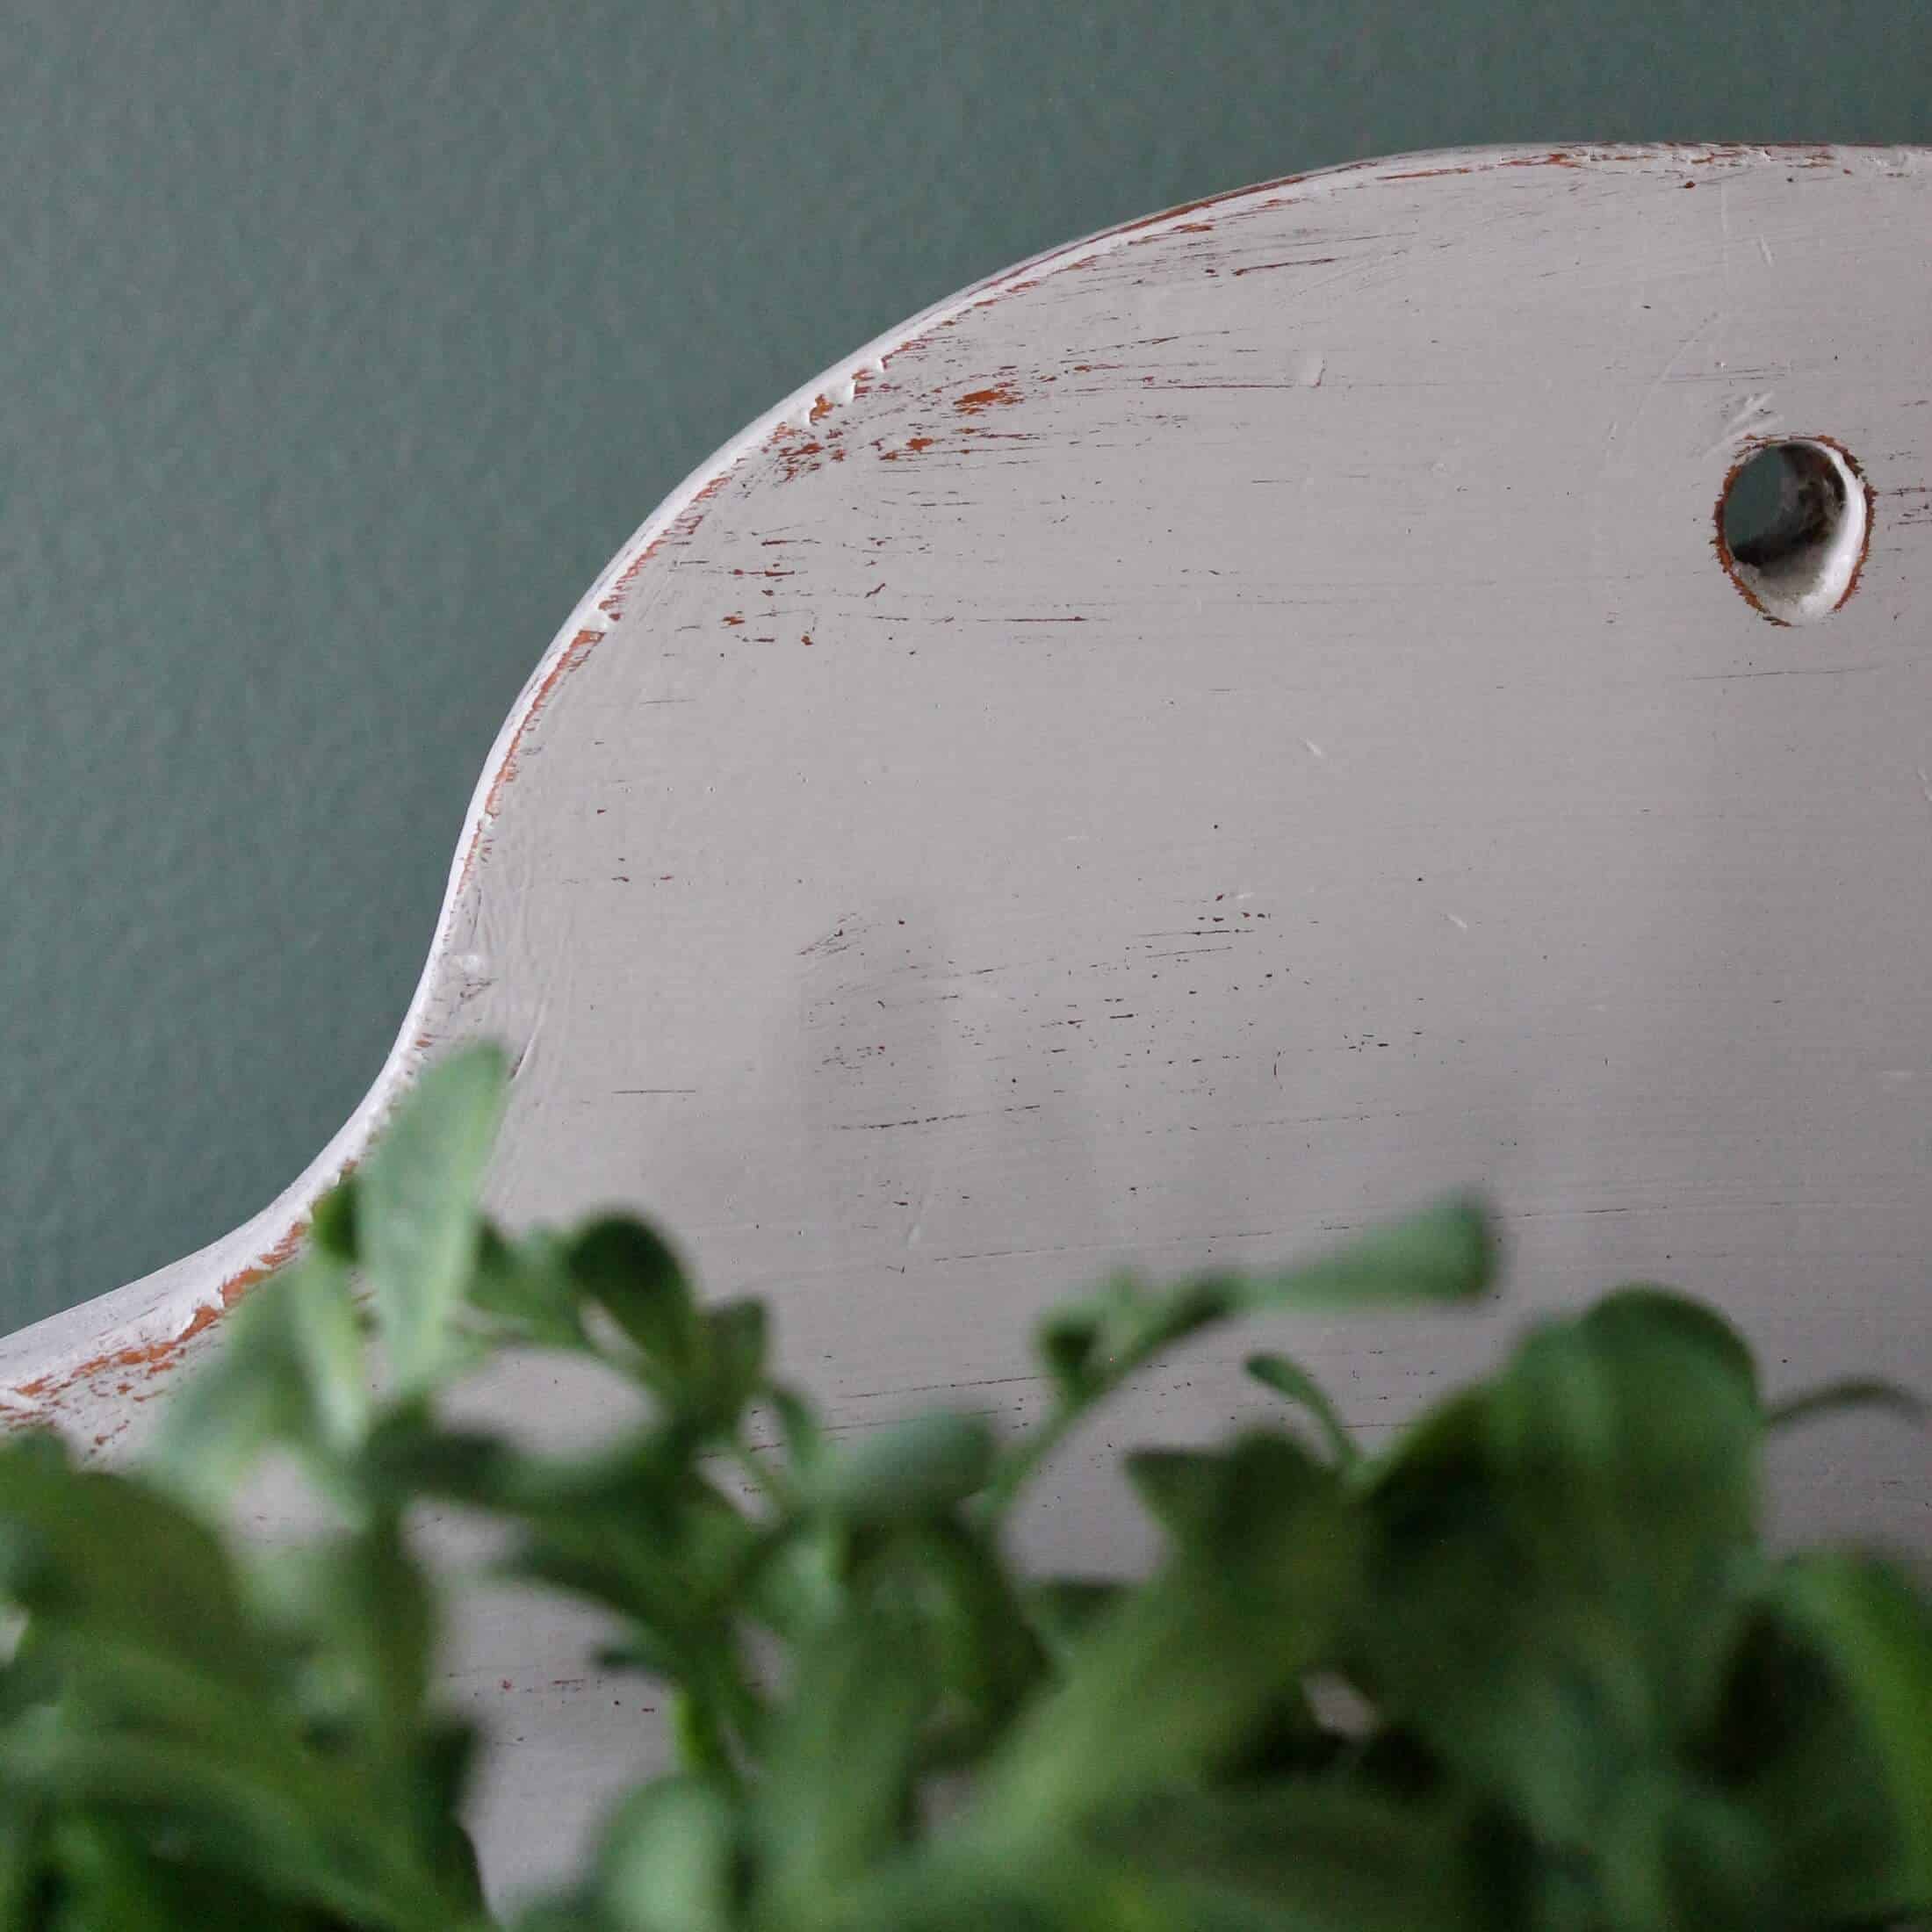
With no surface preparation, other than a damp sponging, one coat of Frappe did the trick. Once dry, I sanded all of the edges and corners to give it a truly vintage look.

Notice the little dents and scratches still remain, as do the brush strokes, all of this adds to the aged look of the piece.

I chose to add a simple stencil to the front of the “box” and am so pleased with the result. I used a combo of two decorative stencils I had on hand.

Using acrylic craft paint and a dense, makeup sponge, I applied two coats of paint to the stencil to make the design really stand out.

I added similar stenciling to a dresser I worked on last year.

I popped a couple of faux boxwood plants into the box, but you could add anything you like. How about candles? Or old wooden mercantile spools, or a collection of vintage bottles.
What would you display?
Thanks for stopping by–
If you enjoyed this post, subscribe today
and get a FREE copy of my eBook:

Bye for now,

I’d love it if you’d pin me!

Great little project to start the week.
Hey Diana, just a heads up. I received an email notice for this post, but there was no link to take me to the post, just a dead end (I clicked on “read this email in browser” to try to get to it). Not sure if you tweaked your process, but wanted to let you know.
Update: just received another email for this post, and the link worked!
You guessed right, Rita–I’m switching over to a new email service and there’s obviously been a glitch 🙁 Thanks SO much for letting me know 🙂
Impressive! You have a good eye for spotting pieces that can be transformed, Diana.
Love it!!
Love the upcycle of the candle box. It turned out great.
Thank you for sharing at the Snickerdoodle Create~Bake~Make link party!
I love it, the stencil is perfect!
Fighting that nasty orange finish on 1940’s furniture has had me pull my hair out over the years. At this point, I slap two coats of a primer on it right away, before I even think what I’m going to do with it. My daughter-in-law has my mom’s rock maple (1945) dining room set, and we are going to update it with espresso brown this summer and strip the top. That may be a few posts, lol.
Nice job, and I would have snatched that box for cleaning supplies in a second, thanks, Sandi
Definitely has a better look now. It is always nice to see things re-purposed instead of trashed.
Oh I love how this turned out, Diana!
Nice job, Diana! I pretty sure I would put plants in it like you did. The little faux boxwoods look sweet.
What a sweet, little makeover.
It would be cute for herbs.