
All-Natural Wood Salve “Secret” Recipe
A few years ago I developed a product that I called wood salve to use on dried out wood furniture, kitchen utensils, tools, and other surfaces. I even use it on rusty metal and my dry hands and feet(!). It’s kind of a miracle salve made from all natural ingredients.
Over the years, I’ve made several large batches and sold them online. In addition, I’ve stocked the local Shaker Heritage Site gift shop with multiple containers each year.
Although I’ve received oodles of positive feedback and numerous requests for fresh pots of salve, it simply became too big of a job for one old lady to fulfill in her home kitchen.
So today I’m sharing my “secret” recipe with the entire world. You heard me right! Now you can make your very own batch in your very own kitchen using a handful of relatively easy-to-find ingredients.
Other Names for Wood Salve
Wood salve goes by many names. You can call yours whatever you want, but here are a few ideas:
- Wood salve
- Wood butter
- Furniture butter
- Spoon butter
- Wood conditioner
- Beewax
Ingredients to Make Wood Salve

Note: This post contains affiliate links for [the same or similar] products used to complete this project. This is both for your convenience as well as to support my website, since I receive a small compensation whenever you click on a link and make any sort of purchase, for which I thank you 🙂 See my full disclosure here.
- Beeswax pellets
- Coconut oil
- Soy wax
- Light olive oil
- Vitamin E oil (optional preservative)
- Containers (4 oz)
- Lint-free rag (I use my husband’s worn out undershirts)

I generally store and sell my wax in simple, 4 oz. plastic containers (to which I add a label). This time I tried a couple of metal containers but found the plastic are much more practical.
The metal gets slippery from the wax and this makes the lids extremely difficult to open(!).

In the past I’ve also used 4 oz. canning jars to hold the salve. I love this look but plastic containers are so much cheaper. I gave these as gifts, if I remember correctly.
How to Make All-Natural Wood Salve
Step 1: Measure & Combine Olive & Coconut Oils

Measure the olive and coconut oils into a glass container. Melt them together in a microwave for about a minute. Stir to combine.
If your coconut oil is quite firm and hard to get out:
- Use an ice cream scoop if it’s a large jug
- Melt it right in the container for about a minute if it’s a small jug, e.g., 8-10 oz.
NOTE: Photos show me making a double batch.
Step 2: Measure & Add the Soy & Beeswaxes

Use a kitchen scale to weigh the beeswax and soy wax. Add them to the oil mixture.
Step 3 Microwave the Mixture of Oils & Waxes

Microwave the mixture for 8 minutes, or until the beeswax is completely melted. Stir occasionally.
Step 4 Add Vitamin E Oil
Allow the mixture to cool for 15-20 minutes. Add 2-3 drops of Vitamin E oil. It acts as a preservative, but if you plan to use your wax up fairly quickly (within the year), you can skip this step.
Step 5 Pour Mixture Into Containers

Pour the wood salve into whatever container you would like. Because I sell it, I use 4 oz. plastic containers. For your own personal use, you could simply pour the entire recipe into a 16 oz. plastic container.
As a point of reference, I go through about 8 oz./year of the stuff, and it stays “fresh” for at least two years, especially if you add Vitamin E.

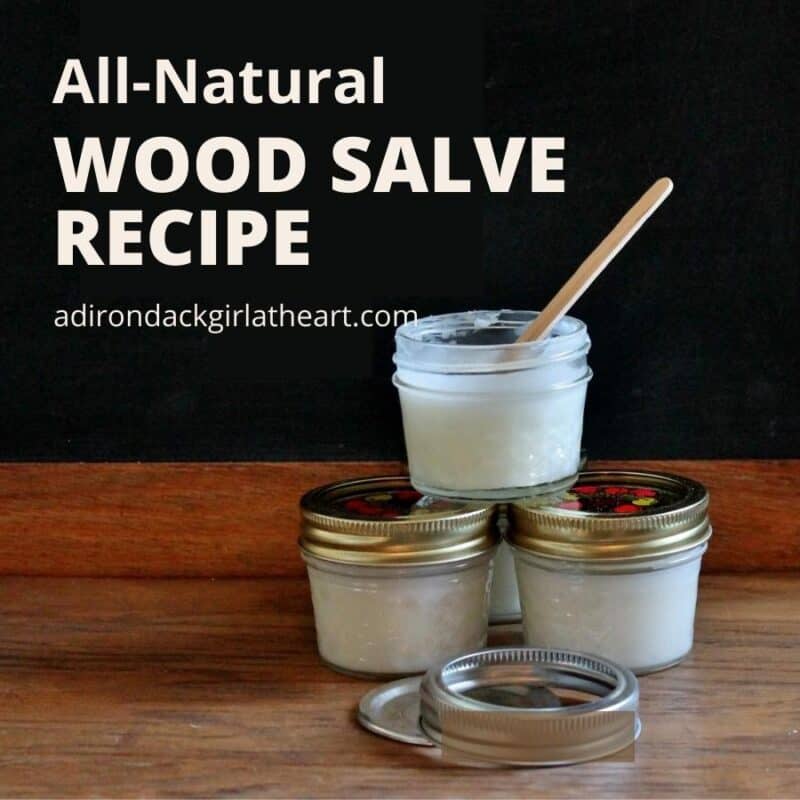
This is what the salve looks like after it has set–a very pleasant creamy white with a faint scent of coconut.
When I made my first batch years ago, I added some essential oil but I learned that I prefer the cleanness of the salve without any strong scent.

Here’s a close up to give you an idea of the consistency of the salve.
All-Natural Wood Salve Recipe
Fills 3-4 4 oz containers
1/2 cup light olive oil
1 cup coconut oil
1 oz. white beeswax
1 oz. white soy wax
2-3 drops of vitamin E oil
1. Measure the oils together in a glass container and microwave them for approximately 1 minute. Stir to combine.
2. Measure the waxes using a food scale.
3. Add the waxes to the oils. Microwave for approximately 8 minutes, stirring occasionally, until the beeswax has completely melted. Allow the mixture to cool for 15 to 20 minutes.
4. Add 2-3 drops of vitamin E oil and mix.
5. Pour the mixture into the container(s) and allow them to set up. Apply lids. Store in a cool place.
Click HERE to download a copy of the recipe and instructions.
Trouble Shooting
Unmelted Beeswax
If you see small bits of beeswax floating in your wood salve, it means you didn’t “cook” it long enough in the microwave. Those bits can be hard to see in the melted mixture. Bottom line: “Cook” it for longer than you think necessary.
Too Soft or Too Hard
The consistency of the wood salve may vary depending upon the quality and/or makeup of the specific ingredients that you use.
You can re-melt the salve and add more ingredients: add more waxes if it’s too soft, more oils if too hard.
Melted Container

Be sure to allow the wood salve to cool before pouring into plastic containers, otherwise they may melt, as my first cup did with this batch (above), LOL.
Storage & Lifetime
Though the wood salve will soften and melt at higher temperatures, it doesn’t tend to separate and it will re-solidify once brought to a lower temperature. If kept at a consistent temp of about 74 degrees F or lower, it shouldn’t melt.
In my experience, the salve stays fresh for a least a year (probably two), and with the Vitamin E oil for at least two years (probably longer).
What to Use Wood Salve On
- Unfinished wooden vintage and antique furniture and other pieces
- Chippy painted furniture and other painted pieces
- Metal items (like tools), especially rusty ones
- Leather (will likely change it’s color, while cleaning, conditioning, and/or protecting)
- Lips, hands, & feet(!)
How to Apply Wood Salve
If the piece you’re working on requires it, clean the surface with mild soap and water and allow it to dry.
Use a lint-free cloth to apply salve to the surface of the piece. Apply enough to cover it, but not thickly. Allow the salve to sink in. Remove excess salve with the cloth and then rub vigorously with a fresh piece of cloth. This is called “buffing.”
You want the piece to look and feel smooth, and not the least bit tacky. It should feel almost completely dry to the touch. So keep on buffing if you have to!

This photo shows the remarkable difference between treated and untreated wood. On the right you see where the wood salve has soaked into the wood and restored it to its former glory.
The left displays the dried out surface before receiving its wood salve treatment

A kind reader sent in this before and after photo–amazing right?? See some before and afters of application to leather HERE.
Can I Use Wood Salve on Cutting Boards?
The most commonly recommended products for use on cutting and bread boards are mineral oil and specialty cutting board products.
In fact, cooking gurus and scientists alike recommend that cooking oils, like olive and coconut, NOT be used on our boards because of the chance they might turn rancid.
My Thoughts on the Matter: Because I add Vitamin E to my wood salve recipe, which acts as a preservative, I have chosen to use the salve on my boards.
In the six years that I’ve been using it on both my cutting boards and hundreds of other wood and metal antiques, nothing has ever gone rancid.
As I said in the video (above), you need to make up your own mind about whether you want to use it on your boards or not 🙂
If you’re prefer the mineral oil method of seasoning your cutting board, check out this article I wrote before developing my wood salve recipe. It talks about how to clean and care for cutting boards in general.
What is the Difference Between Paste Wax and Wood Salve?
Both paste wax and wood salve have conditioning and protectant properties. However, it will help to think of paste wax as more of a protectant and wood salve as more of a conditioner.
Most paste wax contains naptha or mineral spirits and should therefore never be used on kitchenwares. It dries and buffs to a fairly hard protective surface with a satiny finish and is my go-to product for chalk painted surfaces.
Wood salve on the other hand, if used on chalk painted surfaces, would deepen the color and prevent the “chalk” from rubbing off, but it wouldn’t be hard and would appear more greasy than satiny.
Wood salve is meant primarily for absorption into a surface while wax is meant to adhere to and protect a surface.
Terms of Use
Please feel free to make as much wood salve as you like using my recipe! Keep it in every room of the house, give it as gifts, etc. However, I do ask that you refrain from republishing it in any form or selling either the recipe or the wood salve itself.
Thanks for stopping by–
If you enjoyed this post, subscribe today
and get a FREE copy of my eBook:


Thank you Diana! This “wood” make great Christmas gifts with a cool vintage wood bowl or box. Soooo many possibilities! My mind is reeling! You can tell I’m excited by all the !!! can’t you? I always look forward to your emails so thanks once again! Christie
Thank you very much, Diana. This was very generous of you to share after doing all the work testing and measuring the ingredients!
Thanks for the recipe. I purchased your wood salve in the past & loved it.
Thank you for sharing, I can’t wait to give it a try!
Thank you so much Diana! I am anxious to give this salve a try. I only found you and your blog a year or two ago and was hoping to buy some when I saw your posts about the wood salve that you used and sold. But unfortunately, I found you after you stopped selling it. Thank you for generously sharing your knowledge and hard work.
Again as the rest thank you for sharing. I like to carve wooden spoons out of chock cherry wood. I have wanted to add a coating to my spoons to help prolong their life. This should work well. I enjoy your watching all your finds and how to price them. You are wonderful lady and again I thank you, Rick Foster in Montana
I’m so glad I read this tonight! Thank you so much for sharing your recipe for the wood conditioner, I’m sure I will find uses for it around the house. Jan in MA
Hello Diana!
Do you sell this wood salve?
I only sell it through my local Shaker Heritage Society Ruby.
Thank you for the recipe, it confirms that the salve I made 2 years ago is on the right track!!! Thank you so very much.
You’re welcome Josephine!
Thank you for sharing! I’m so excited to try this. I will be ordering the supplies on Amazon through your link. I do have a question though, is it important to use “light” olive oil or can you use any olive oil?
I use light to avoid the strong smell of EVO and to avoid the higher cost. Let me know how it goes if you decide to try a variation!