Atlas Star Ornaments: Christmas Around the World
Time for another Thrifty Chick’s Challenge! This month we set a goal of developing a thrifty project using globes or maps.
I gave it some thought and messed around in my workroom for a while and came up with star ornaments made with vintage atlas pages.
I started with circa 1968 atlas maps, added a sprinkle of glitter and a jingle bell and these these darling decorations were the result.

Be sure to check out my five thrifty partners’ projects using the links provided at the end of this post.
Note: This post contains affiliate links for [the same or similar] products used to complete this project. This is both for your convenience as well as to support my website, since I receive a small compensation whenever you click on a link and make any sort of purchase, for which I thank you 🙂 See my full disclosure here.
Materials for Making Atlas Star Ornaments

Materials:
- Cardboard (can use cereal boxes or heavy cardstock)
- Atlas pages (or maps or map scrapbook paper)
- Mod Podge
- Sizzix Big Shot die cut machine
- Star die
- Glitter
- Flat paint brush
- 1/8″ hole punch
- 1/8″ ribbon
- Small bells (optional)
- Wire (optional)
I am very lucky to have Sizzix Big Shot [manual] die cut machine. I invested in a [used] star-shaped die cut last year that I picked up on eBay, and I’ve been happily making stars ever since.
Glue & Cut
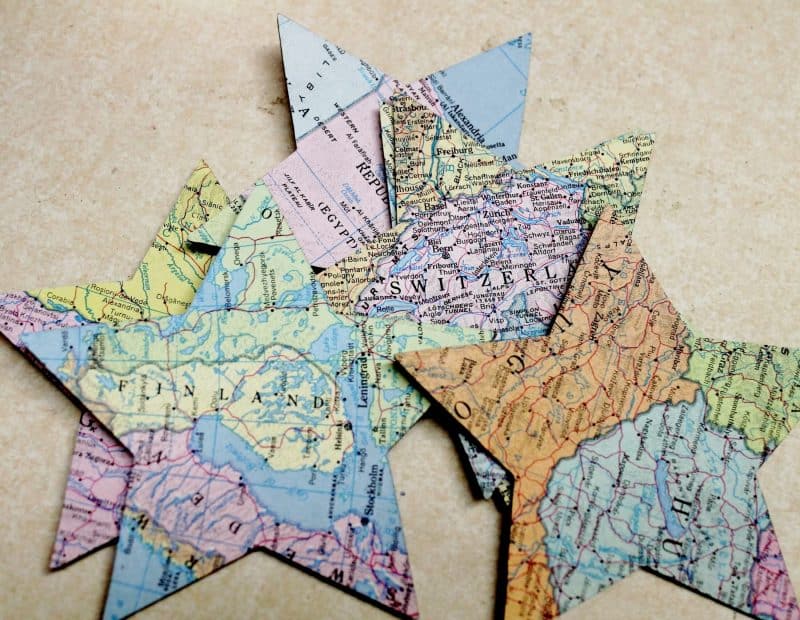
Step 1: Glue some map onto some cardboard.
Frankly, I think they’re beautiful as is, without any additional embellishment. So, you can stop here if you like, LOL.
Step 2: Cut out star shapes. I used a Sizzix Big Shot die cut machine, which makes the process much easier.
Glitterize
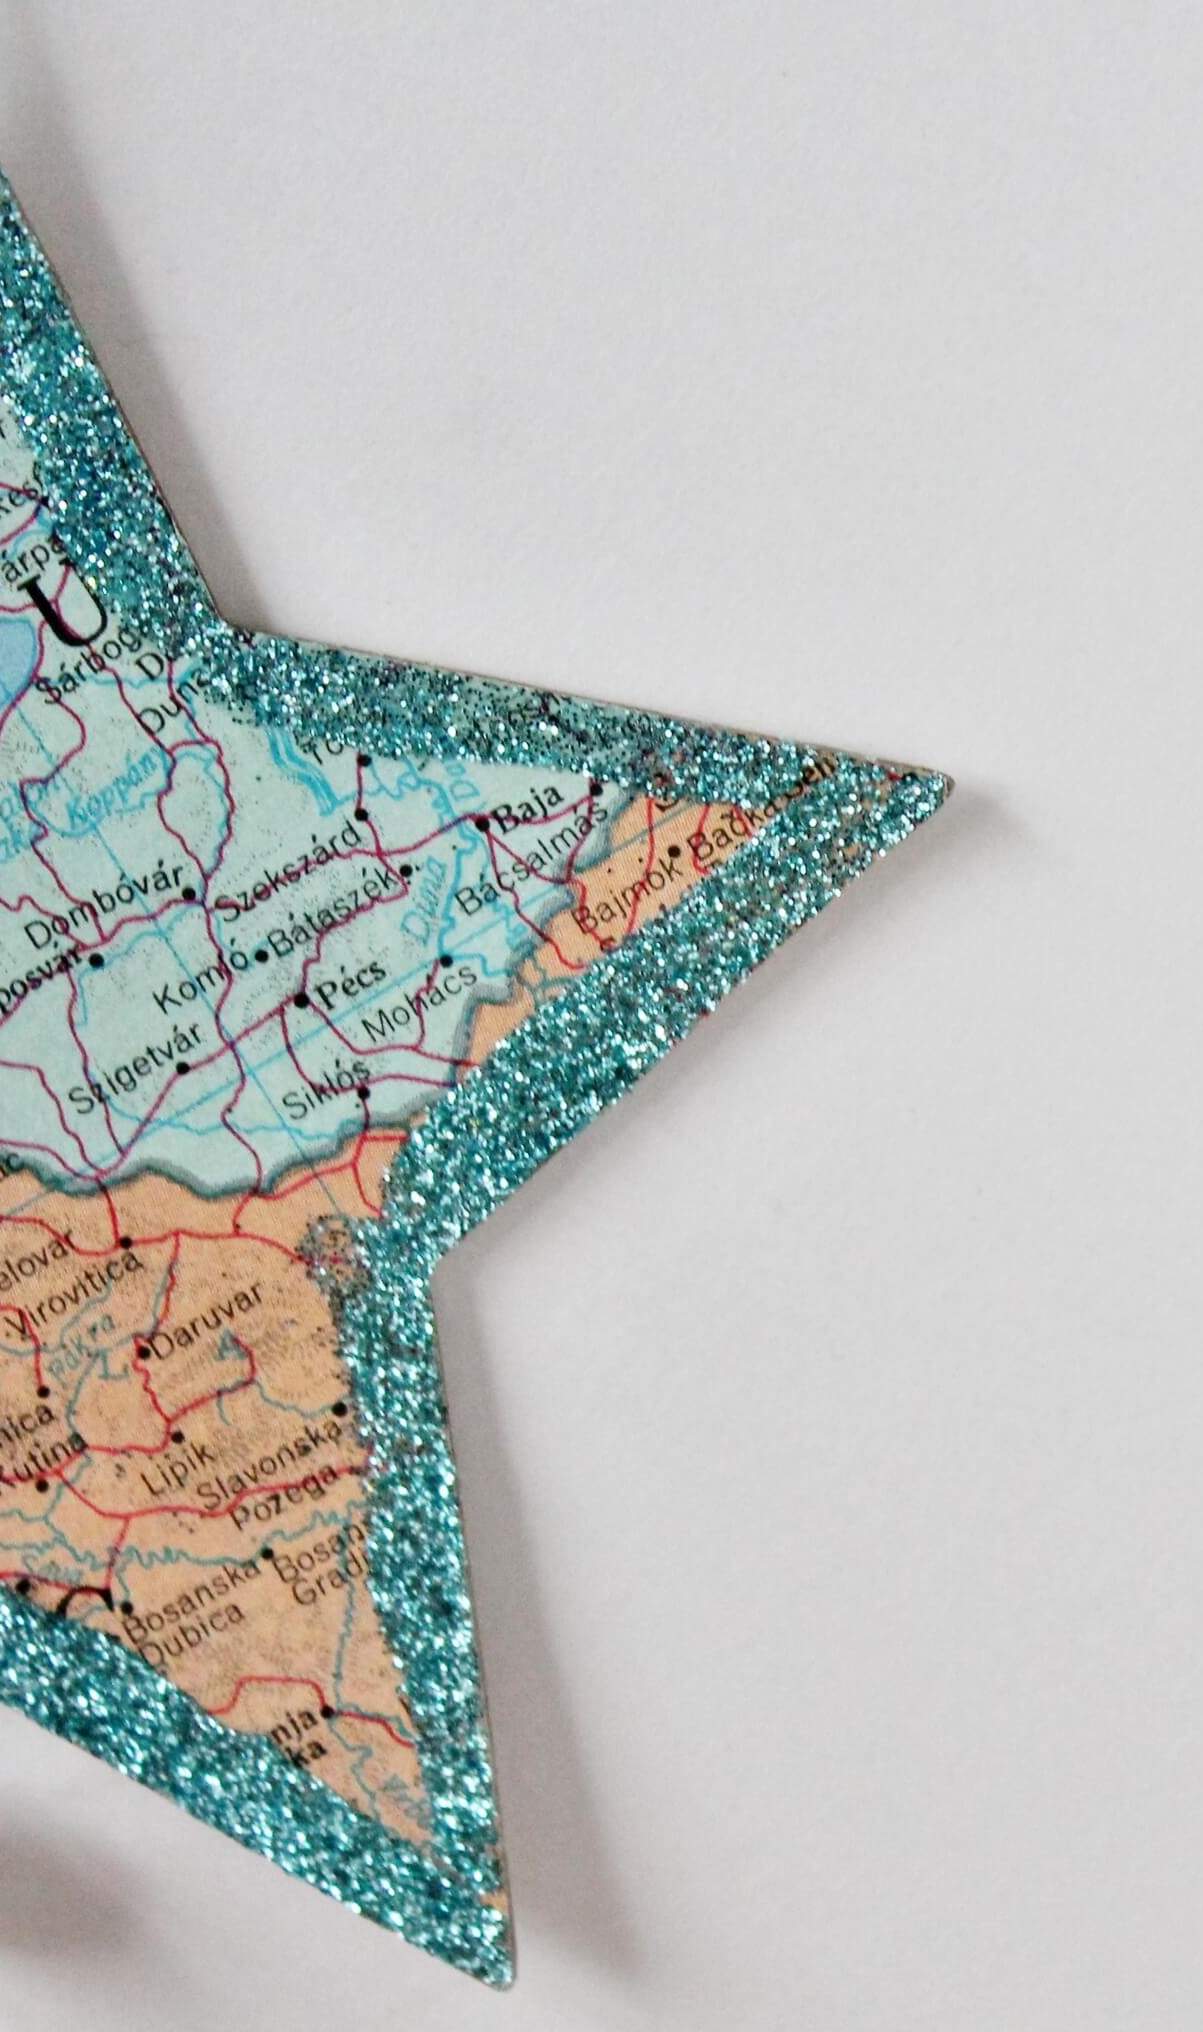
Step 3: But I went a few steps further with my project, first by adding some glitter to the edges. Apply some Mod Podge along the edge of your star (a little at a time).
Sprinkle on the glitter (I used fine aqua on this one) and tap it down with your index finger to ensure adherence. Shake off the excess.
Add a Bell
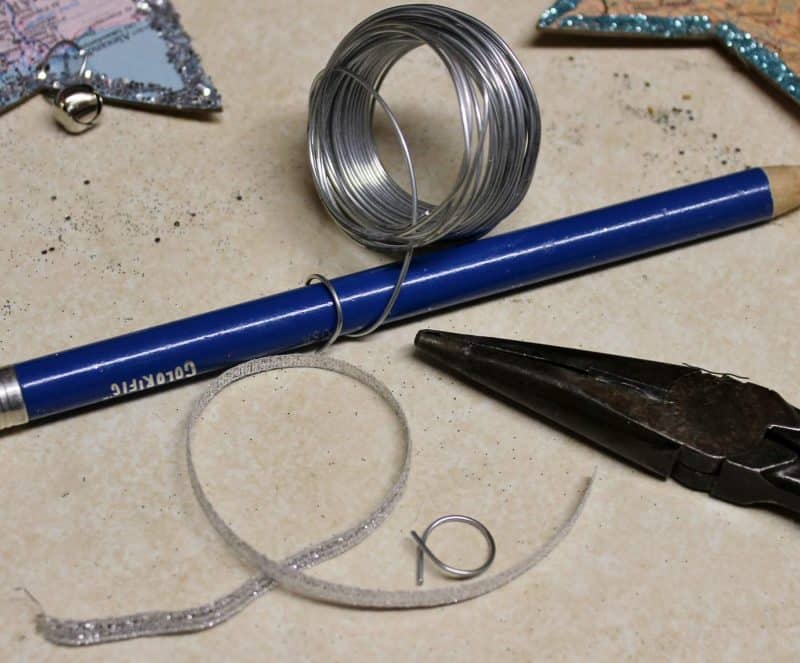
Step 4: You might want to add a jingle bell to the bottom of your star like I did. To do this, make a jump ring using 20 gauge wire (or whatever you have on hand) by wrapping it around something like a large pencil.
Snip the ends with the pliers, then feed it through a hole punched at the bottom of your star and add a bell before closing the ring.
Attach Ribbon
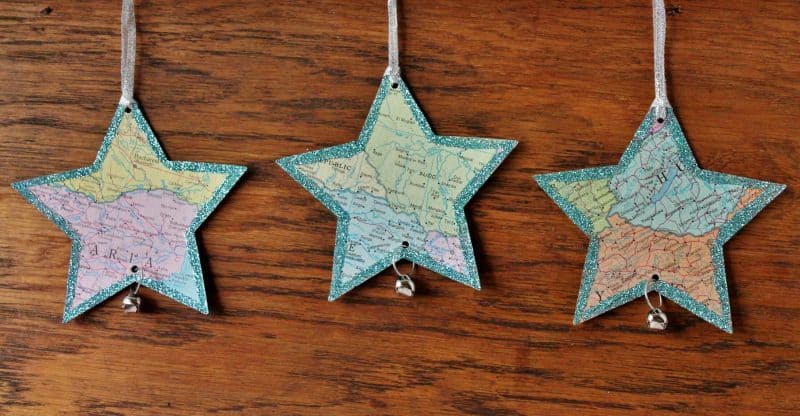
Punch a small hole at the top and thread some thin ribbon through it to make a hanger and you’re done.
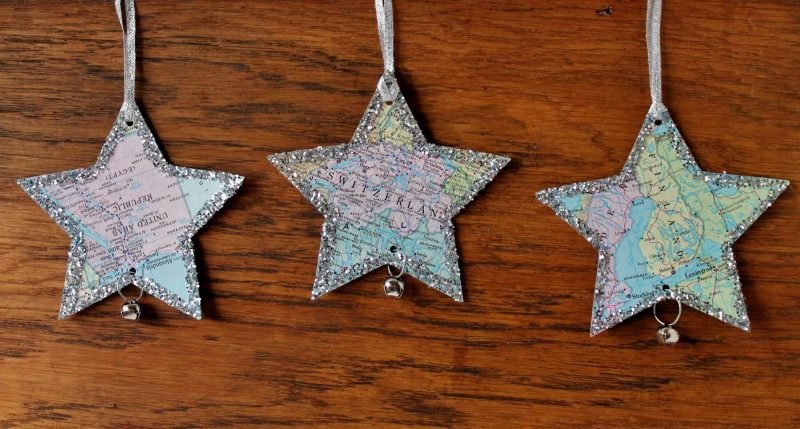
I can’t decide which I like better–the aqua glittered or the silver glittered…
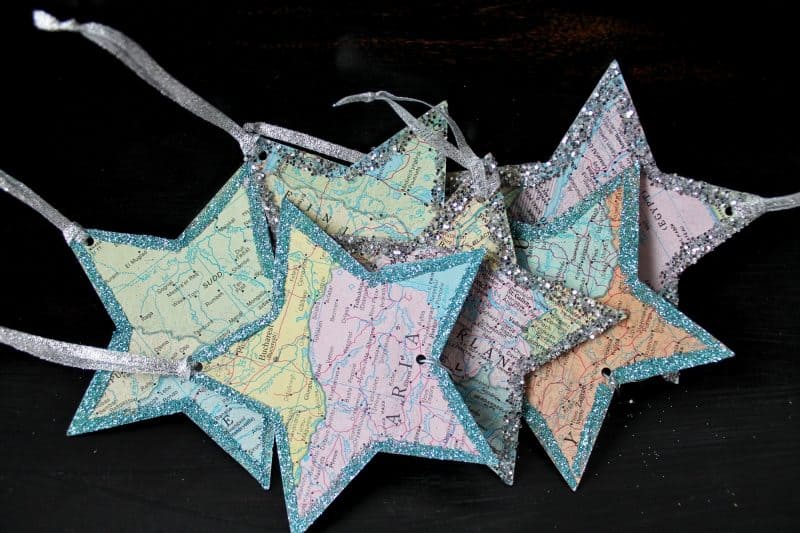
They even look pretty thrown together in a wooden bowl. I think I’ll be hanging a few on some kitchen knobs as well, and wouldn’t they be something on a white tree?!!
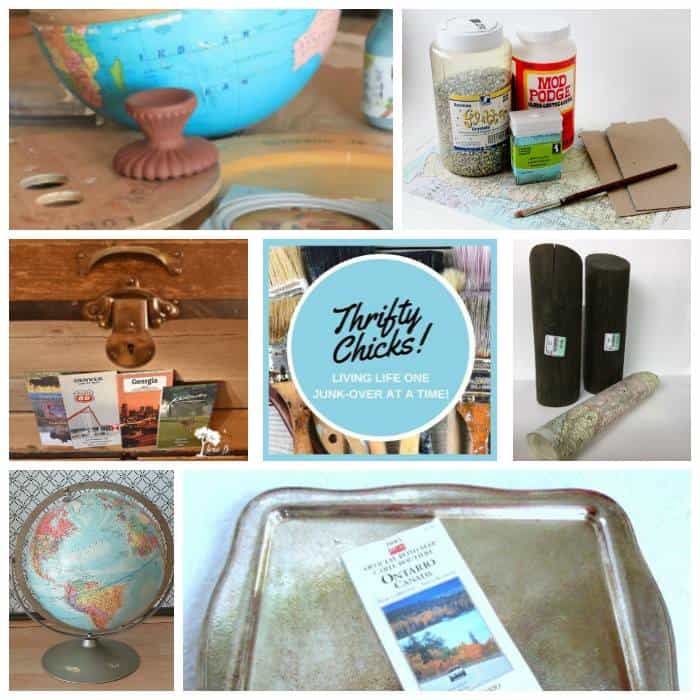 So now it’s time to visit the other Thrifty Chicks and discover what globe/map inspired projects they came up with. I know you won’t be disappointed!
1. I Used a Wooden Platter to Make a Lazy Susan by Shoppe No. 5
2. Christmas Around the World Star Ornaments by Adirondack Girl @ Heart (that’s me!)
3. Antique Trunk Refresh by Lora B. Create & Ponder
4. How to Make Wood Slice Ornaments by The Interior Frugalista
5. Naked Button Globe–DIY Globe Upcycle by Little Vintage Cottage
6. How to Make a Decoupaged Silver Tray Map Table by Thrifty Rebel Vintage
Thanks for stopping by–
If you enjoyed this post, subscribe today
and get a FREE copy of my eBook:
Bye for now,
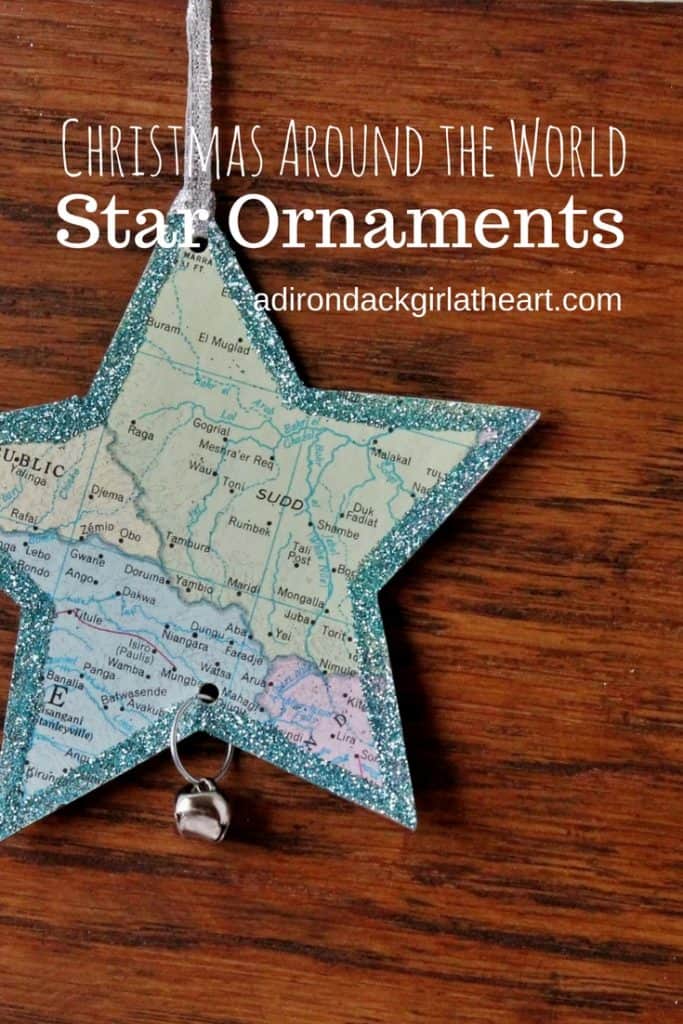
I’d love it if you’d pin me!




That is a very cute and creative idea Diana and a great way to use that Sizzix!
Kathy
Glad you liked them Kathy–thanks so much for dropping by 🙂
I’m so jealous you have a die cut machine! Think one of those machines are in my future;) I love the aqua-edged, of course, but also love how you added the little bell on the ring at the bottom-little details just make it! Pinned!
Ahh, thanks for the pin, Lora! I picked up my machine a few years ago for about $35 at Tuesday Mornings. I don’t think they’re that much more at the craft stores. Mine is completely manual, but I love the big Sizzix dies because they cut through so many materials–leather, vinyl, heavy cardboard, and more.
I love these diana!
Tania
Thanks Tania!
This is such a special idea, especially if you have a map from a trip or vacation. I love both the ones with the silver glitter and the aqua glitter. What a great idea.
So glad you liked my idea, Debra, and what a great idea to select locations and maps that are meaningful to you.
Love your star ornaments Diana! I was so tickled to see one for Finland. That’s where my parents are from. I love both the glitters, but the silver is a little more blingy to me. Pinned!.
So neat to hear you’re roots are in Finland, though you’ve got the blond good looks, Tuula 🙂 So glad you enjoyed my ornaments!
Love your star ornaments Diana! I was so tickled to see one for Finland because that’s my heritage. I love both glitters. Both colours add a lovely sparkle. Pinned!
This would be great for Sunday School! Love it.
Diana these are fabulous! I am a real vintage map lover so these are right up my alley. Both are great but I think I love the blue a bit better:) I could see an entire tree decorated with them! Thanks for sharing at Vintage Charm!
xo Kathleen|Our Hopeful Home
PS Pinned!
Great idea! Something I can do with my great grandson!
I love these ornaments. They are just adorable.
What a wonderful idea, Diana! I think they are simply beautiful, particularly with the aqua glitter. I need to make some of these!
These are really cute, Diana and I love how you hung little bells on the bottom too! They’d also make great gift tags.
Hi. I am a middle school teacher and the students have to come up with a theme to decorate a tree outside. I love these stars. The only thing is what could I do to them to make sure they don’t get ruined by the weather. Do you have any ideas?
You could give them a few coats of polyurethane Michelle, but even that probably wouldn’t protect them from repeated snowfalls 🙁