
Giving New Life to an Old (Vintage) Stool


When you turn stools like these over, as well as many dining room chairs, you will find that the upholstered seat is held in place by four screws. When you unscrew each of them, the seat releases. Set the screws aside in a safe place.


STEP 2: So I whipped out my Howard’s Feed-N-Wax, which many of you know is my go-to product for wood, and I applied it to these gorgeous legs and all the rest of the wood.
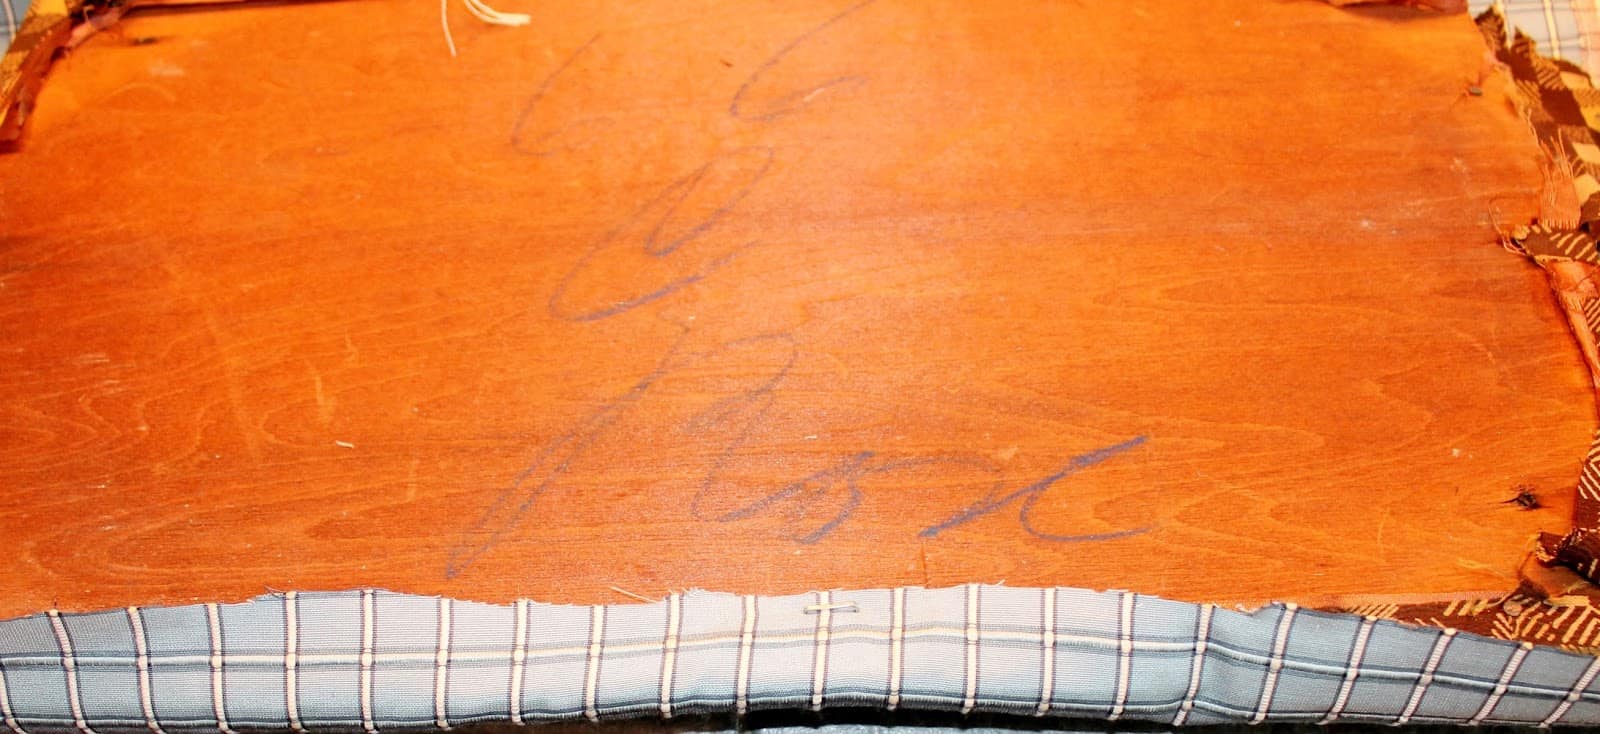
STEP 3: Then I took the filthy seat outside and pounded it a bit and brushed it with a heavy brush, but it was just loaded with fine dust and dirt. When I peeled the brown check fabric back, it revealed a much older fabric, which covered the original padding. Since I was not interested in fiddling with the padding, I decided to spray paint the old fabric, with the idea that the paint would hold in all the dust, and then I could just put my new fabric right over the top. It worked quite well (sorry no picture).
STEP 4: Cut the fabric to size–about two or three inches extra all the way around.
STEP 5: You can begin staple gunning the fabric to the seat. This is how I do it. First, I put one staple in the center of one of the long sides.
Then I turn the seat around, make sure the fabric is taut (not stretched), and put a staple in the center of the other long side. Then I do the same on the short sides. At this point you will have four staples holding the fabric in place.
Next, I put staples to the right and the left of the staple on the long side, between the center staple and the corner. Now you should have eight staples in place.

STEP 6: Now it’s time to do the corners. Take the corner and fold it toward the center of the seat. Put a staple in the corner, as shown above.

STEP 7: Fold the fabric from one side up to make a nice corner as shown above, staple. Now do the same thing for the remaining side. In the above photo, you see one side stapled and the other side hanging. You would pull that hanging piece up and over the edge and staple as you did the first side. Do the same on the remaining three corners.

STEP 8: Get out your screws, if you remember where you put them(!) and reattach your seat to your base.
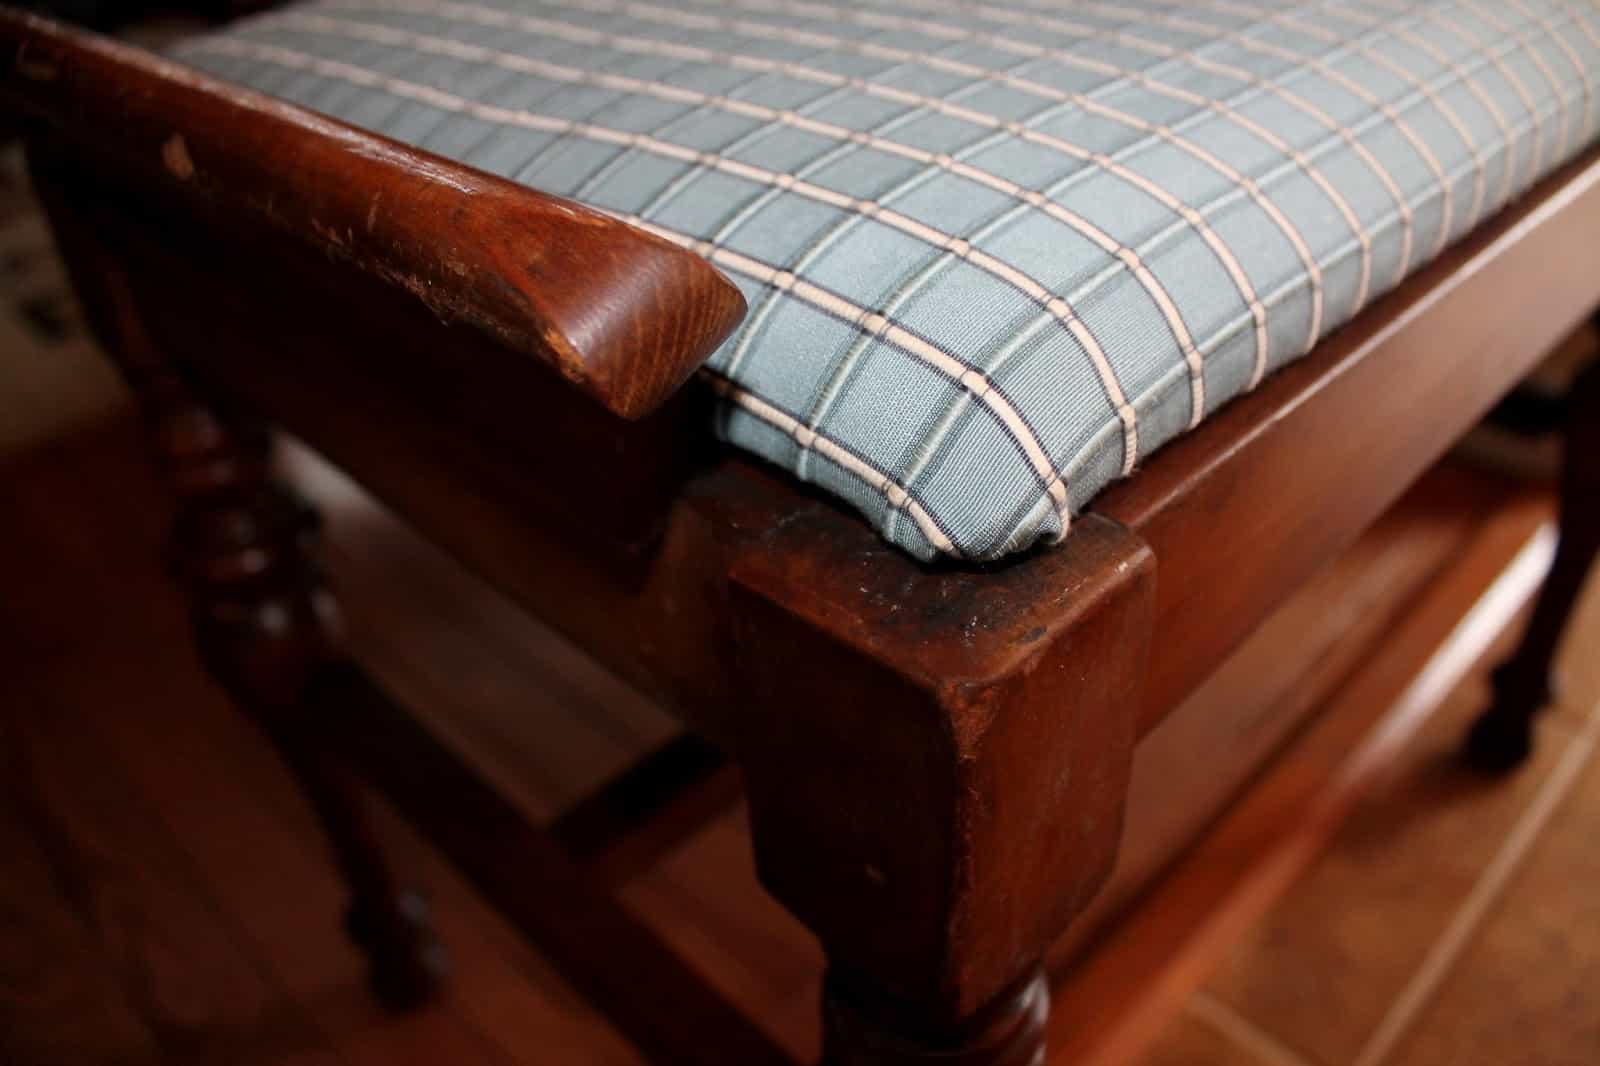
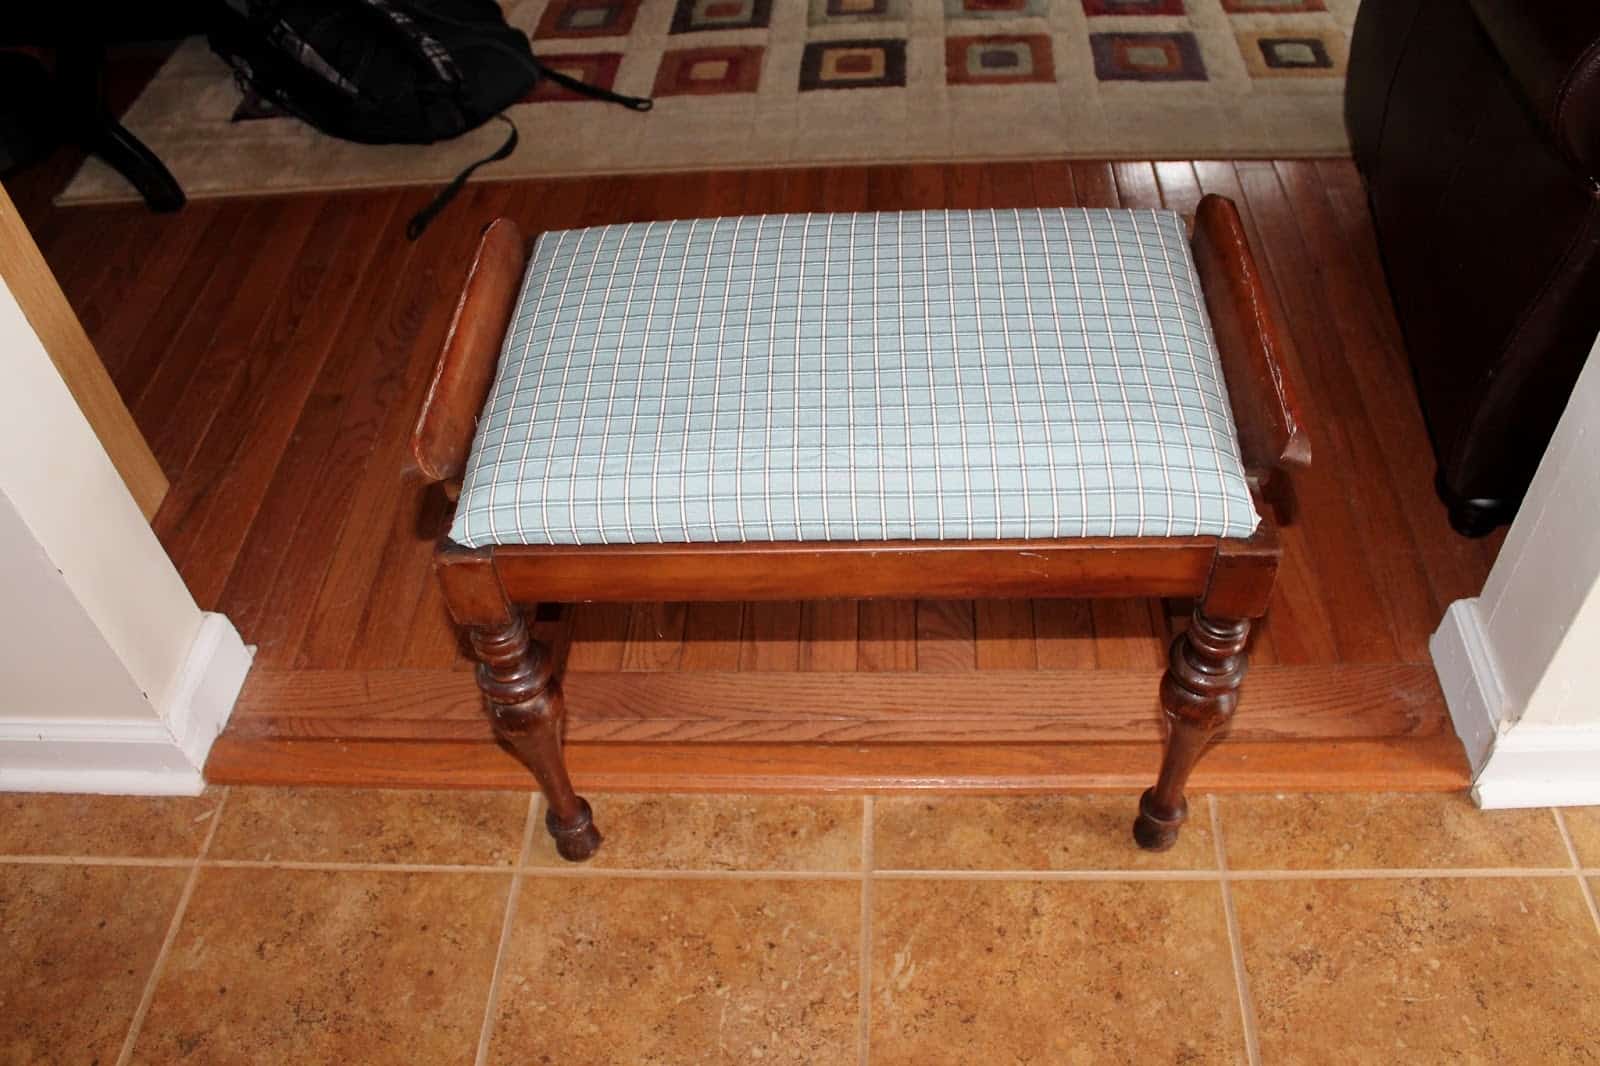
And there you have it, a nice, new piece of furniture for a vanity, for extra seating, or as a sort of stand for holding clothes in your bathroom (as I intend).

I’m pretty happy with the results, and am looking forward to my upcoming master bath photo shoot, which will now include this “brand new” vintage stool.
 Stool")
The Cottage Market
A Joyful Cottage
We Call It Junkin
Savvy Southern Style
Pursuit of Functional Home
Katherine’s Corner
Bye for now,

 Stool)
I LOVE that vintage stool! It is gorgeous! I would really like something like that at the foot of my girls' beds in their room! They could sit on them while they were getting dressed! A wonderful weekend to you! Nicole xoxo
It would look so sweet at the end of a bed, and practical too. Am having a good week-end, hope you are too! Blessings, Diana
It's beautiful now! I love the details you shared. It's very Pinteresting! http://www.pinterest.com/pin/257690409903262359/
Blessings,
Laura of Harvest Lane Cottage
Hi Laura! Thanks for pinning me 🙂 You're very kind–
Diana, this is great! The stool turned out fantastic. (Don't you just love Howard's Feed n Wax? It's the best.) I love tutorials, and yours is so easy to follow. You should come and link this up to my Every Room In The House party. We're partying in the bathroom this month. Here's the link:http://www.ajoyfulcottage.com/2014/04/every-room-in-house-party-4.html
I hope to see you there.
I'm going to pin this, too, to my DIY board. Thanks a bunch. ~ Nancy @ A Joyful Cottage
I linked up Nancy–thanks for inviting me 🙂 and thanks for pinning me, too!
Thanks so much Nancy; I appreciate the compliments. I will check out your party for sure and thanks for the pin 🙂
Oh, it's beautiful! Now it's even more special. Someone enjoyed it before, and now it's been discovered and restored by you. Cool.
Thanks Marry Ann. It is cool, isn't it? 🙂
Wonderful tutorial and it looks much better with the new fabric. What a pretty bench it is – the little handles are really cool. Thank you for sharing this at History & Home this week. -Dawn @ We Call It Junkin.com
What a great makeover. It is beautiful.
You're so sweet Catie An–thank you 🙂
I love what you did to this stool, Diana. Thanks for sharing at Every Room In The House. You'll be featured at tomorrow's party. ~ Nancy