
Recycled Milk Carton Stencils
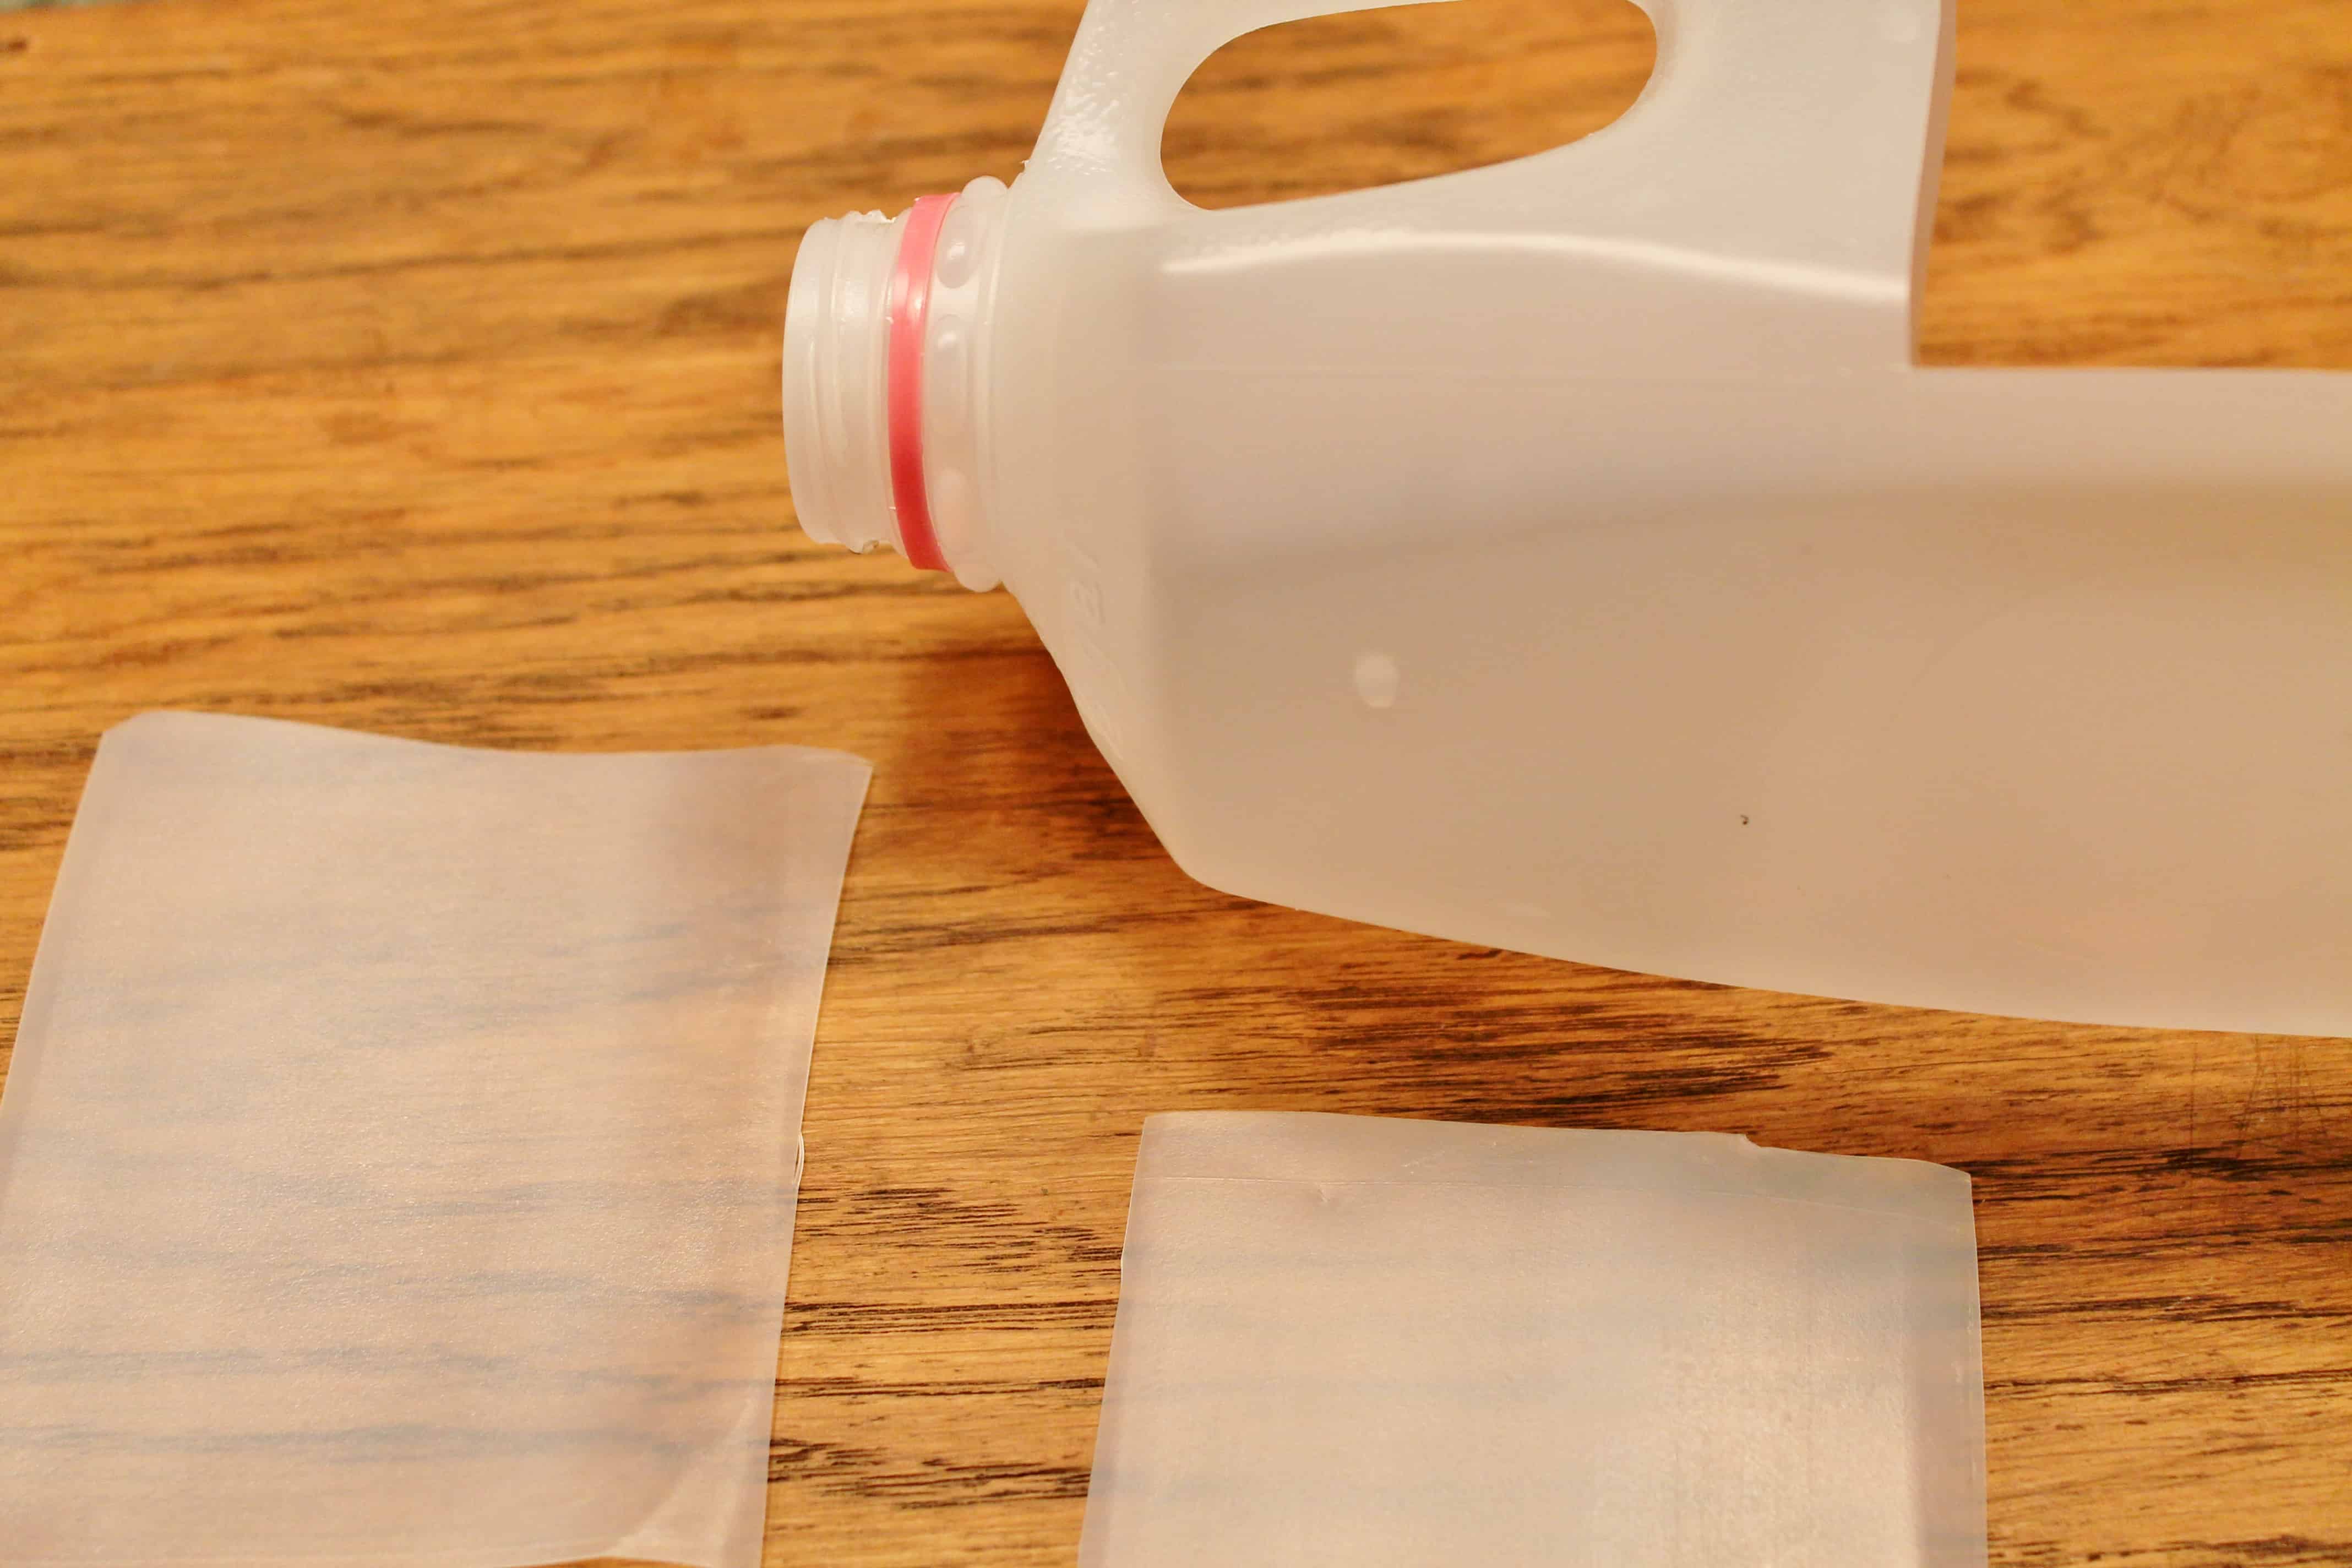 After washing out your milk jug, cut out the flat portions.
 Other materials you’ll need are an exacto knife, or

If you don’t have an exacto knife, then sharp scissors and a hole punch will do.
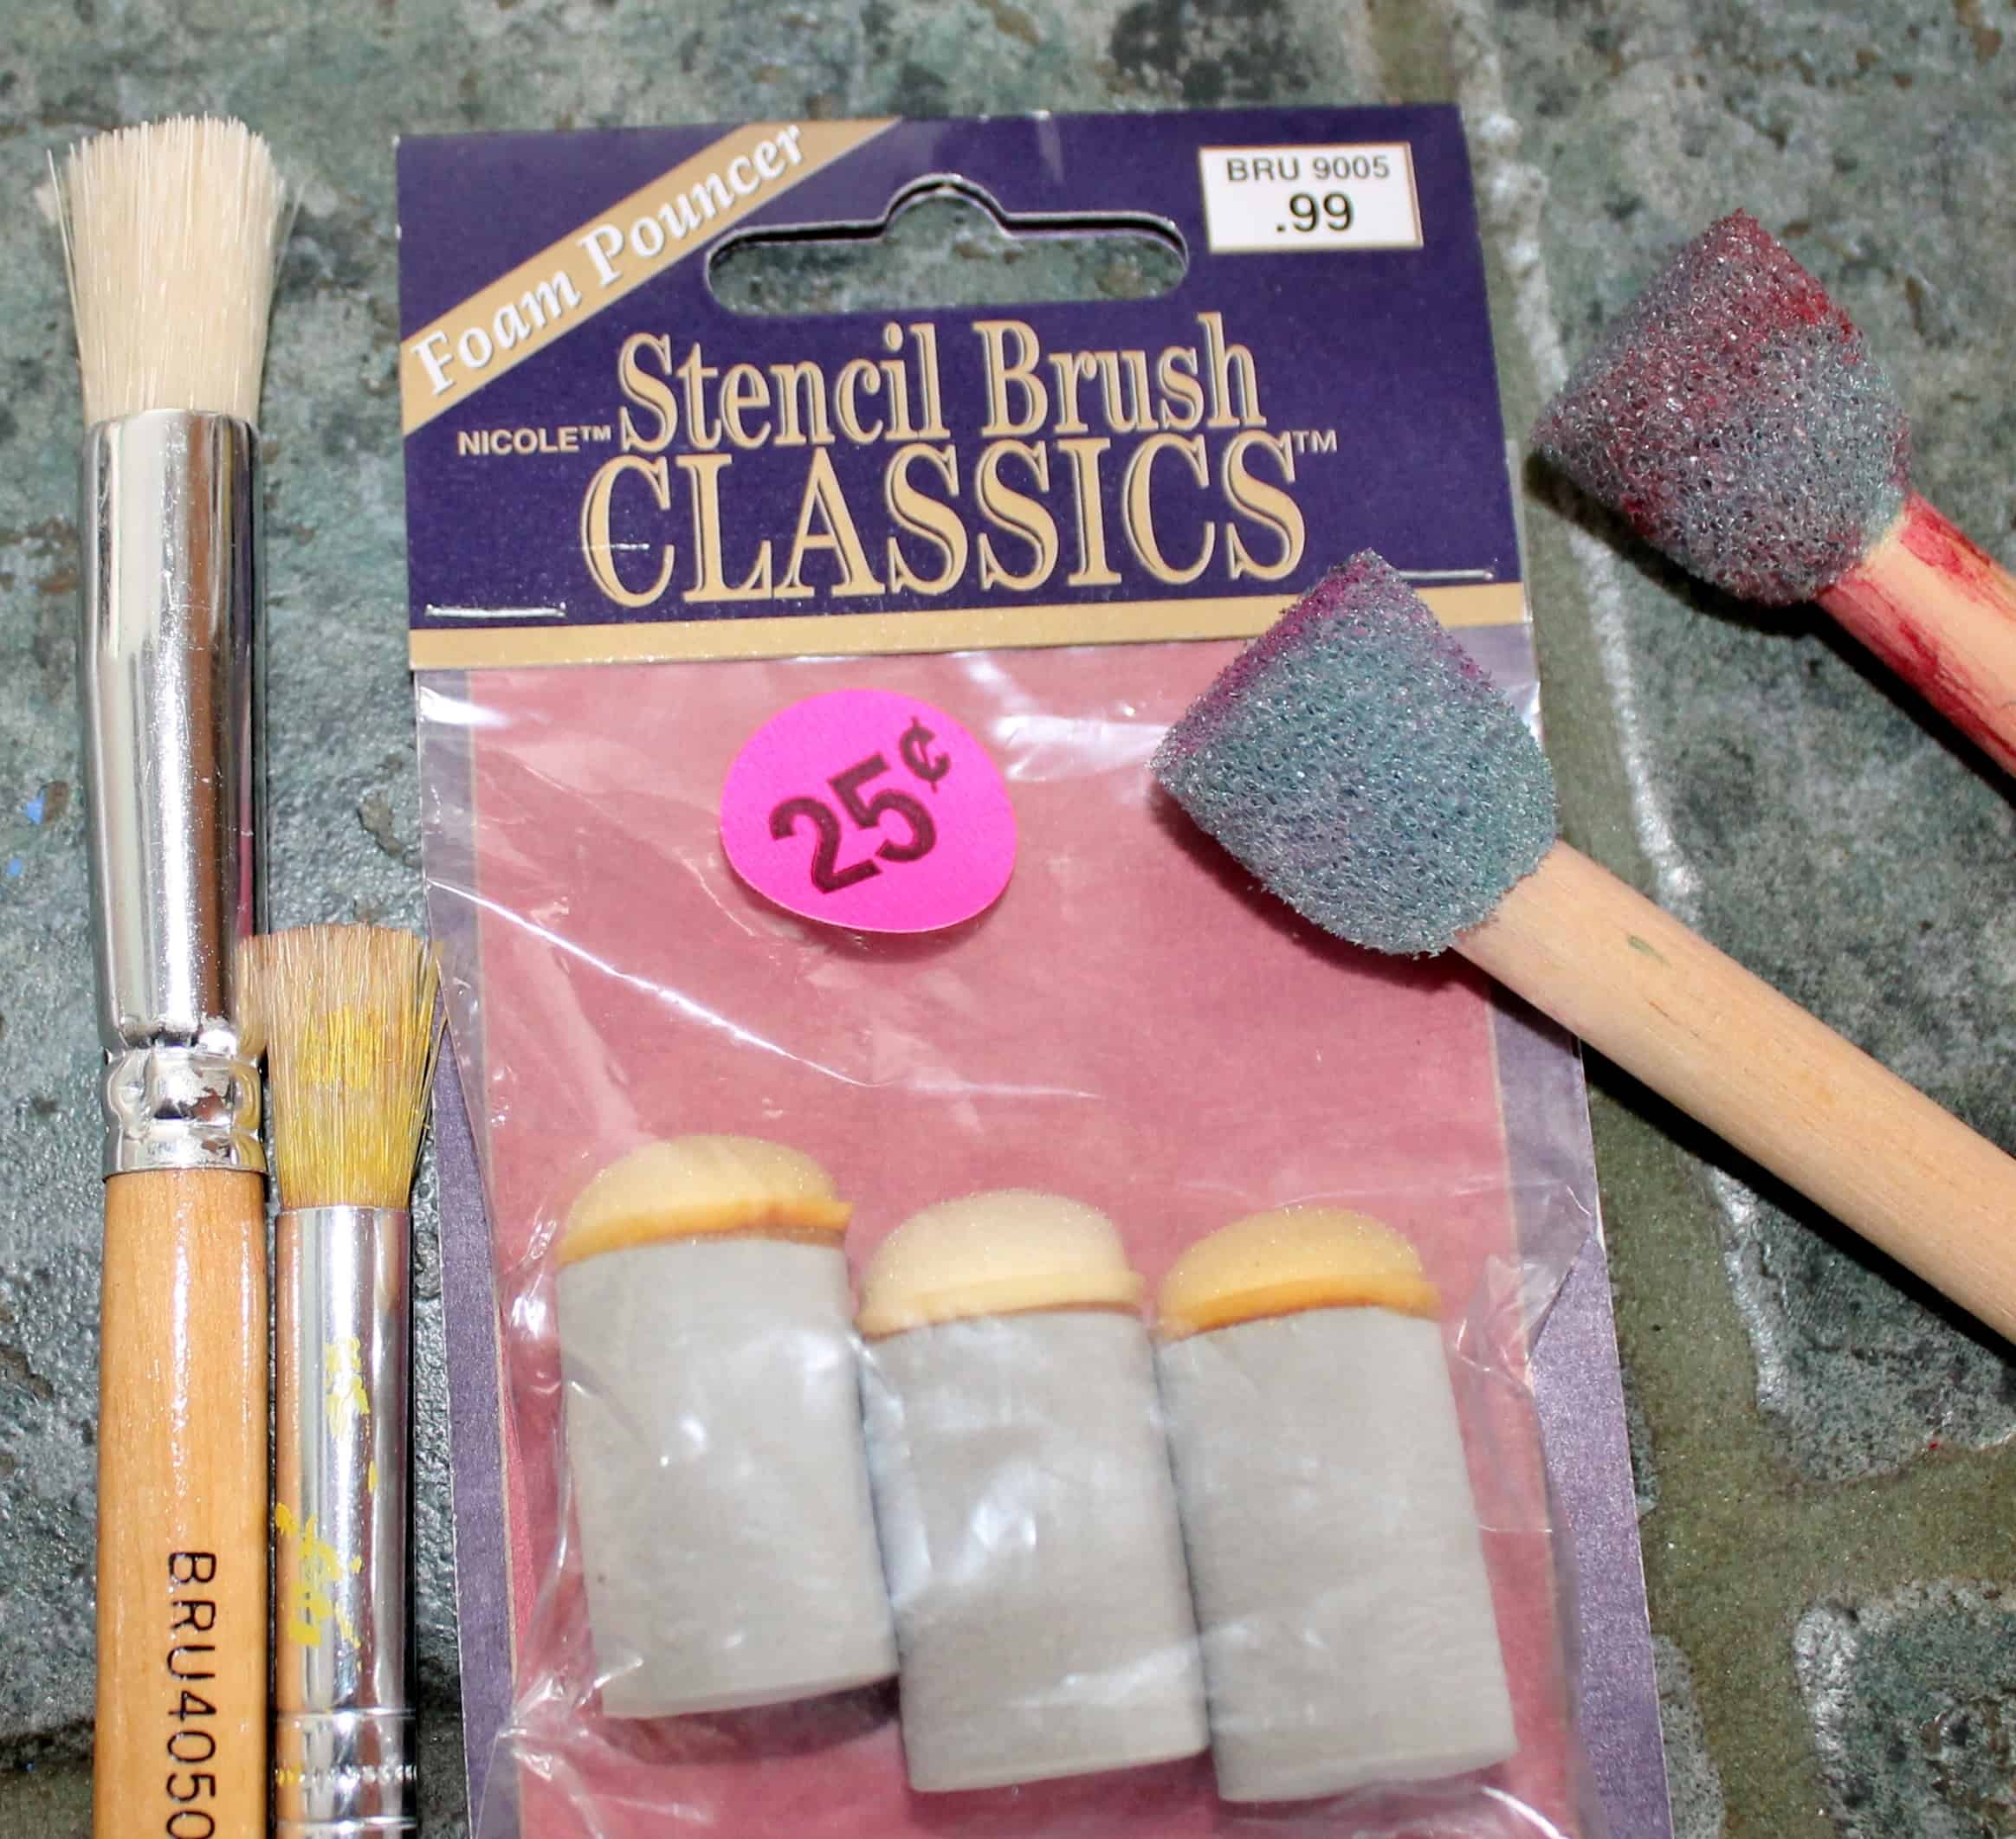
You’ll also need some stencil brushes–more than one if you plan to use more than one paint color since you cannot use a wet stencil brush. In this photo you see three kinds of brushes. On the left are bristled brushes with a “flat top.” In the middle are dense sponge pouncers and on the right are less-dense sponge pouncers. I prefer the dense sponge pouncers in the middle, which, as you can see, I bought at a garage sale for 25 cents–yippee!

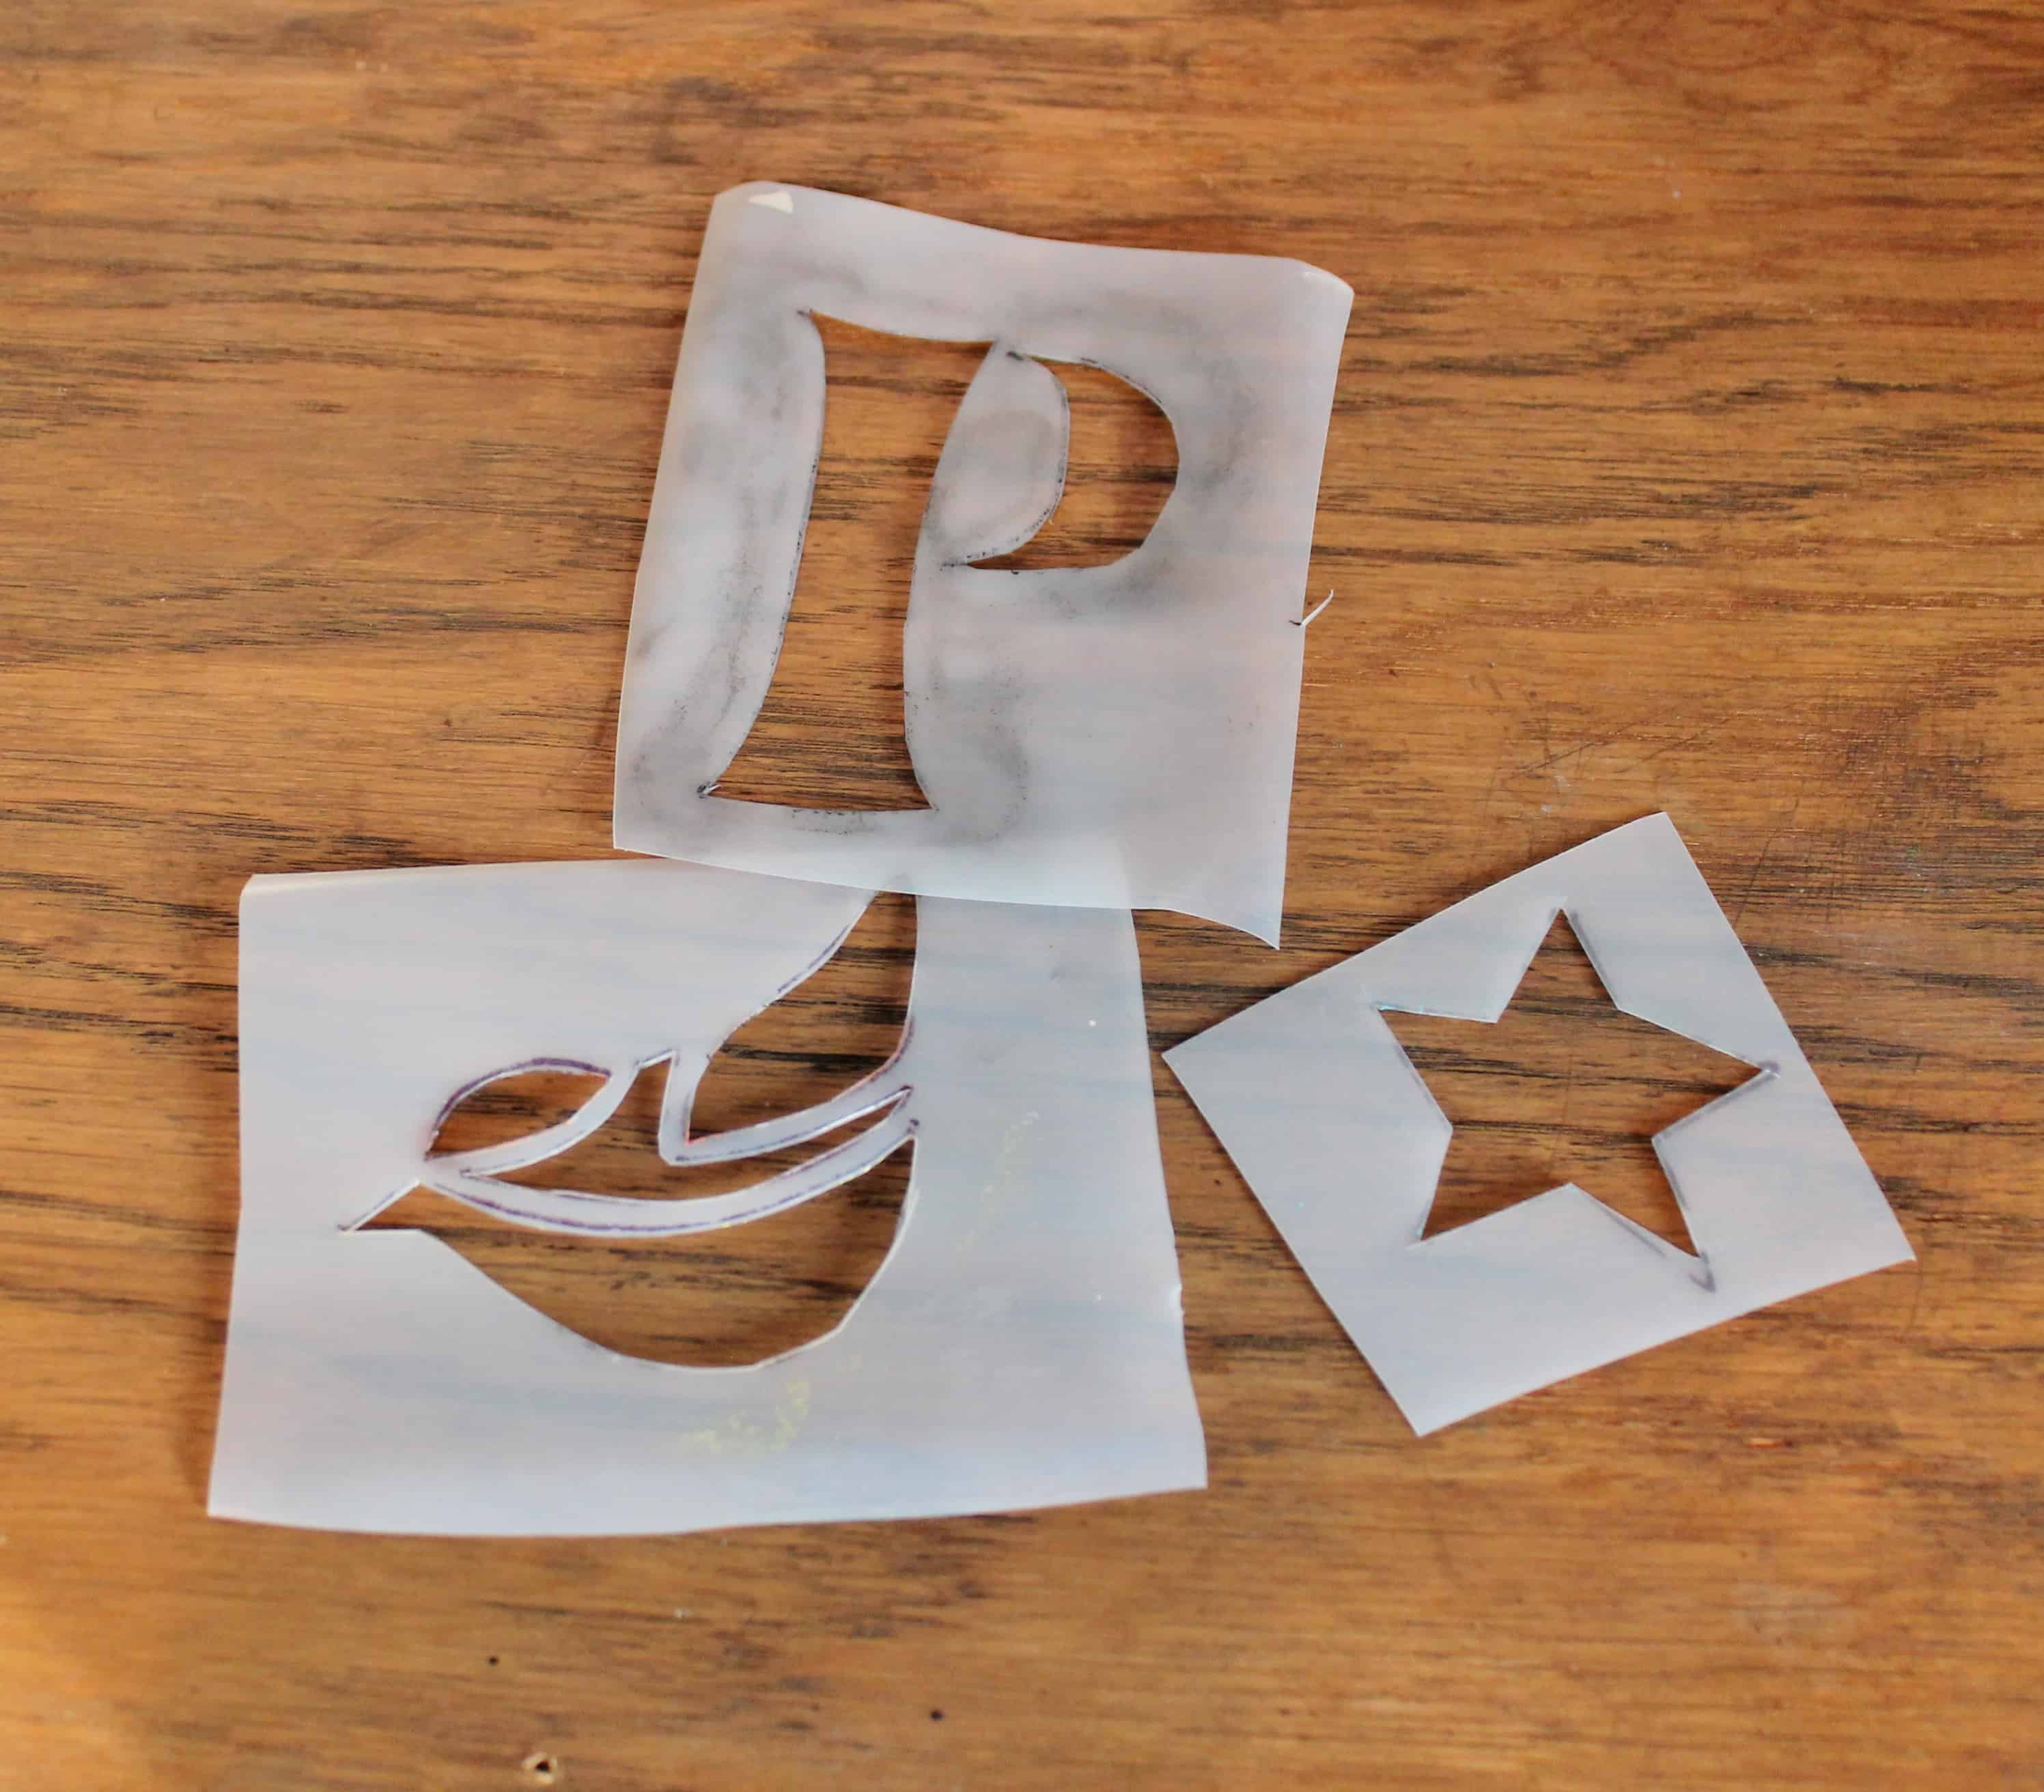
Now it’s time to design your stencil. I kept mine pretty simple. If you don’t have exacto knife, then you’ll also want to keep it simple, since it’s very hard to cut the plastic if you have fine details. The graph you see behind my scrap paper is a self-healing mat, very nice to use with an exacto knife because it won’t cut through.

Next, use a permanent marker to trace your design onto the plastic you cut from the milk jug. Make sure none of the curved portions are near your design or it will be difficult to use the stencil.


Next, use masking tape to secure the stencil to whatever surface you’re painting on (I used textured card stock). Squirt some paint onto a flat surface (I use paper plates) and holding your brush perpendicular to the plate, lightly dip your brush/sponge into the paint. Then pounce (strike it lightly up and down) on the plate to get rid of any excess paint. Once the brush/sponge is fairly dry, you can begin pouncing your stencil.

I included this photo so you can see my puddle of paint surrounded by all the places where I pounced the paint off my brush to make it dry enough to paint with.

The lines on my first attempt are a bit wobbly. My brush wasn’t dry enough when I started painting; it needed more pouncing on the paper plate. Also, I suggest using the end of your finger to hold down the stencil area by area as you paint. This will prevent paint from bleeding under your stencil and ensure a sharper line.
 I used a fine paint brush to touch it up a bit.

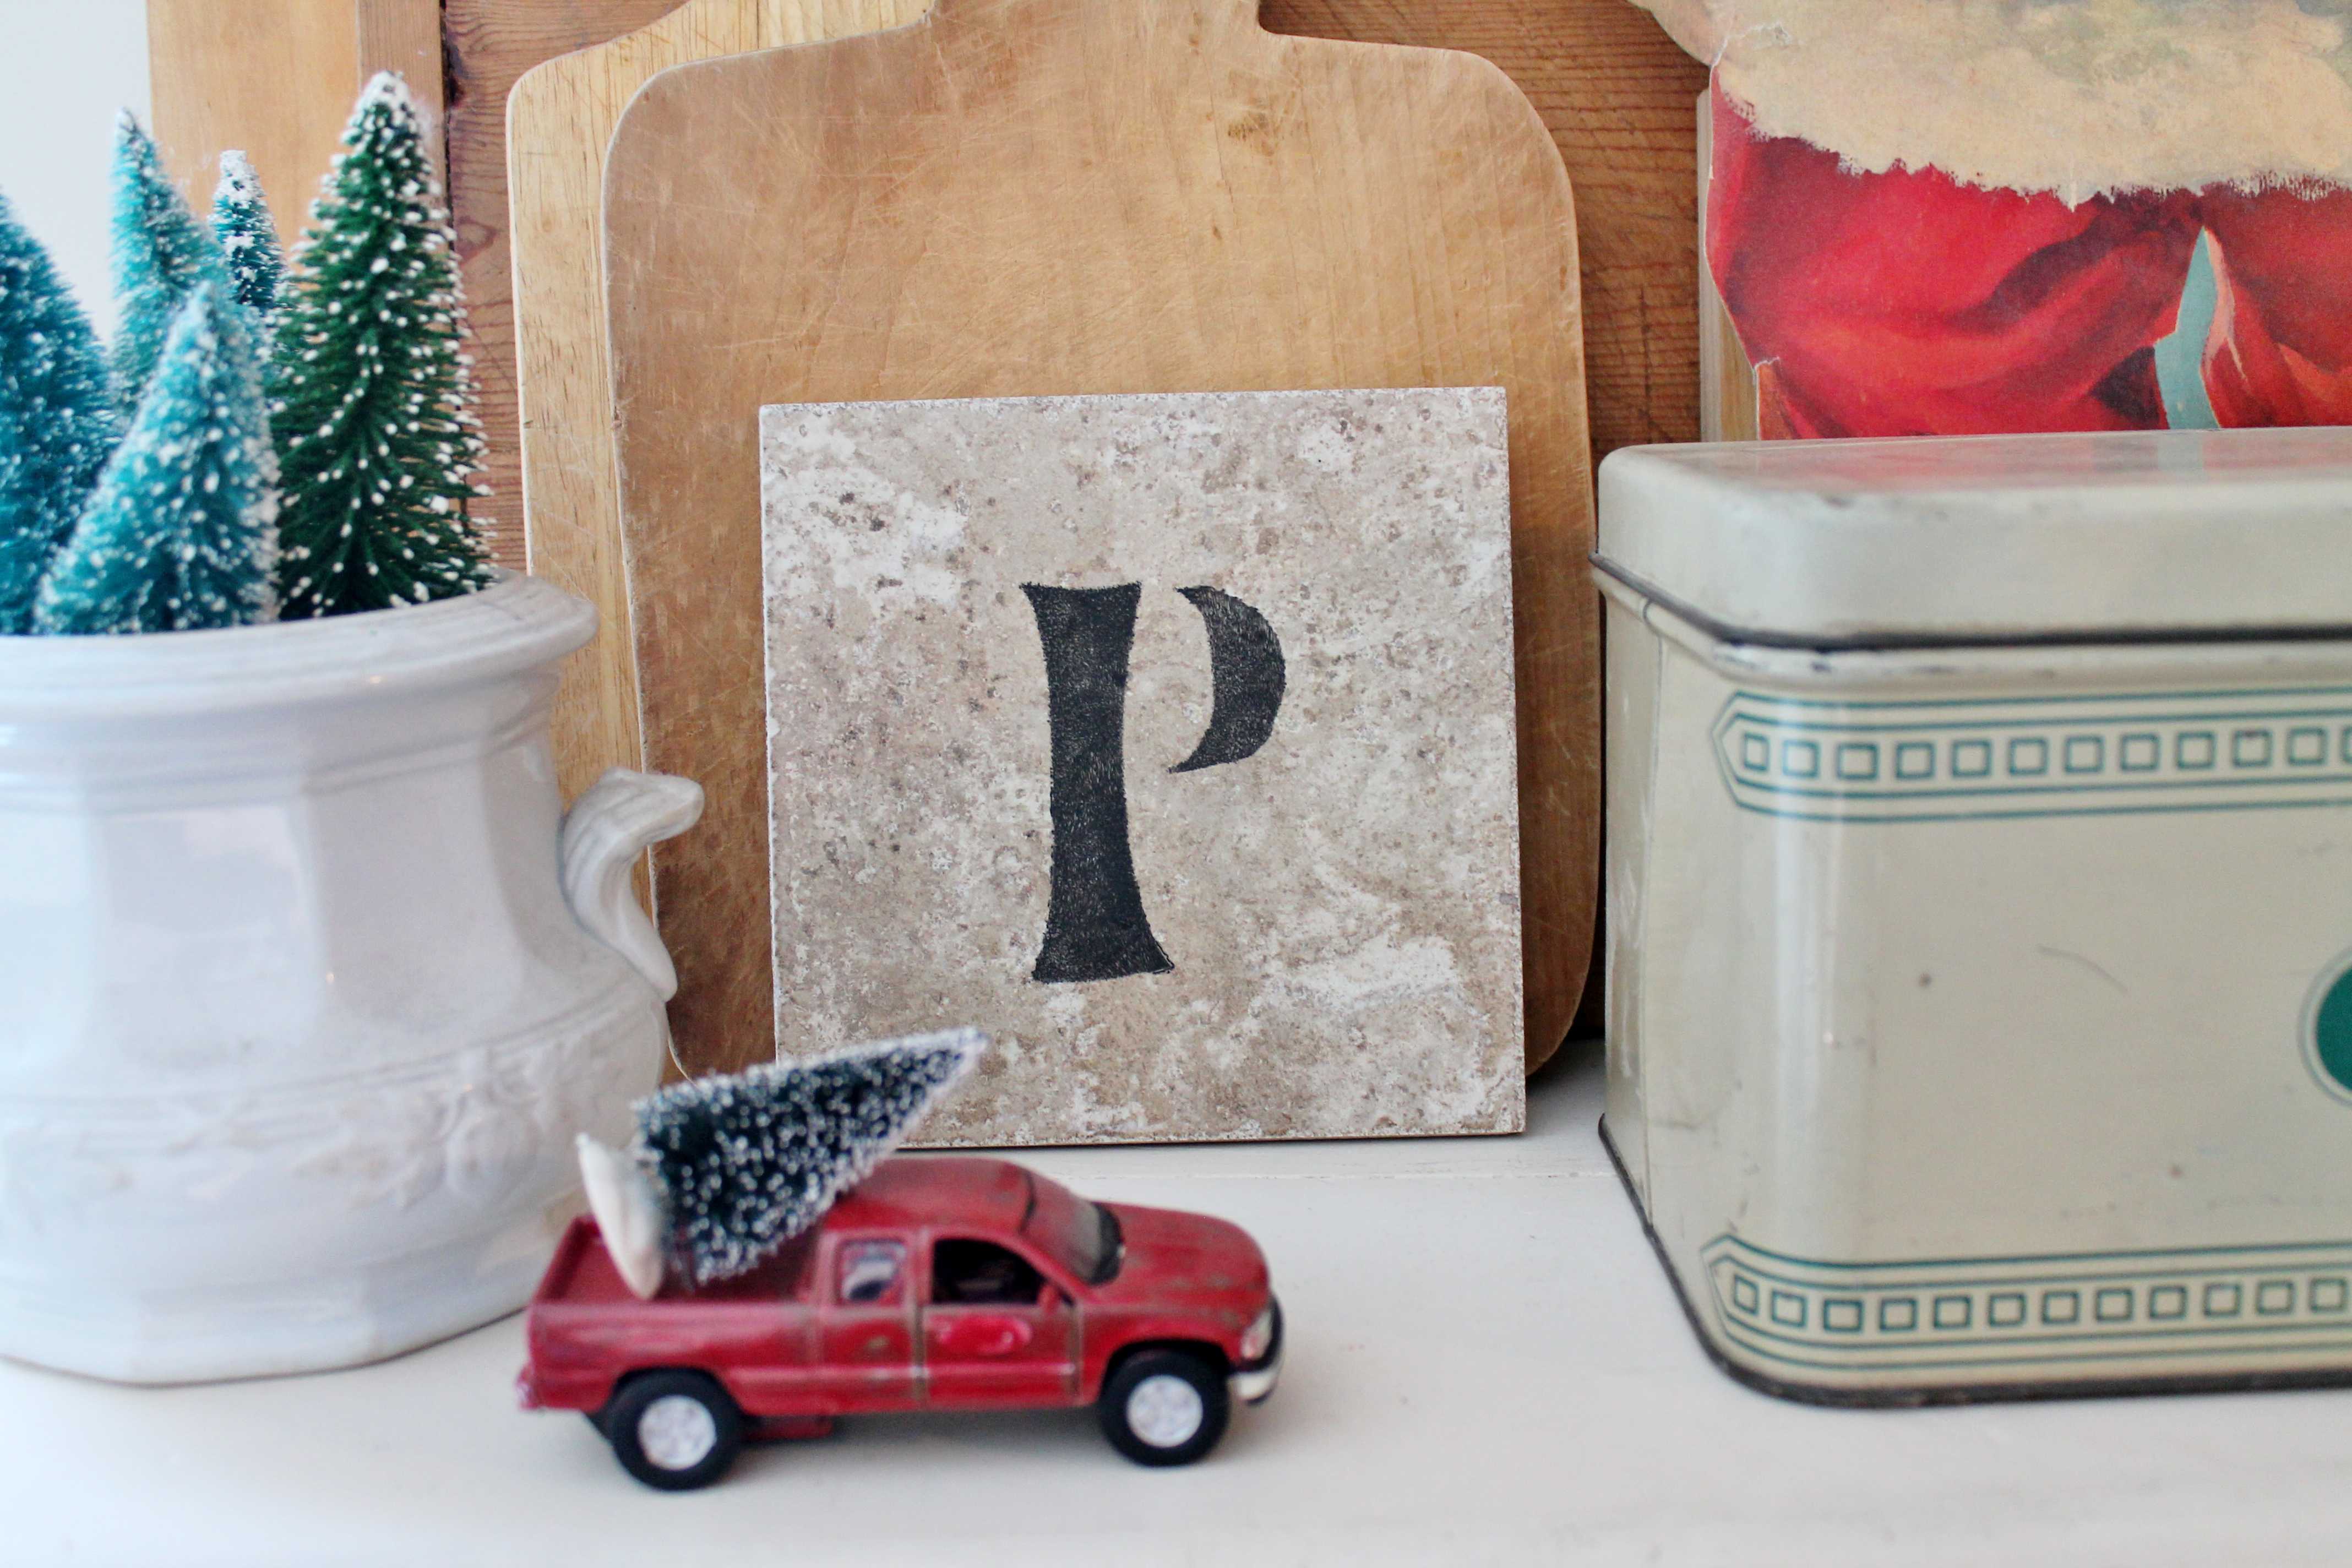
Here are the results on a nice tile I had on hand. After drying, apply two or three coats of acrylic spray to protect your artwork from scratches.

Once I got started, I couldn’t stop!
Thanks so much for stopping by–
If you enjoyed your visit, I hope you follow me by email.
Sign up and never miss a post.
Let’s connect!
Facebook
Pinterest
Blog Instagram
Vintage Shop Instagram
Twitter
Bye for now,

I am digging through the recycling can when it gets warm enough tomorrow. I need some of those fancy-dancy stencils and I do not wish to spend money. I'm going the milk jug route. Thanks and I will be sure to go over to the Challenge blog.
awesome! love your stencils! Great idea on the hole punch – one of those smack you head, why didn't I think of that moments for me lol. Thanks for linking to the creative challenge! And it's milk jug/soda bottle (or related) ALL month – each month is a new challenge – so you have plenty of time to dream up something else! We will be waiting for you! Kristina & Millie
Ooh–before you even sent your note, I had gone in and changed the info and added yours and your mom's names 🙂 think challenges really get my creative juices flowing. I'm in the middle of working on four more ideas! Won't be posting them all probably, but maybe a couple! Thanks for hosting–
I'm hoping to do a little something to link up this weekend. What a clever idea to use a milk carton. I have cut a lot of stencils out of plastic sheets that my Engineer hubby use to dispose of, but never thought of a milk carton. You clever girl you!
hugs,
Jann
You clever girl, you.
Love this! Much cheaper to use milk jugs than the mylar we used in the '80's!!
What a great idea Diana – doing this!
Love it, Diana! I have a milk jug that is just waiting for something like this. And I've been wanting to do some stencils. . .so this is perfect timing. Thanks for sharing. I've got it pinned to my Recycle, Repurpose, etc. board. xxx ~ Nancy
What a awesome idea! I'll work on this one tomorrow. Thanx, Jo
What a creative idea for recycling milk cartons. I'm thinking of a project I can link up but I may be moving too slow.
I never thought to use milk jugs to create my own stencils. Thanks for linking up at the Creative Craft Challenge!