Transform an Ugly Hutch into a Vintage Beauty
Hi there! Today I have a project to share involving an old hutch that I found at an estate sale. I spied it in the kitchen filled with all kinds of junk (and I don’t mean the good kind). I almost didn’t notice it. The room was so dark, it just blended right in. I might have passed it by and missed the opportunity to coax out its vintage beauty.
But one of my “rules” is to always try to look beneath the clutter to see what it’s sitting on or filling up. Often times we overlook good pieces because we’re so focused on the smalls covering it.
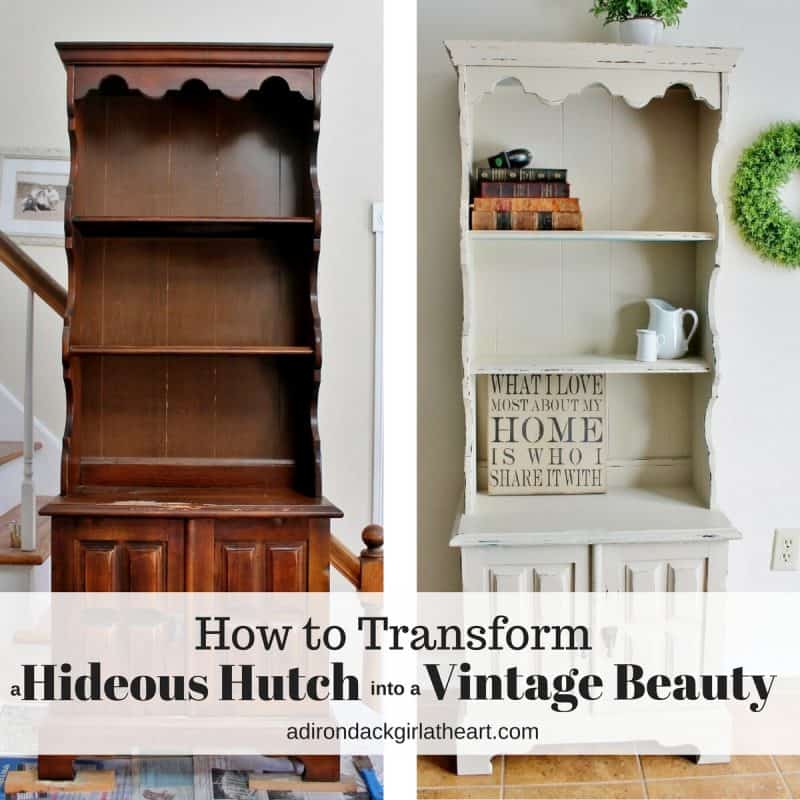
Honestly, I may have overstated the horrid-ness of this piece but I am so impressed with how simple it can be to transform an ugly hutch into a vintage beauty.
 And in person, you would have seen the dullness of the wood, along with a fair amount of grime, not all of which would come off.
The Ugly Hutch
 It’s what I would call a terrible mix of mid-century (on the bottom) and colonial revival (on the top). Probably made in the 60’s or 70’s.
Nonetheless a sturdy, solid piece, I painted it with homemade chalk paint that I made with some oops paint and grout. I mixed a pint of it and just barely had enough to give the hutch two coats, which is all it needed, fortunately.
The Vintage Beauty
 The project took a bit longer than I would have liked because I could NOT unscrew the hinges on the doors, nor could I remove the handles. So, I had to paint around them.
My trick to make the process easier? I rubbed a thin coat of petroleum jelly on the handles and the hinges. After I finished painting, I could easily rub off any paint that landed on them.
Distressing the Painted Hutch
 Then I went to town sanding all the edges and corners using a sanding block that I had on hand.
Add a Satin Glow of Protection with Paste Wax
 I gave it a good coat of clear wax and buffed it out after about 15 minutes of “drying.”
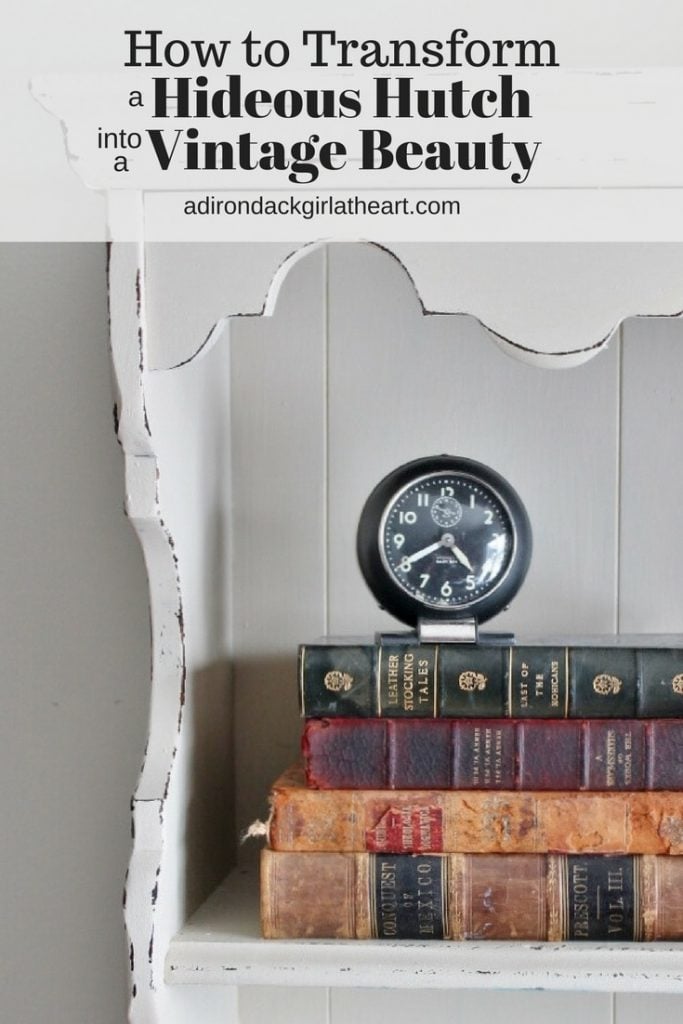
 You can see in this photo the amount of distressing I did. I guess it was just the right amount because it sold the day I placed it in my booth at the Grist Mill Antique Center (for a $100.00 offer, down from the $125.00 I had priced it at).
 I love using these leather books for photos like these.
Not too long ago, I painted a similar piece and gave some hints in the post about what to look for when buying ugly vintage furniture, and how you can easily transform it into a thing of beauty. You might find it interesting.
Thanks for stopping by–
If you enjoyed this post, subscribe today
and get a FREE copy of my eBook:
Bye for now,
I’d love it if you’d pin me!


What a nice project. It really did come out cute. The lighter color brought out all the details. Love the tip about using petroleum jelly on the metal. That will come in handy.
All the Best,
Gwen
Looks wonderful. I can see why you almost passed by this piece initially, but you did a great job of bringing it back to life.
This turned out great Diana! I love it’s small size and all the details!
Tania
That turned out beautifully, Diana! I can see why it sold so quickly!
Great job on upcycling the hutch. And yay for selling it immediately. I love success stories. I was kind of amazed that you lifted it up onto a table to paint it, but it was so close to the stairs you could go up them and paint the top! I always forget to photograph the before, but I don’t blog so I am just in a hurry to finish painting and get it sold.
Hi Diana, you did a great job on this piece. Honestly I didn’t think the piece was hideous…I kind of have a thing for brown wood…but that’s just me. I am warming to the thoughts of painting wood with all the examples you have shown, and others have shown. I might be tempted someday to paint something high gloss black….well, maybe. About your piece, inside the bottom behind the doors was it just a large storage space or did it have a shelf? If it had a shelf I might have been tempted to take the doors off. Someday I am going to have to learn how to do all this stuff….thanks for your great projects and articles on how to do things! Blessings, ~ Elaine
This hutch will be so great in today’s smaller rooms–if people even have a dining room! This could go anywhere for a multitude of uses. I like the distressing. I hope it found a home in a farmhouse kitchen!
She came out lovely! Lisa@ Sweet Tea N’ Salty Air
Looks fantastic!!! Great job!!
Hugs,
Debbie
It came out great and I can see why it sold so quickly. I have seen ugly cupboards like that and I know how beautiful they can be with a coat or two of paint. My dream is to get a booth again, big enough to put furniture like yours in it!
A steal for $100! You did a great job on it!
That turned out great. If it sells on the first day……it sold too cheap. Our motto, and we’re stickin’ to it. 🙂
It looks great. And it is always fantastic when it sells quickly.
You did a great rescue on that piece, Diana! I have to say, though, that I wonder if the hutch piece on top originally went with the bottom. The proportions look off to me, the hutch being so tall. But somebody is happy to have it and you’re happy they bought it, so guess it’s all good!
Diana that is such a lovely soft white color. I’m glad to hear that it sold right away. I have an MCM that I need to paint but it is so bulky and the weather is not helping.
What a difference the soft white paint and natural looking distressing made on this hutch – quite lovely!
This looks so much better, and with the new colour the decor you place on it will show much better. The dark brown just sort of sucks the colour out somehow. Love the choices you made here.
You know I’m a “whites” girl so I love it! I have a corner cabinet that needs this ASAP! Thanks for sharing at Vintage Charm! xo Kathleen|Our Hopeful Home
You did not mention what you paid for it in it’s original condition.
I meant to mention it; it cost $15.00. I’ll go add that bit of info, Thanks Ruth!
There ya go again. Throwing money around like it grows on trees! 😉